Friday, September 30, 2016

Lepin 15010 Not Lego Parisian Restaurant Set Review - Part One


Having built three other Lepin modular buildings, I can honestly say that the Parisian Restaurant is my favourite build so far, despite it being the smallest building as compared with the Cafe Corner, Fire Brigade and Town Hall.


According to the Lepin packaging, the Parisian Restaurant has 2418 pieces, most of which contribute to the highly detailed interior.   Here's how my set looks after unpacking it.  The brick parts are distributed in over 40 different numbered bags, which I count to make sure there are no missing bags.

 The Lepin modulars distinguish themselves from the Lego versions by using a thicker base plate.  The instruction manual is a booklet that consists of 83 pages.  As with my previous Lepin modular sets, I take pictures after each ten steps of the build.   Without further ado, let's take a look.

*   *   *   *   *

Steps 1 to 10.


I'm glad this set comes with one big baseplate instead of two smaller base plates because I find it more structurally stable.  You can see that the restaurant's footprint takes up only a small portion of the base plate.  

There are two principal rooms - the kitchen and the dining room, and an outdoor patio.  As per the first ten steps, I've laid the building's foundation bricks and applied the flooring. Outside, the patio and sidewalk have been constructed.  If you look closely, you can see that the tiles in the patio spell CHEZ.

*   *   *   *   *

Steps 11 thru 20.


Exterior landscaping has been added and the patio has been somewhat furnished.  


Back in the kitchen, the counters and cabinets are in.  The chef is already starting to prepare a hearty turkey dinner.  


Here are some more views of the restaurant kitchen.  Looks busy in there.


Here's how the restaurant looks from behind at this point.  Another two layers of bricks have been laid on the main floor walls.  Both customers and staff are looking forward to the grand opening.


*   *   *   *   *

Steps 21 thru 30.


 More dining room furniture has been delivered and installed, and the back walls are going up.  The staircase is starting to take shape too.  The dining room has a special guest today.


Multi angle views of our main floor progress today.

*   *   *   *   *


Steps 31 thru 40.


The main floor is now substantially built up.  All the windows are in too.  I love the architectural details of the columns on the exterior of the restaurant.


Another shot of the restaurant.


A view into the dining room.  It's got drapes!


I started to install the back windows, then I remembered I have these brown shuttered windows from a Wange Villa set that has long since been dis-assembled.  I figured this would provide more visibility into the kitchen and dining room, than the supplied windows.


Here's the windows that I didn't use on the rear of the restaurant.

*   *   *   *   *

Steps 41 thru 50.


The main floor of the restaurant is about 95% completed.  Front entrance is now covered with the canopy.  It's nice to see that the Chez Albert sign and menu are both printed pieces, not stickers.


Another view of the staircase details.  


More views of the front.


Today, we have a guest chef who is in town visiting Albert.  On a side note, is that supposed to be a pantry or a refrigerator under the staircase?


See how small the building is?  There's lots of room out back.


It's looking a little sparse back here, so I placed a plant and the bike just to add some interest.  You don't get those two items with the set.

*   *   *   *   *

Steps 51 thru 57.


Final touches added to the main floor include the awning and lights over the patio, the hand rail on the staircase and the requisite street lamp.


Here's a final look  of the completed main floor from above.   Well, my camera batteries need to recharge now, so I think I'll wrap up this post.   In a subsequent post, we will build the second floor of the Lepin Parisian restaurant.   Stay tuned!

Update:

Part Two review is here.

Part Three review is here.
Lepin 15004 Not Lego Fire Brigade Set Review - Part One

its-not-lego.blogspot.com, lepin 15004 fire brigade modular

The Lepin 15004 Fire Brigade is a knock-off of the Lego Fire Brigade modular building 10197. This will be my second modular building.  There's supposed to be 2313 pieces in this Lepin set. I didn't get the box that is displayed, just a lot of parts in over 40 plastic bags.  This set is about the same size as the Lepin 15002 Cafe Corner that I built and reviewed recently on http://its-not-lego.blogspot.com.

Day One.


its-not-lego.blogspot.com, lepin 15004 fire brigade modular


There's enough bricks in this set to fill up this old Duplo tub.  The set comes with this multi-page instruction booklet.  As with the Cafe Corner, I will be building the Fire Brigade over the next few days.  I do about 10 steps at a time, and this takes me about 2 or 3 hours.

In the Cafe Corner build, I kept all of the parts in each of their respective bags (I counted 43 different bags).  It made the build a bit challenging when searching for the smaller pieces.  For the building of the Fire Brigade, I emptied the bags with smaller parts into little plastic fruit cocktail cups.

its-not-lego.blogspot.com, lepin 15004 fire brigade modular

I skipped putting together the mini figures and the fire truck.  I will do those last.  The Fire Brigade comes with a base consisting of two 16 x 32 stud pieces.  I found that the big flat unstudded piece between the two yellow strips would not stay down, one end would always pop up.  I'm hoping that this will be resolved by the addition of more bricks onto the baseplates.  

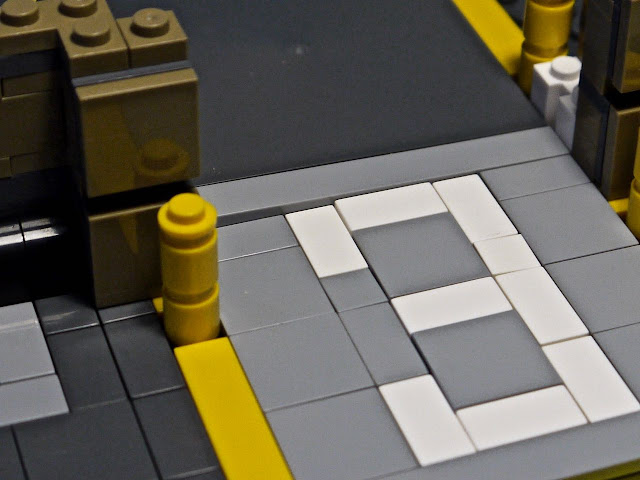
So far, no missing parts after the first 10 steps.  The tiles have been installed onto the baseplates front and rear, and the outline of the fire house has been laid out.  There will be two main areas divided by the parking spot for the fire truck.  The giant white 3 indicates that this was the third set in the original Lego Modular series.

It leaves me wondering if I should have rotated the 2 baseplates by 90 degrees, so that the main middle piece was not on the joint line.  Another thing I might change is the side 4 connector bricks, from beige colour to black to conform with the building colour.   End of day one.

*   *   *   *   *

Day Two.


its-not-lego.blogspot.com, lepin 15004 fire brigade modular

*** http://its-not-lego.blogspot.com ***

its-not-lego.blogspot.com, lepin 15004 fire brigade modular


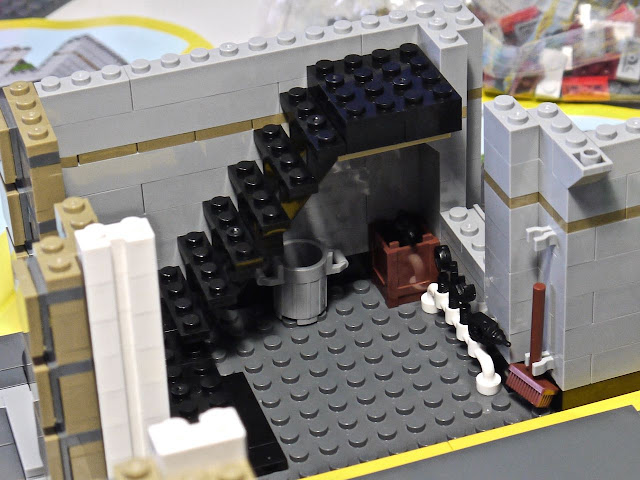
The lower walls are in place and the door and window frames are starting to take shape after step 20. The fire house facade with it's cappucino coloured tiles is starting to come along.  Installed accessories that have been installed include the tool rack with tools, storage box and garbage can.  A broom and shovel flank each side of the rear walls.

its-not-lego.blogspot.com, lepin 15004 fire brigade modular

its-not-lego.blogspot.com, lepin 15004 fire brigade modular

its-not-lego.blogspot.com, lepin 15004 fire brigade modular

its-not-lego.blogspot.com, lepin 15004 fire brigade modular


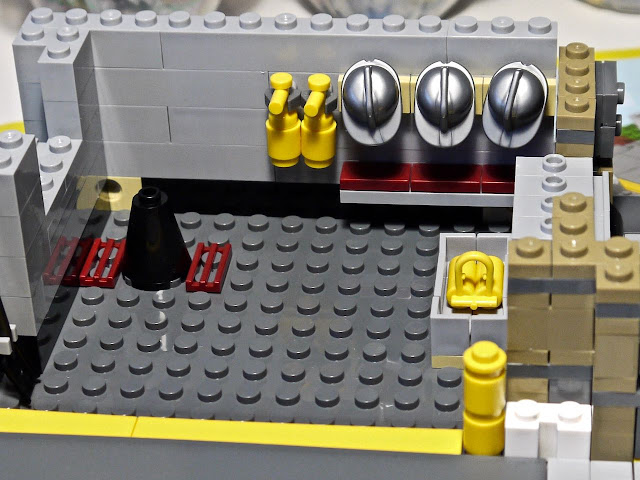
The base for the fireman's pole is done and a box with oxygen tanks is in place.  Last but not least is the changing area containing a bench and a rack of the three silver helmets and two fire extinguishers have been wall mounted.  The warpage from the base plates makes some of the tiles pop out and continues to annoy me, but thankfully no missing parts to report at the end of day two.

*   *   *   *   *


Day Three.


its-not-lego.blogspot.com, lepin 15004 fire brigade modular

The first floor of the fire house is about 80% complete as we finish step 30.  More progress on the front facade has been made.

its-not-lego.blogspot.com, lepin 15004 fire brigade modular

its-not-lego.blogspot.com, lepin 15004 fire brigade modular

its-not-lego.blogspot.com, lepin 15004 fire brigade modular

More updates to the fire house include the rear entry door, and the bricks added to support the yet to be installed front roll-up door.

its-not-lego.blogspot.com, lepin 15004 fire brigade modular

The Lepin stair case consists of two pieces, where I've read that the Lego stair case is one piece.

its-not-lego.blogspot.com, lepin 15004 fire brigade modular

its-not-lego.blogspot.com, lepin 15004 fire brigade modular

Last few pics for day three.   So far so good.  To be continued tomorrow.

*   *   *   *   *

Day Four.

its-not-lego.blogspot.com, lepin 15004 fire brigade modular

Today we finished building up to step 40.   Let's review the progress of the Lepin Fire Brigade so far. Front facade is almost complete, with doors and windows installed.  Light fixtures added.   Garage door panels have been joined together and inserted into the support rails (more on this later).

its-not-lego.blogspot.com, lepin 15004 fire brigade modular

Inside view of front windows.

its-not-lego.blogspot.com, lepin 15004 fire brigade modular

Back view.  The taller back window openings have yet to receive their windows.

its-not-lego.blogspot.com, lepin 15004 fire brigade modular


its-not-lego.blogspot.com, lepin 15004 fire brigade modular


its-not-lego.blogspot.com, lepin 15004 fire brigade modular

That pesky centre plate just won't stay down.

*** http://its-not-lego.blogspot.com ***


its-not-lego.blogspot.com, lepin 15004 fire brigade modular

Ok, so there's this major flaw in the Fire Brigade set.  It's not the roll-up doors, but the overhead tracks that support them (the long white piece shown above).  The groove or channel in the brick is just too narrow to allow the pegs of the garage door panels to move freely.  In fact, they can't even move at all.

I tried to test fit the roll-up door panels into the groove, but they just wouldn't go in.  I didn't try to force it too much just in case I broke the pegs off.   Initially, I wasn't sure if the problem was the track itself or the door panel pegs.  If it was the pegs I was planning to simply sand each of them down.

I needed to confirm what the problem was. So, what to do?

I am lucky enough to have in my brick collection, the Kazi 8052 Fire Station.  In fact, I have two of them (I bought them for quite cheap if I remember correctly).

its-not-lego.blogspot.com, lepin 15004 fire brigade modular

The roll-up garage doors on the Kazi fire station work quite well, so I decided to dis-assemble the garage door rails and see if they work with the Fire Brigade doors.  As it turned out, they were dark grey instead of white, but they worked perfectly with the Lepin door panels.   I then tried to use the Kazi door panels with the Lepin rails, but these would't go in either.  So definitely the problem was with the two overhead track pieces.

its-not-lego.blogspot.com, lepin 15004 fire brigade modular

Here's a look at the roll-up garage door system with the two Kazi bricks in place.   It's just a bit tight going around the corner, but not too bad, I can move the doors up and down.

its-not-lego.blogspot.com, lepin 15004 fire brigade modular

Well, that was the excitement for today's build.  The two offending pieces have been placed on the curb to be picked up as rubbish.   I'm not sure if the problem I encountered was an anomaly or not, but for my solution it was to substitute the two overhead track pieces.   I'm certainly curious to know if this is a common problem with all of the Lepin Fire Brigade sets.

its-not-lego.blogspot.com, lepin 15004 fire brigade modular


Good news is that there are still no missing parts after step 40, day four.

*   *   *   *   *

Part 2 of the Lepin 15004 Fire Brigade continued here.