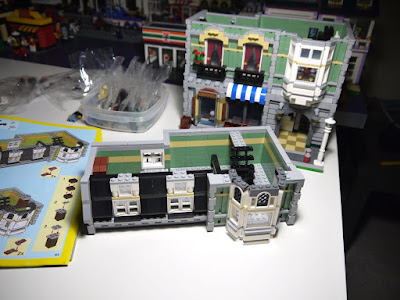
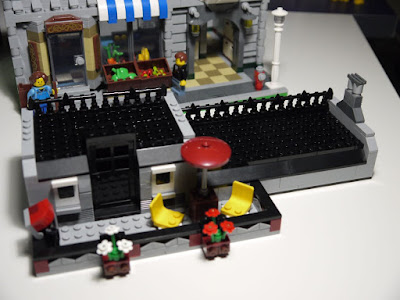
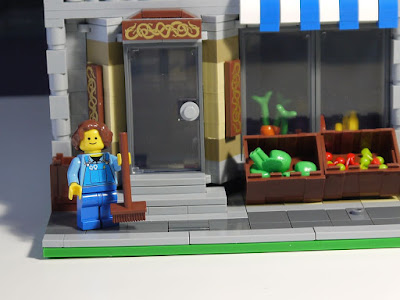
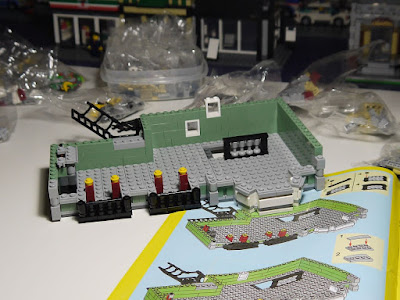
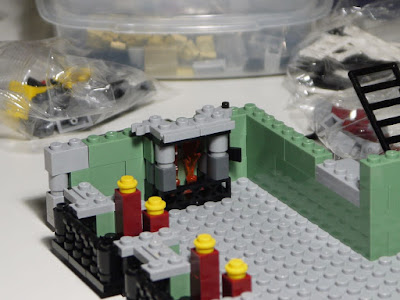
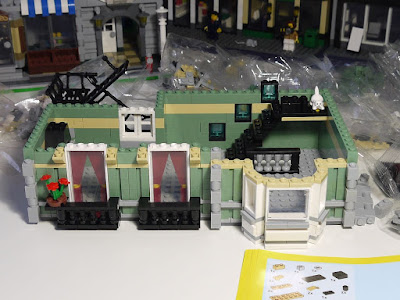
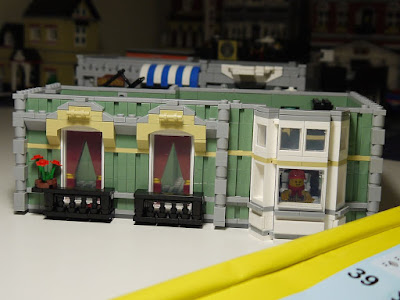
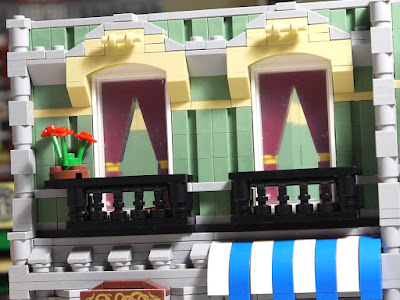
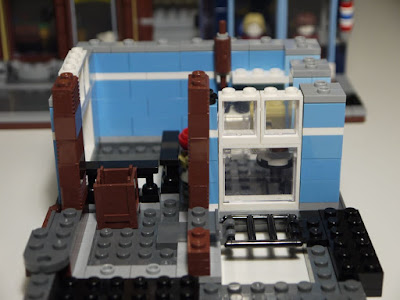
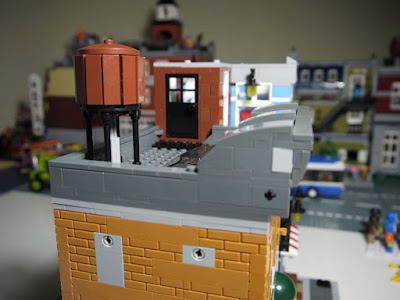
Hello, if you've just joined us, this post is about building the third floor of the Lego knockoff Lepin 15008 Green Grocer modular building. I take pictures of the sets as I build them, so you can see what the Lepin build and brick quality is like. In the above picture, I have just finished the third floor base.
*** http://its-not-lego.blogspot.com ***
The Green Grocer third floor walls and windows are now in place. I like the neat hot water radiator design under the rear window. I also put in the railings for the staircase.
This is the rear view and you can see there's the makings of the fire escape exit.
Just pointing out the nice pendulum clock. That and the rug is all the furnishings you get on the third floor. Pretty sparse layout.
I put the staircase in and the upper window elements. The front facade is starting to match the design scheme of the second floor now.
Here's the completed front with bay window.
A final look at the third floor interior.
I've attached the sloping roof tiles now.
This is how the structures look from the inside.
And with that, I have positioned the third floor onto the rest of the Green Grocer building.
Just some views. Front corner elevation.
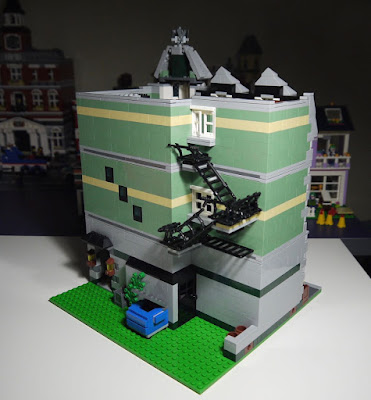
Rear corner elevation.
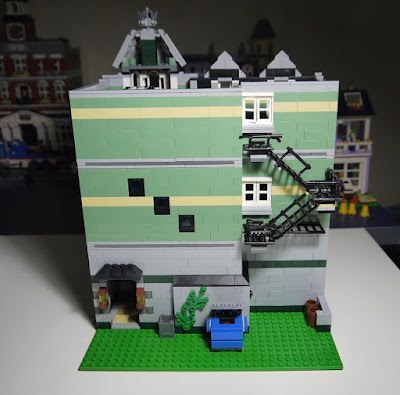
This is the back of the Green Grocer building. As I mentioned in my previous post, the black windows are my own substitution, and the garbage bin is an addition from the Lepin Parisian Restaurant set.
This picture gives you a good look at the fire escape and how it all fits together between the second and third floors.
*** http://its-not-lego.blogspot.com ***
The Rooftop
This is the formation of the Green Grocer rooftop.
Another view of it.
Here's how the rooftop looks as per the original design. It has doorway into the third floor staircase and it opens up onto a small terrace. Take a good look at this picture now, because then you will see what is to come later.
This is the front of the roof top.
The completed rooftop with all the embellishments including railings and chimney stack.
Here is the rooftop with the furnished terrace. There's what appears to be a BBQ with open lid, and a small seating area with chairs and umbrella. The terrace is adorned with flowers boxes also. At this point, the rooftop is still the original design, but if you know me, I never leave things alone.
Do you notice anything different between this picture and the previous one? I mean besides the presence of the minifigure.
Not sure? Ok, how about this side view, maybe now you will notice the change. It's all very subtle but it was a challenge to do.
Ok, if you still don't know, I raised the height of the roofline by several bricks and added a canopy over the door opening.
What I like about the taller roofline is that it gives a better visual appearance, especially the proper sense of scale when a minifigure is present.
The bay window turret required that I turn the rear angle plates around to accommodate the new slope of the rooftop.
The Lepin Green Grocer with rooftop modification is all done.
Just one more picture before we go.
Finally, here's the Lepin Green Grocer in it's new home next to the Lepin Town Hall.
That's it, bye and thanks for looking!
Oh wait, in case you were wondering whatever happened with my Aliexpress dispute regarding the missing baseplate and other bricks I talked about in my first Green Grocer post, Aliexpress ruled in my favour and I got a refund of 50% back. Woohoo!
*** http://its-not-lego.blogspot.com ***
