Hi There! It's time to do another review of a bootleg brick set. Today we are going to look at the Lepin Cargo Port building set 02034 which is a copy of the Lego City Harbour set 7994. The Lego set came out in 2007 and this Lepin version was released in 2017, ten years later.
Because the hull is so large, the package arrived looking like this.
Which kind of looks like that freaky asteroid that has found it's way into our solar system.
This is my third set that I bought from Jeremy on Reddit. I paid about $35 USD for it, I think. He said he was having a bit of trouble trying to ship it, now I know why. This set was really hard to wrap because of the ship hull.
Here's the entire set unwrapped from it's cocoon. The Lepin Cargo port set is supposed to have 695 pieces.
Quick look at the instruction manual booklet front cover.
And here's the back cover of the manual. Lepin changed the Lego City to Cities on the brochure, but you'll notice that the image of the cargo ship is lifted directly from the Lego manual because it says City Line on it. It's evident on both front and back of the manual.
They did however change the City Lines to Cities Lines on the sticker sheet, shown above. Cities Lines just sounds wrong.
What drew me to this set was of course the giant ship hull. As you can see it's almost as long as all my little modular sets put together. I found the plastic of the hull to be kind of a dull matte finish and quite scuffed. Also the plastic seems kind of thin, but I'm not sure if the Lego version of the hull is thicker or not.
So, the ship hull I got had a huge gash in the bottom which is a bummer. I was planning to try to float the ship when I had completed the set, but don't think thats going to happen now.
Here you can see the full size of the gash in the hull. I wanted to lift the grey insert from the hull to patch it from inside but I think it's glued on. I'll probably resort to covering the gash with tape to prevent it from getting any bigger.
Anyways, I looked through the other parts in the set, and the rest of it seemed to to survive the trip from china.
While inspecting the parts bags, I noticed that they printed a number of most of the bags to correspond to the section in the manual. This parts bag is for step 4.
While this bag is for step 1.
I'm sure the Lepin instructions are a direct copy of Lego. Above you can see bags with a 1 on them are used to construct the container truck, bag 2 parts are used for the container ship, bag 3 parts for the shipping containers, bag 4 parts for the cargo dock and finally bag 5 parts for the port crane.
Time to start building! There's a lot going on in this set, so this post will be dedicated to the cargo ship and containers. In a following post, I'll look at the container truck, the cargo port and crane.
You get five mini figures with this set. The first three are the ship's captain, the engineer and a deck hand.
Here's all the bits and bobs being added to the deck and container hold of the ship.
Lepin gives you this really really long string to attach the anchor. I cut it in half to use for the crane and fishing rod later.
If you don't cut it, you'll get this giant mess. I wish they designed a crank to roll up the line for the anchor.
Anchors away!
There's a small storage area at the bow of the ship where the crew found a stow-away!
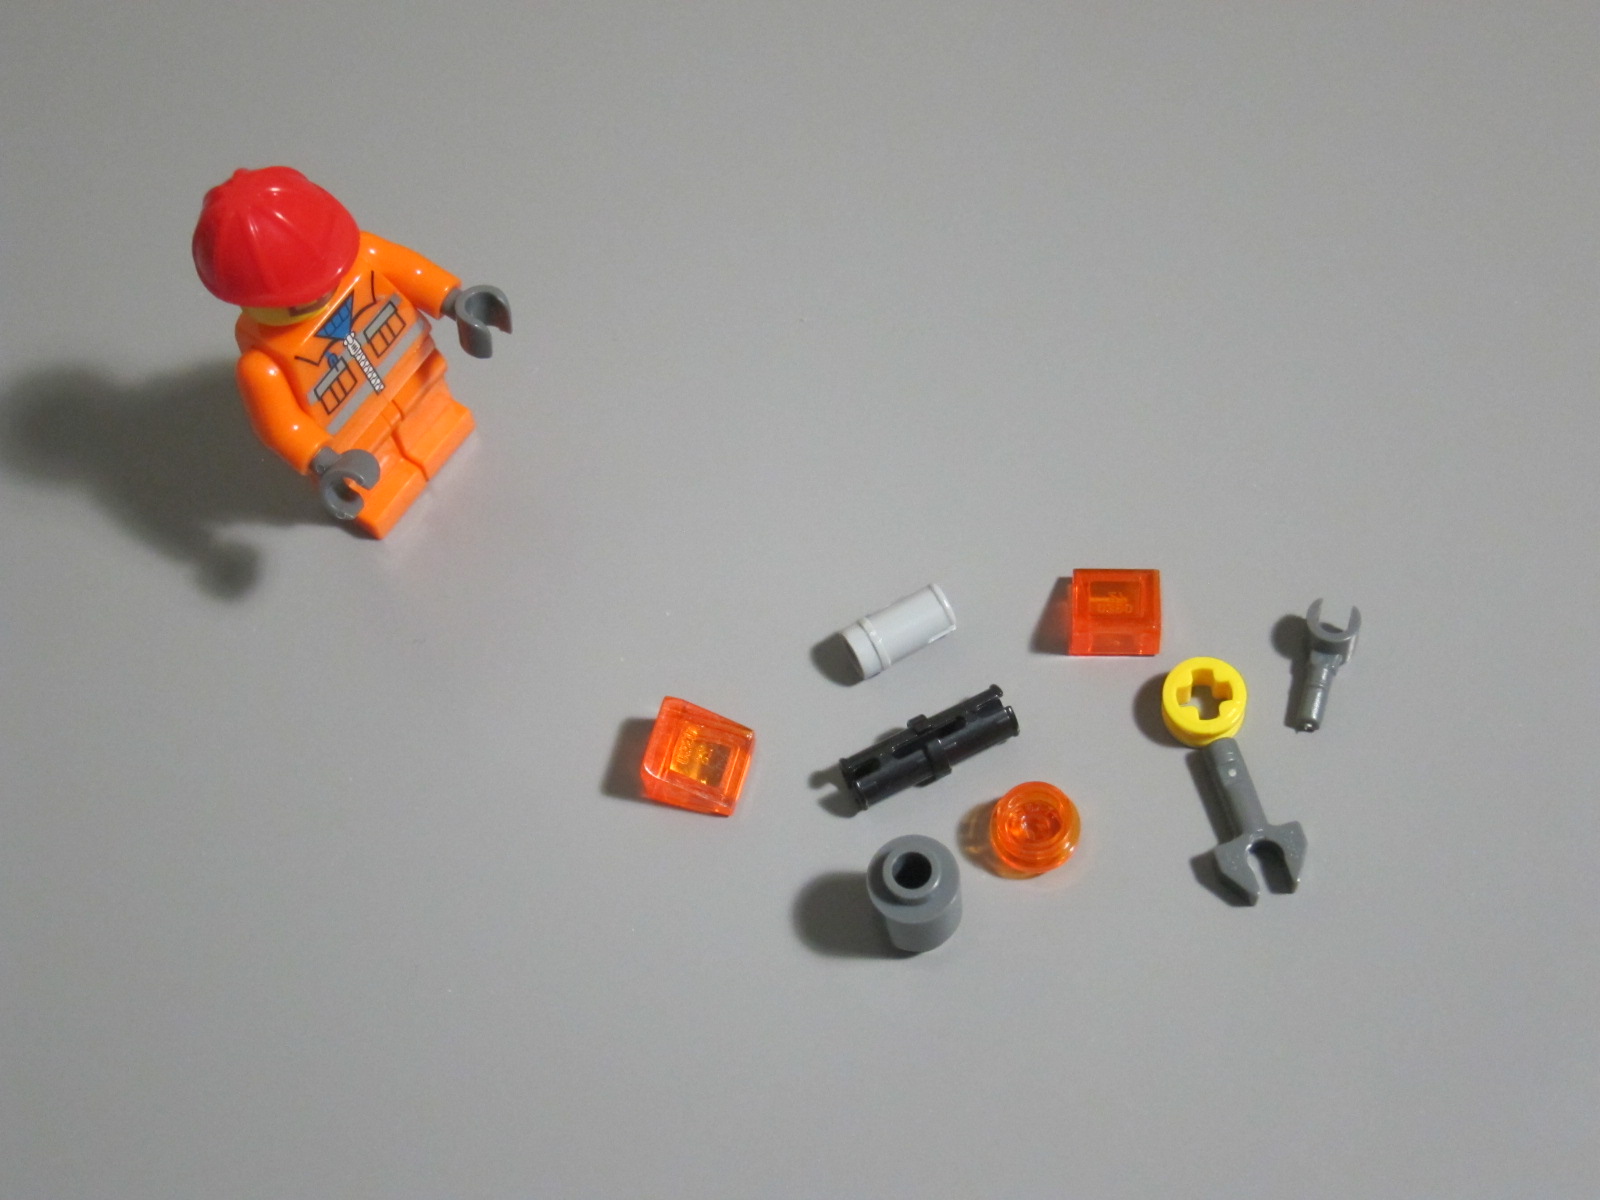
Ok, since there's no brig, we'll throw him into the engine room at the ship's aft. Maybe he can work on the engines while he's down there with the tools provided.
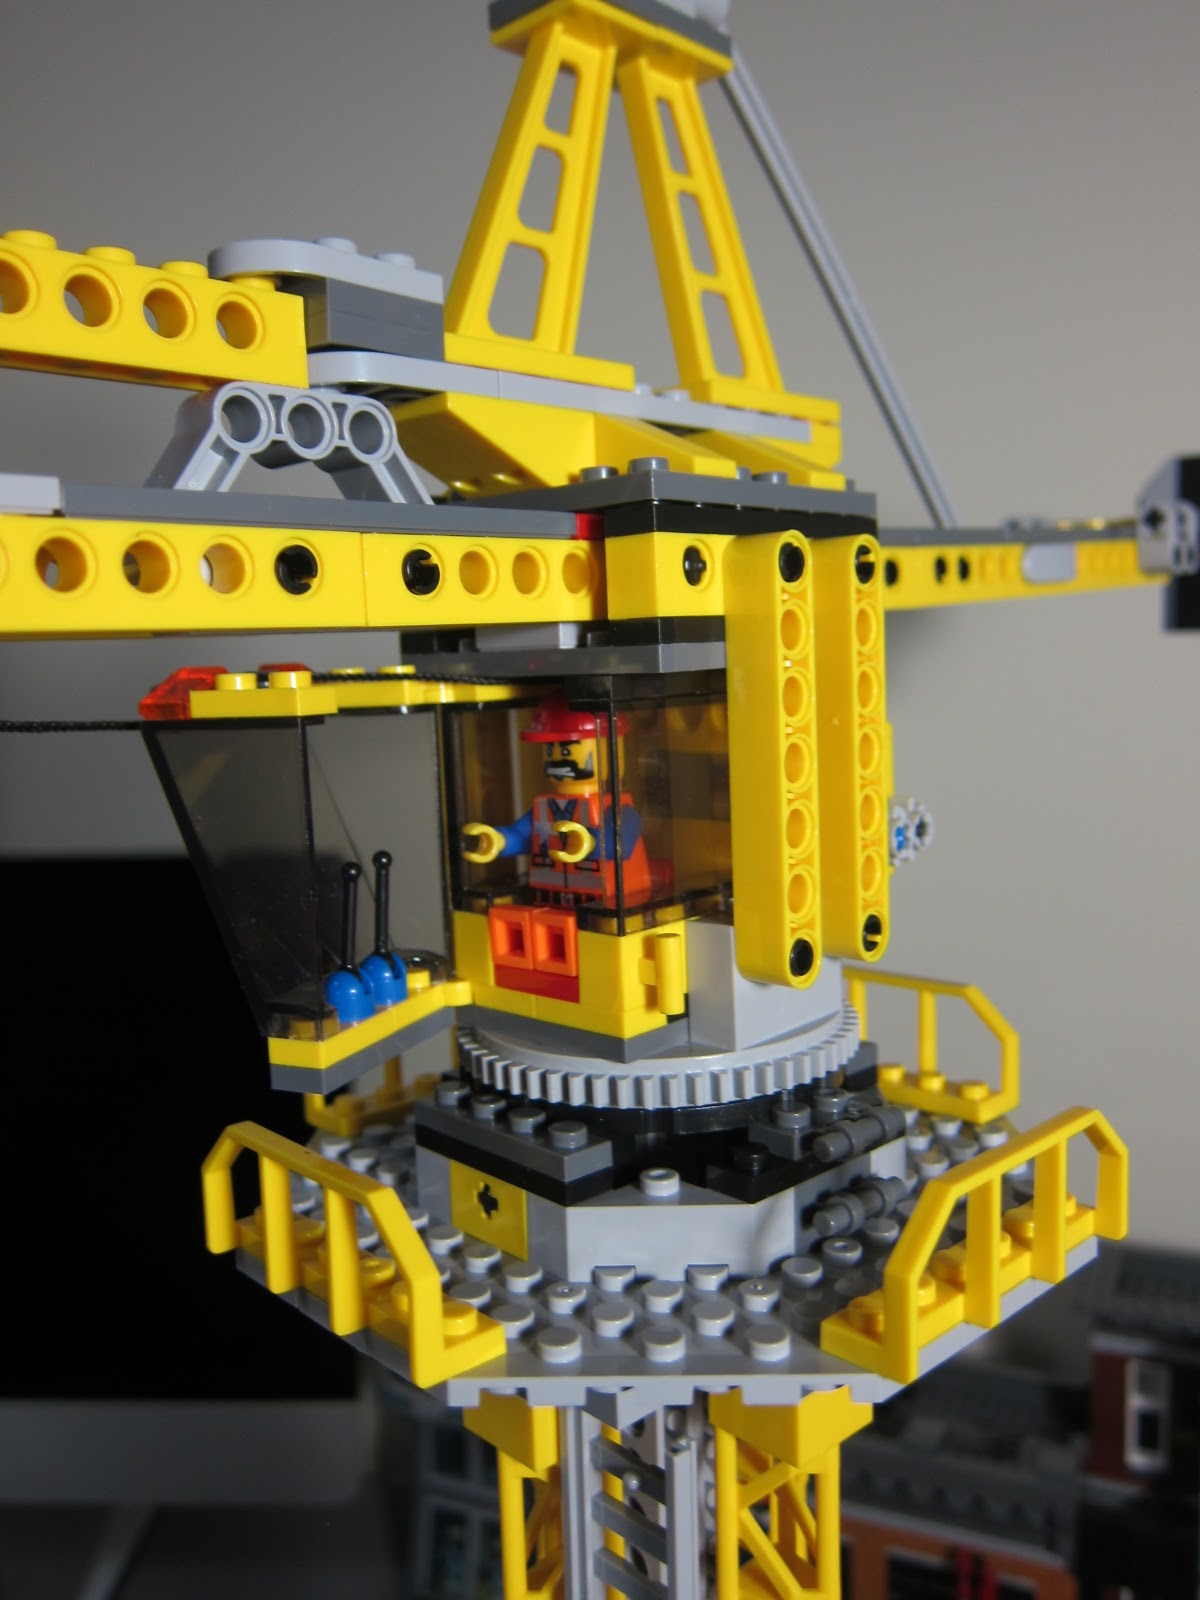
On top of the engine compartment is the control cabin.
There's just enough room for the captain and maybe one other crew member on the bridge. I find the headroom is quite lacking, something I'll probably fix later.
I should point out that all the transparent pieces on this set are individually wrapped to protect their finish. Here's the windows for the cargo ship bridge, perfectly clear, no smudges or scratches. Looks like Lepin actually listens to it's customers. Shame it took so long though.
Just another look at the bridge and the controls before we put the roof on.
Here's the assembled roof with navigation and communication apparatus.
The cargo ship bridge with roof attached. As you can see there's no doors to the control section. Hope to fix that too one day.
And here's the rear of the cargo ship. I'm definitely going to revamp this area to make it bigger.
Oh before I forget, here's some of the storage containers that go into the cargo ship.
Whatever these are supposed to be, I put them on a smaller pallet to make room for other storage containers.
Finally, this container holds a tiny speedboat.
Here's the completed cargo ship with a few extra containers.
In part two of this blog post, I'll review the container truck, the port and crane and the remainder of the minifigures. As always, thanks for visiting Its Not Lego and See you next time!