Thursday, March 30, 2023

The JMBricklayer 21102 Coffee Shop Set Review, It's Lego compatible


 It's review time at It's Not Lego and today, we will take a closer look at the JMBricklayer 21102 Coffee shop!

Update:  I modified the Coffee shop to fit my modular city!  Check out my mods here:  https://bricksandfigs.blogspot.com/2023/04/i-completely-rebuilt-jmbricklayer.html


Where to Get it


Today's set was generously provided to me by JMBricklayer.com for the purpose of the review.  

Get it from their web store, on sale right now.


Or from the JMBricklayer Amazon store (discount coupon).

For other non sale items, use my code ITSNOTLEGO15% to save 15% in the JMBricklayer web store.

Coffee Shop Details

  • Brand: JMBricklayer
  • Set: Coffee Shop 21102
  • Theme: City Architecture
  • Piece count: 1512 pieces
  • Numbered bags? Yes
  • Stickers or printed parts? Both
  • Missing or deformed pieces: Yes
  • Extra parts: Yes
  • Minifigures: No
  • Lighting kit: included
  • Brick Quality and Clutch: Great
  • Measurements (approx): 8"W x 6" D x 7.5" H
  • Age Rating: 14+

Unboxing


Here's a look at what we get in the box.  Various bags of parts, an instruction manual and a small sticker sheet.  Not sure why they spelled Coffee as Coffe, both on the manual and on the printed parts.

Here's my inventory of parts bags corresponding to the steps in the manual:
step 1: 10 bags
step 2:  9 bags
step 3:  8 bags
plus one LED light strand and battery pack.

Step 1 Highlights

Assembling the base of the coffee shop.

Ooh, we got some printed parts including some milk containers, some coffee cups with logos on them, a cookie, a payment terminal and a couple of records.

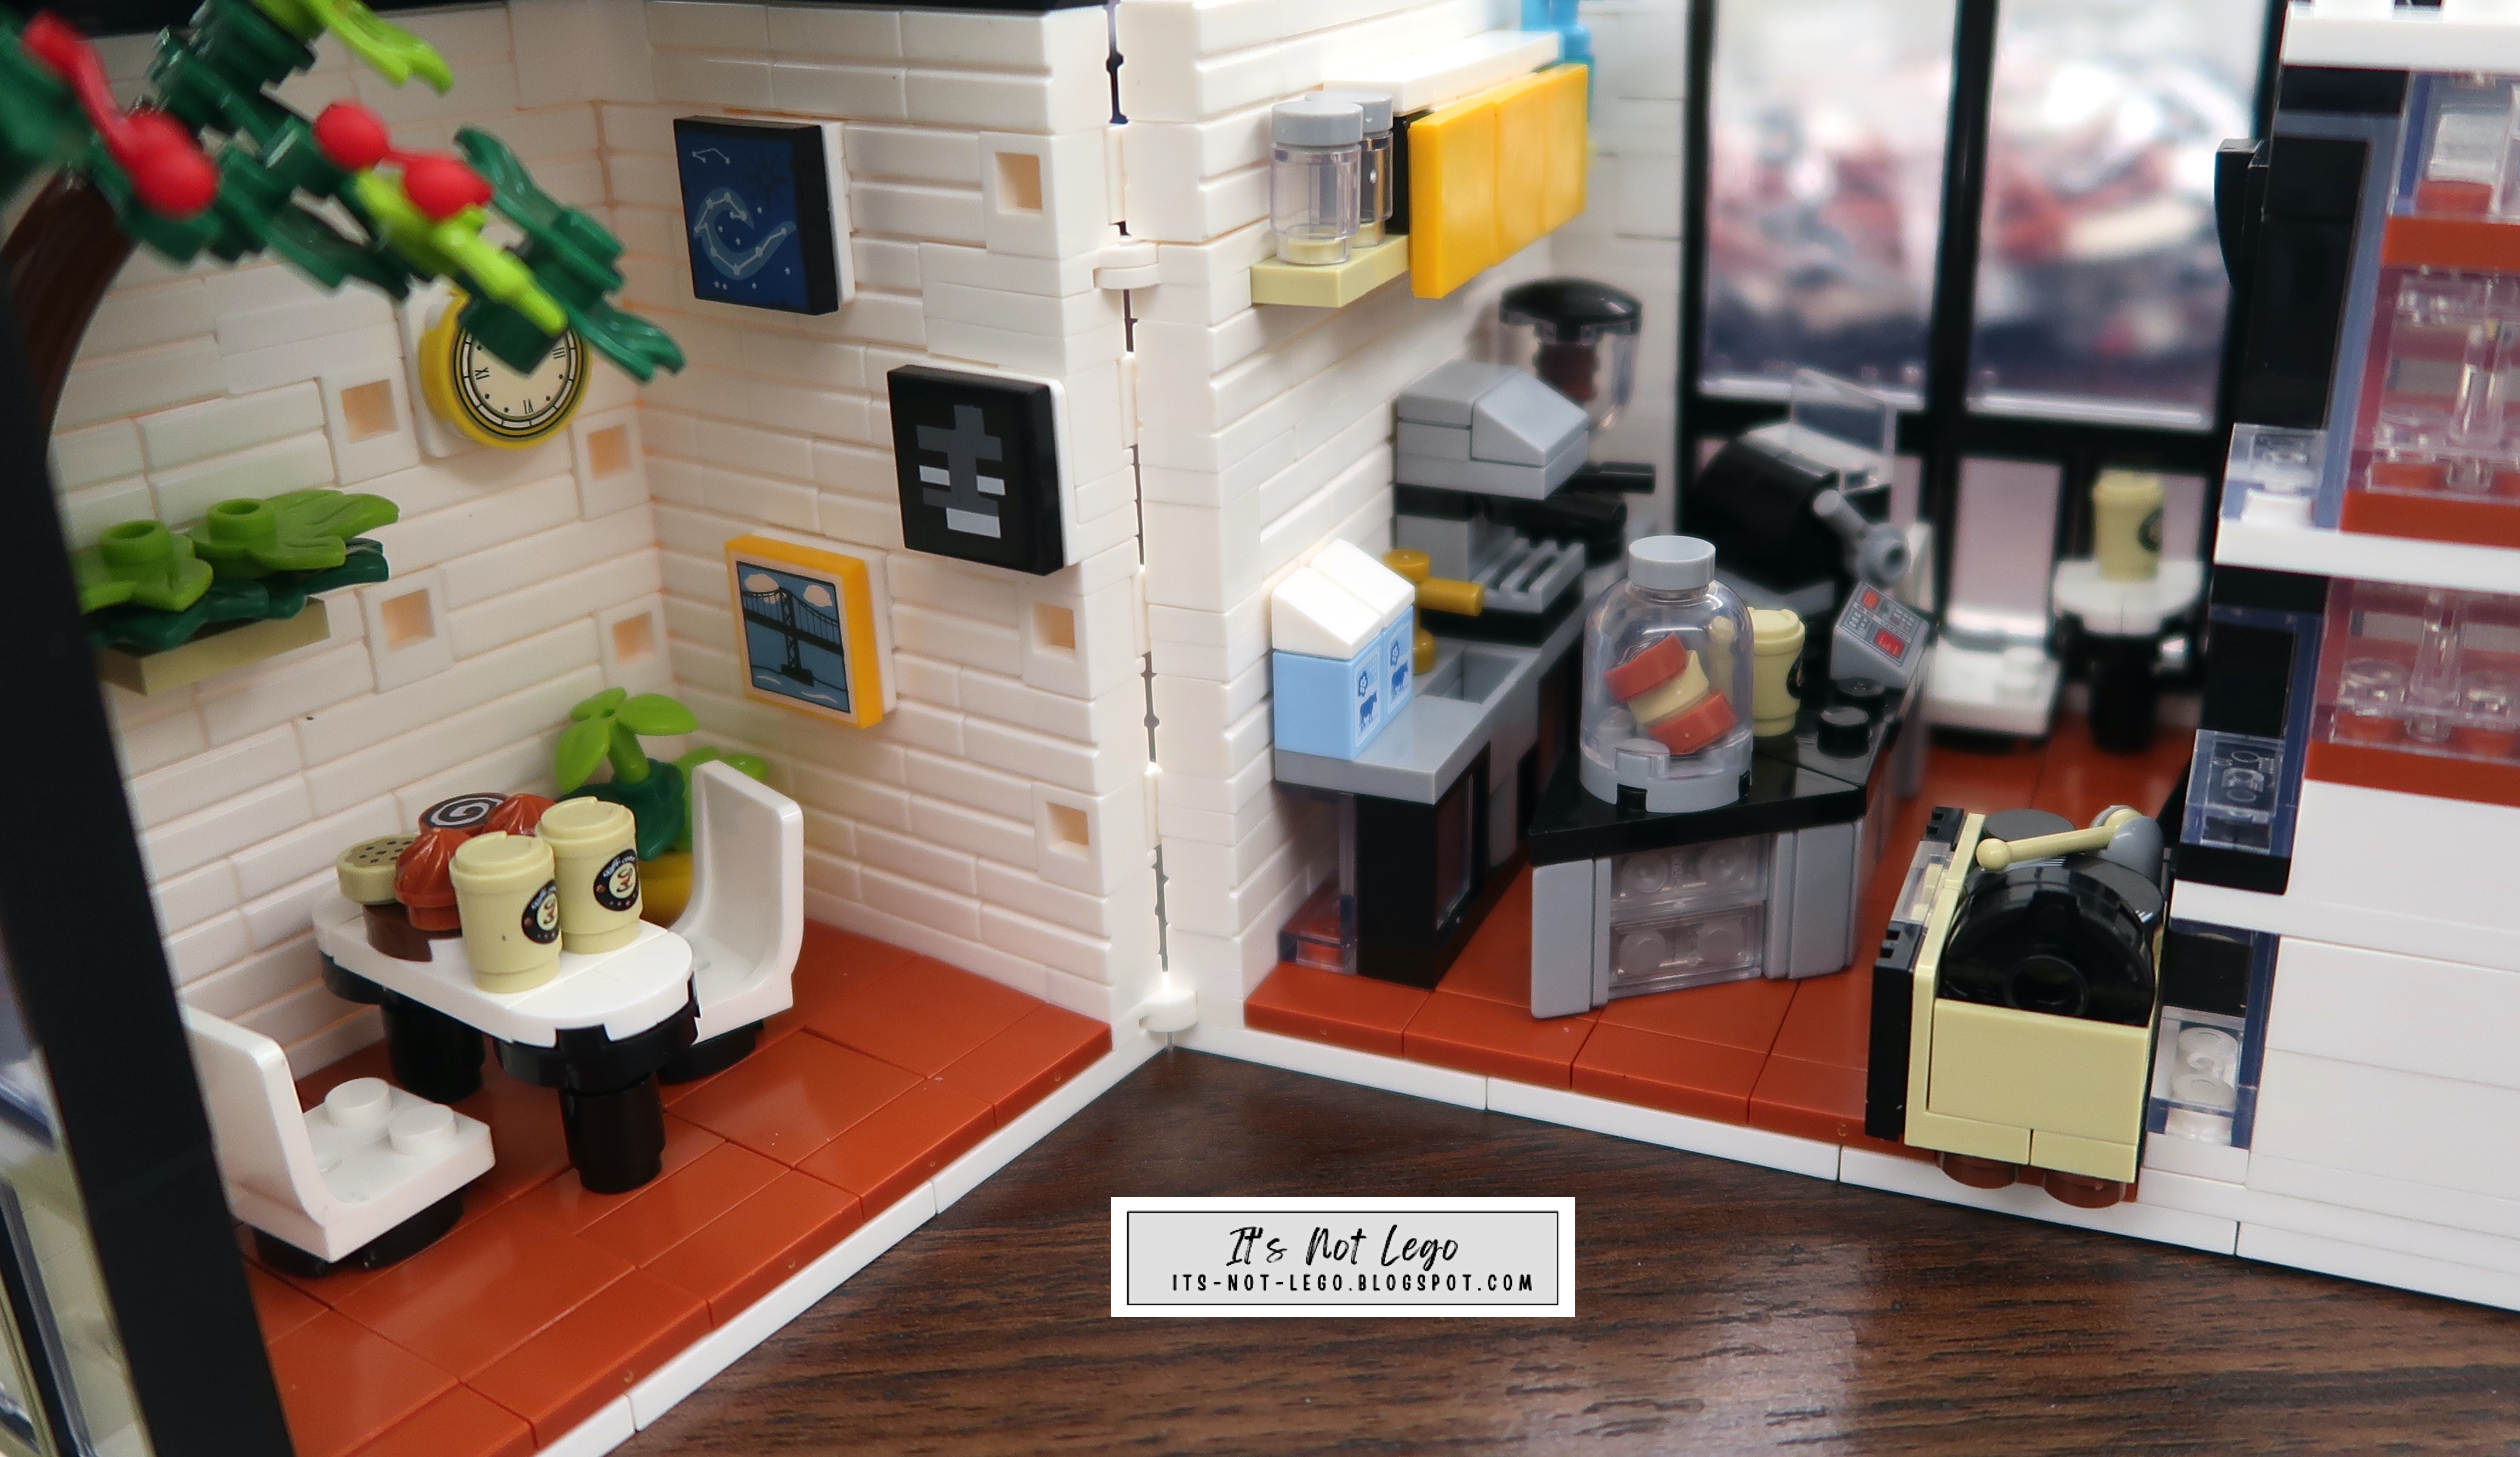
Here's the coffee counter setup with room for a barista minifigure which is sadly not included.  Love the cookie jar, the coffee maker, and the coffee grinder.

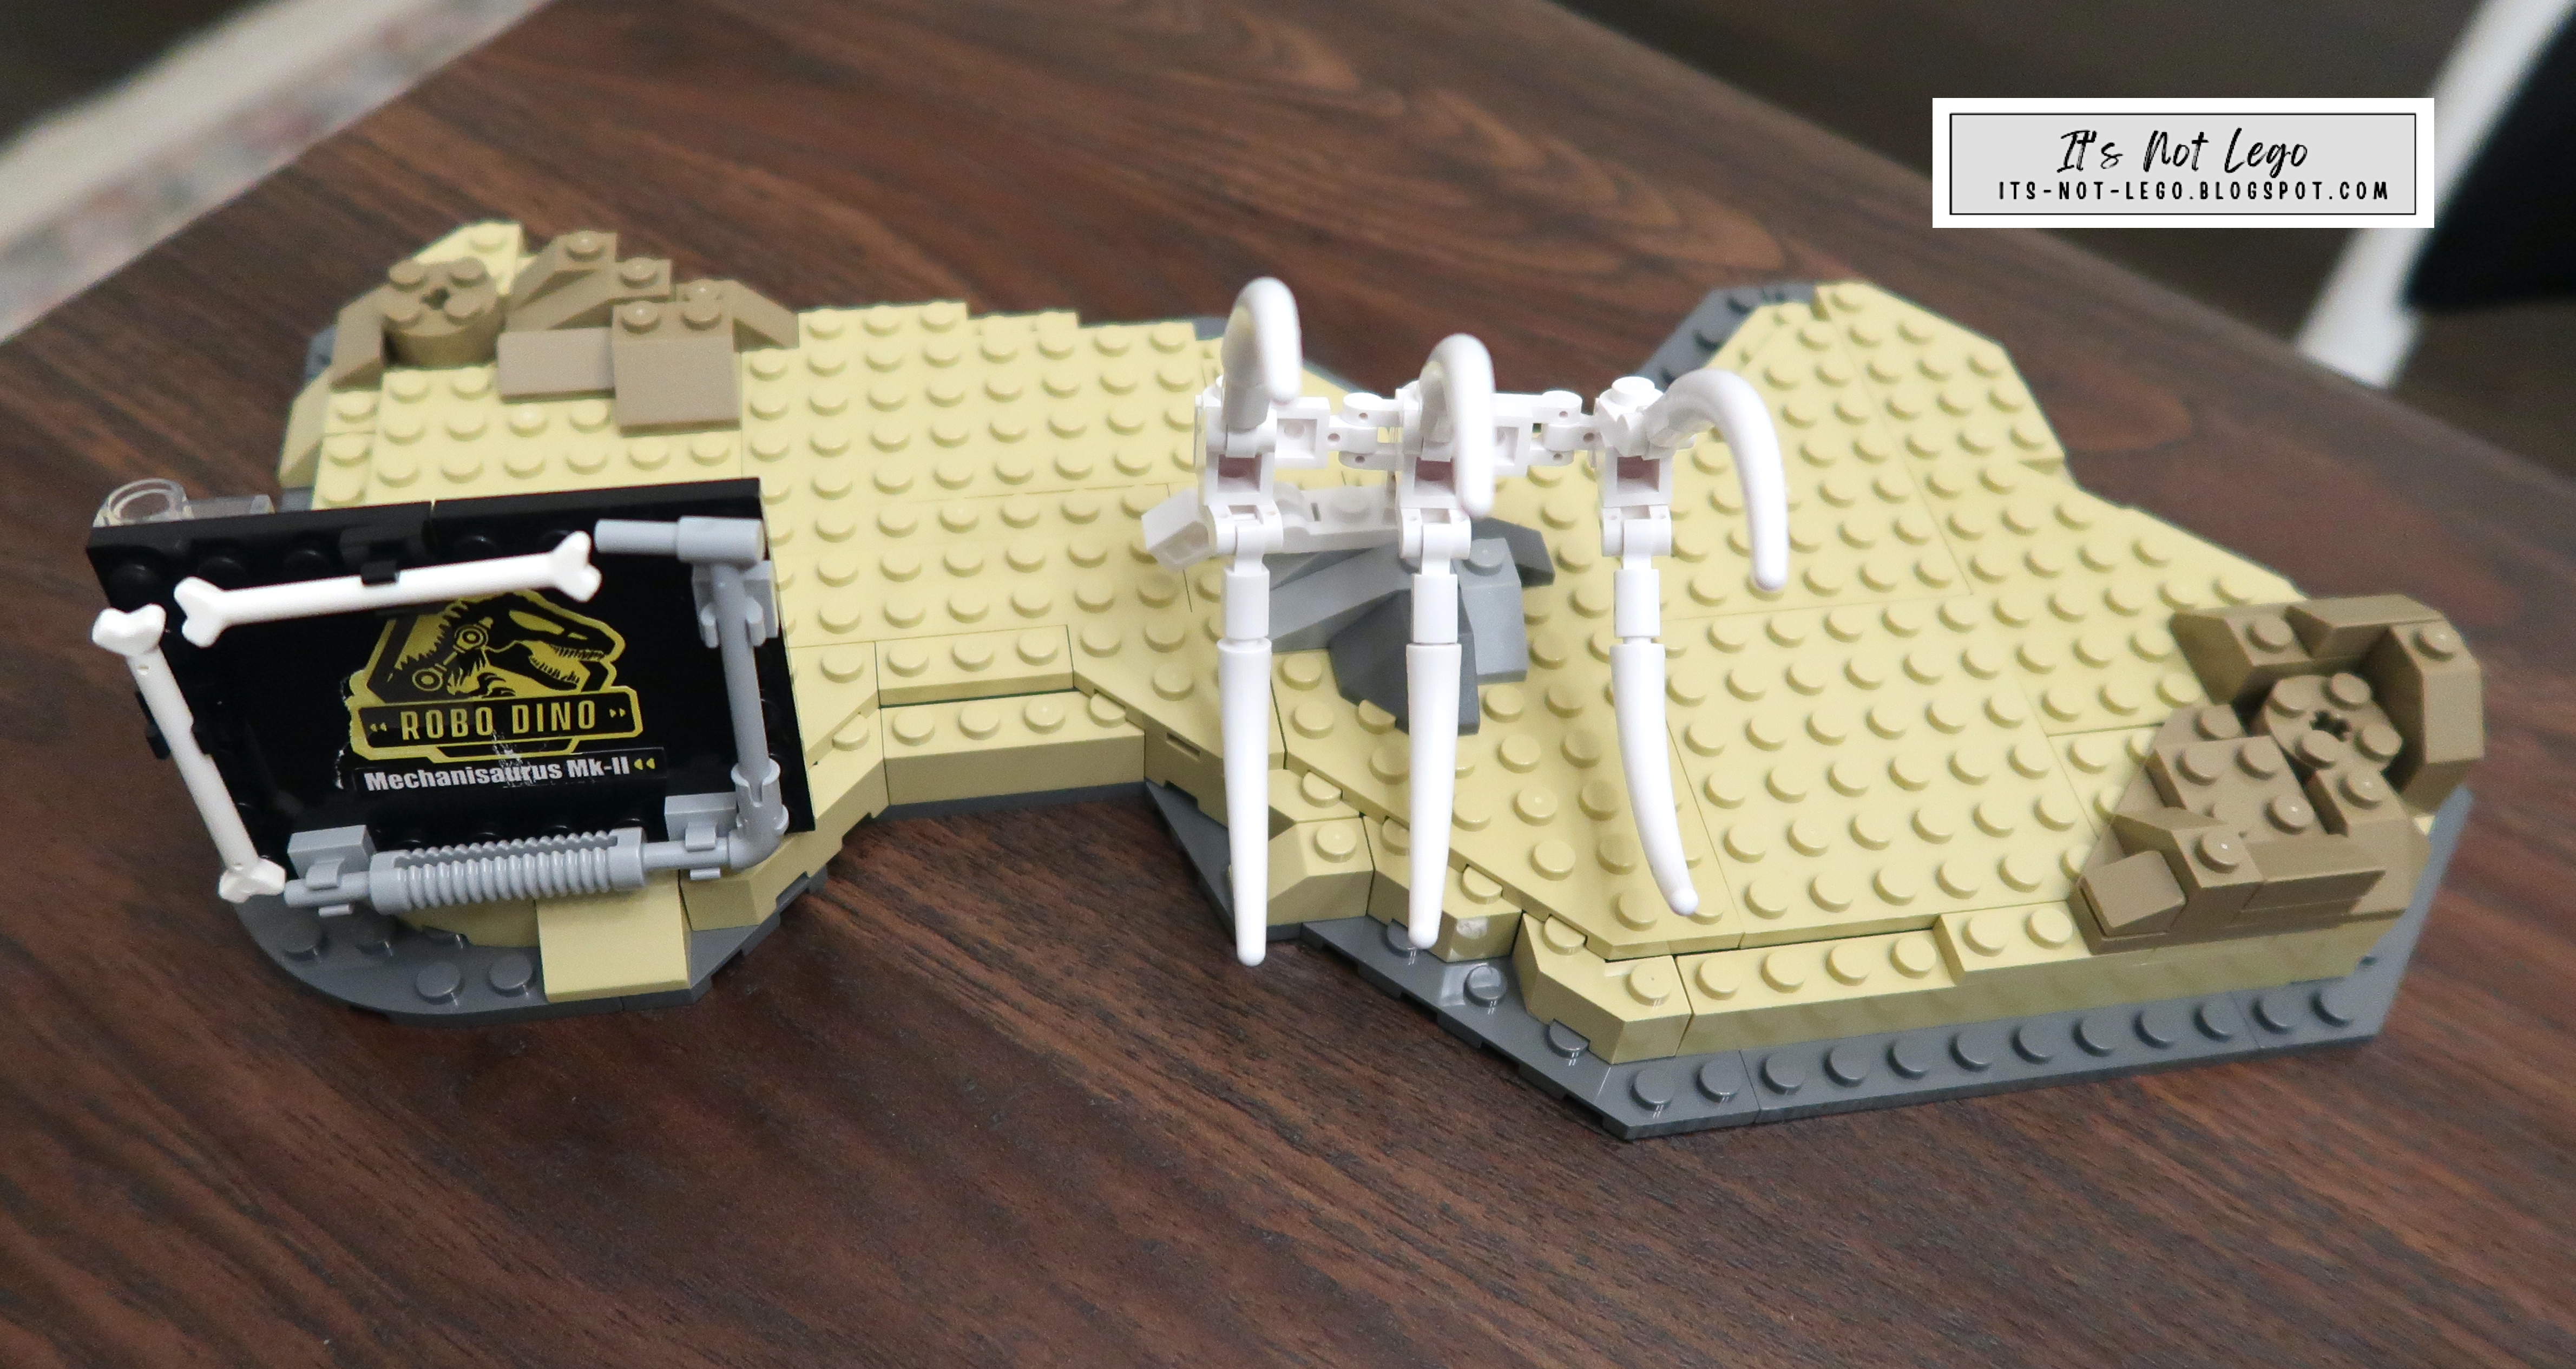
Step 1 finished.  The scale of the front door doesn't match the scale of the interior, it's way too big.  It's something I'll want to fix at a later date.  The owner of the coffee shop must love the sound of old school vinyl records.

Step 2 Highlights


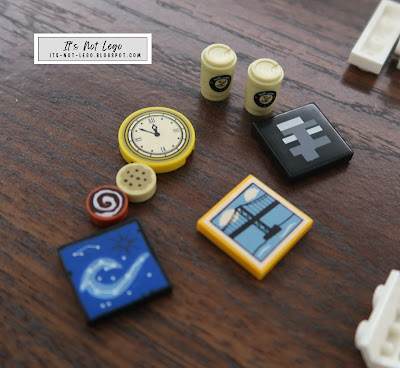
More printed parts! Some more cups and cookies as well as some wall art and a clock.

Interesting concept of having a giant tree inside your coffee shop.  

Now we see that all those printed pieces are placed into the adjacent seating area.  The hinged wall makes it so much easier to take pictures of the inside.


Step 3 Highlights


Misprinted signs.  Would have preferred if it said Coffee Shop instead.

Main building is complete.

Roof 1 covers the counter area and gets a nice skylight.

Roof 2 covers the tree and seating area but didn't come with any glass panes.  I wonder if this was a case of missing parts or was it designed not to have any glass in the roof.

Exterior accessories include a lamp post and a shelving unit full of plants.

The completed Coffee Shop!

The side less frequented.

Overhead view.

Bonus Pictures


The JMBricklayer Coffee shop doesn't come with any minifigures, so I added a few of my own.   Here's Betty the barista.  And there's that one sticker which is the menu board.

Shift change at the coffee counter.  Ted has come in for the night shift.

Betty takes a break before heading home, after a long day at the shop.

Now that Betty has left, Ted can play his favourite Barry Manilow songs on the record player.

Er, not everyone is a fan of Barry Manilow, sorry Ted.

Can't forget that the Coffee shop comes with an LED light string.  There's no right or wrong way to place the light strand, so I just weave it around randomly inside.

Summary


The JMBricklayer 21102 Coffee Shop set was a lot of fun to build and makes a nice addition to your building block collection, especially if you like these little shops that open up to display the detailed interior.

The bricks used were excellent quality and had great clutch as evidenced by my pictures. I really liked all the nice details behind the coffee counter and the record player was a cool bonus.  The plant stand outside was nice to have but probably wasn't really necessary.

The large tree in the sitting area provided a nice canopy for the coffee shop patrons. This set came with a lot of printed parts like coffee cups, wall art, and signage, however the menu board behind the coffee counter was a sticker.

Play value is good because you can open up the shop to display and place your own minifigures with ease. And because the bricks are Lego compatible, you can display it with all of of your other Lego and alternative brick sets.  The included LED light string is something you definitely don't get in any Lego set.

The set is not perfect though.  The entrance door is way too large for the shop despite the interior being minifigure scale.  The rooftop over the sitting area didn't come with any glass panes, so you wouldn't want to be sitting there during a rainstorm.

Let's not forget the glaring spelling mistake for Coffee on the signage either.  

Rating


Going over all the pluses and minuses, I'll give this set a rating of 4.3.  I would have rated it higher if the spelling on the sign was correct, the roof glass included, a standard sized door was used and maybe one or two minifigures included with the set.

Thanks again JMBricklayer.com for the set.  Please visit their website or their Amazon store if you get a chance. Bye for now!

Wednesday, March 15, 2023

The Lego Compatible JMBricklayer 70107 Mechanical Dinosaur Set Review


Are you tired of building building block sets that are so easy, you can do them with your eyes closed?  Well, this 1470 piece Mechanical Dinosaur set from JMBricklayer is just the right set to give you a good challenge!

Hey brick fans and welcome back to Its-Not-Lego!  Today, I'll be reviewing the JMBricklayer branded Mechanical Dinosaur set, set number is 70107.  

The appearance of the mechanical dinosaur is inspired by the prehistoric creatures of the Jurassic periods, with sharp claws, a long tail, and fearsome teeth on one side. However, on the other side, the robot parts give it a futuristic and technological twist, with gray metallic greebling and mechanical joints that allow it to move in a variety of ways.

This building block set review is brought to you by JMBricklayer.com!   Here's the link to the set on the JMBricklayer website.

You can also find this set and many more on the JMBricklayer Amazon store.


Details

  • Brand: JMBricklayer
  • Set: 70107 Mechanical Dinosaur
  • Theme: Science Fiction
  • Piece count: 1470+
  • Numbered bags? Yes
  • Stickers or printed parts? Both
  • Missing or deformed pieces: No
  • Extra parts: Yes
  • Minifigures: No
  • Lighting kit: No
  • Brick Quality and Clutch: Very Good
  • Measurements (approx): 9.5 inches high and 22 inches long
  • Age Rating: 14+


Unboxing


My JMBricklayer branded Mechanical Dinosaur set came in a sturdy box displaying the scary looking dinosaur with details about the set name, number, piece count and age rating.

Inside the box, you get six large ziplock bags numbered 1 thru 6, an instruction booklet, and a brick separator.

I found the small sticker for the sign but half of it has scotch tape stuck to it.  

The six large bags contain more bags of parts in each, all pertaining the the steps detailed in the instruction manual which we will look at now.

The instruction booklet is quite thick with 115 pages inside.

Steps one and two.  The display and one set of appendages are built.

Steps three and four. The mechanical appendages and body is constructed.

Steps five and six.  Finish building the body, the tail and the head and neck.  So, it looks like we will be making all these sub-assemblies first and then put them all together in the end.

Ok, on to the builds!


1. The Display Stand


Here are the 3 bags of parts that will be used to construct the base for the display.

On the base, there is a sign for the display and some dinosaur bones.  The mechanical dinosaur will be attached to the base via three mount points which we will review later.  


2. First Set of Appendages


There are 5 bags of parts in this section, with mostly red brown and dark brown pieces.

The non mechanical arm and leg.

3. Mecha Appendages


Four bags of parts with predominantly light gray and dark gray pieces.

Found some nicely chromed parts and printed pieces too.  We now have the corresponding appendages in mecha robot form.

4. Dinosaur Body


There are 5 bags of brick parts used to build the body with the pieces as shown above.

This section is where it starts to get very challenging. You are basically building in all different orientations, top, bottom and sides and you are being tested spatially at every turn.  There is a ton of SNOT (studs not on top) building technique so you must be very mindful that you have the correct part and also the placement of it. 

Some of the instructions at this point, are kind of ambiguous, because they don't show you every angle, so in some cases I had to guess, but luckily I didn't have to backtrack too many times during the build.  Keep that brick separator handy because you will need it.

5. Body and Tail


To complete the dinosaur body and tail, there are 4 bags of parts.

Here is the completed body assembly, showing the dino side and the mecha side.

The tail assembly with dino on one side and mecha on the other.


6. Dinosaur Head and Neck


Here are the final six bags of parts, used to construct the dinosaur head and it's neck.

Dino head, left side and right side.  The jaw may be opened and closed slightly and the tongue also has some limited movement.

7. Assembling the Mechanical Dinosaur


As per the instructions, I first attached the head to the neck via the ball socket connection. Then the head is attached to the body via two large pins.  The arms are attached to the body via two pegs that go into corresponding headlight bricks on either side of the torso.

The arms and claws can be moved up and down but there is not a wide range of motion.


Trying to attach the hind legs on either side of the body was quite difficult.  The three pegs all wanted to go in different directions when trying to mount the leg piece, making it somewhat problematic when trying to line them up.  Inevitably, bits and pieces would fall off the body and legs as I tried to plug the pins into the holes.


This is one step where lots of patience is necessary, and I would think this part of the build process would be quite challenging for the younger builders.  I was finally successful after repeated failed attempts.

In terms of design, I think it would have been easier to attach the legs to the three pin affair first and then install the pins as a block part into the body afterwards.  Another option would be to have the female sockets on the body and the pins would be built into the legs, instead of vice versa.  Those would be my recommendations to  correct this issue.

Finally, the tail portion was installed without difficulty.


As I mentioned earlier, there are three mount points for the dinosaur to attach to the base.  Two are rocky protrusions that allow technic pins on the feet to be inserted in to the display.  The final mounting point sees one of the arms connected directly to the sign that reads Robo Dino.


I think I like this side the best, it really emphasizes the robot aspect of the mechanical dinosaur.  It should be noted that due to the high number of parts, the set is quite heavy and as such, and shifting the dinosaur too much will loosen it's attachment to the base.

There were quite a few interesting pieces left over from the build.  Usually they are just 1x1 tiles or circular pieces, but this set had an interesting assortment of parts I hope to use in future builds.

Summary


Overall, I found the mechanical dinosaur to be an interesting experience due to all of the unique SNOT building techniques used.  For young and old builders alike, it will help to develop one's sense of patience, and practice problem solving skills and spatial recognition.   

It was very satisfying to see that the mechanical dinosaur made a great display after building it.   While there is some mobility in the claws and arms, the mechanical dinosaur is more of a display piece than a playset.   Due to the somewhat challenging nature and the advanced techniques used, I give it a solid rating of 3.5 out of 5.

With that said, I think it's time for a crunchy snack!   Let me know what you think of this set and whether you agree or disagree with my rating in the comments box below.

Thanks for looking and see you next time, bye!