

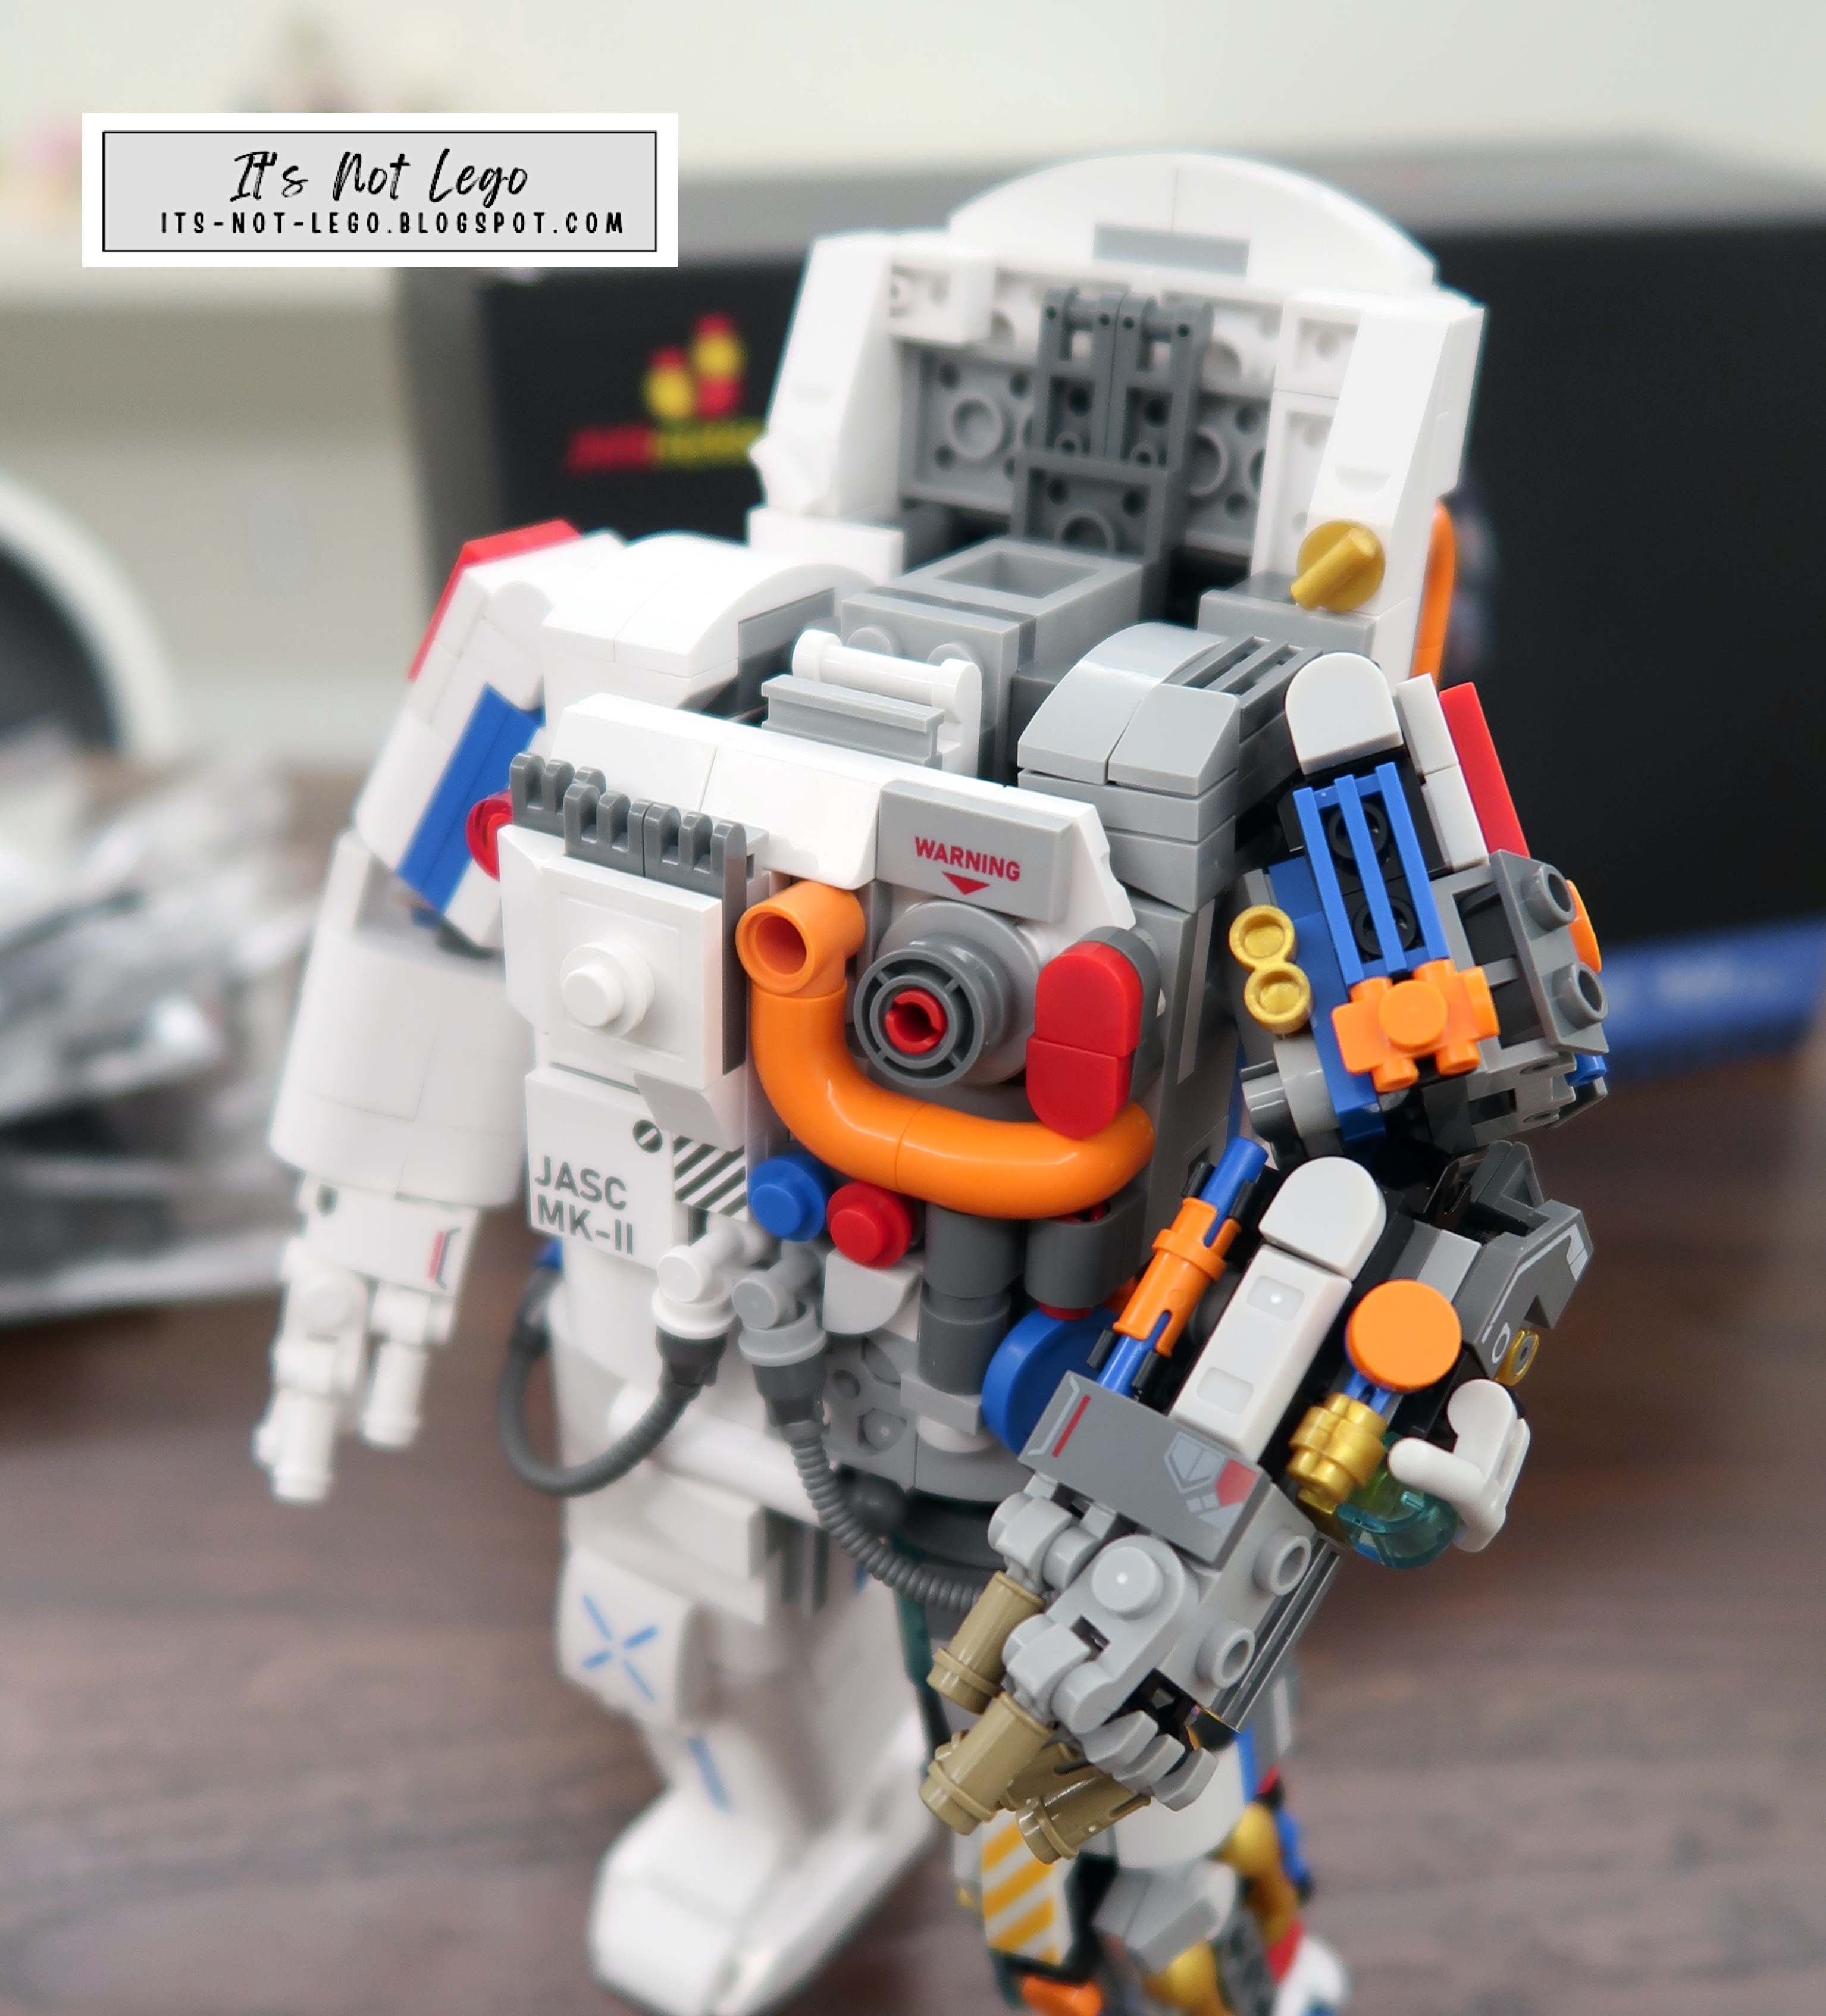
I've seen this JMBricklayer spaceman/astronaut several times on the internet and always wondered about the brick quality and how well it would display. It turns out this cool looking set displays beautifully and is very sturdy and well balanced. With over 900 pieces, one can have a lot of fun building this set. There are many printed parts which are an added bonus!

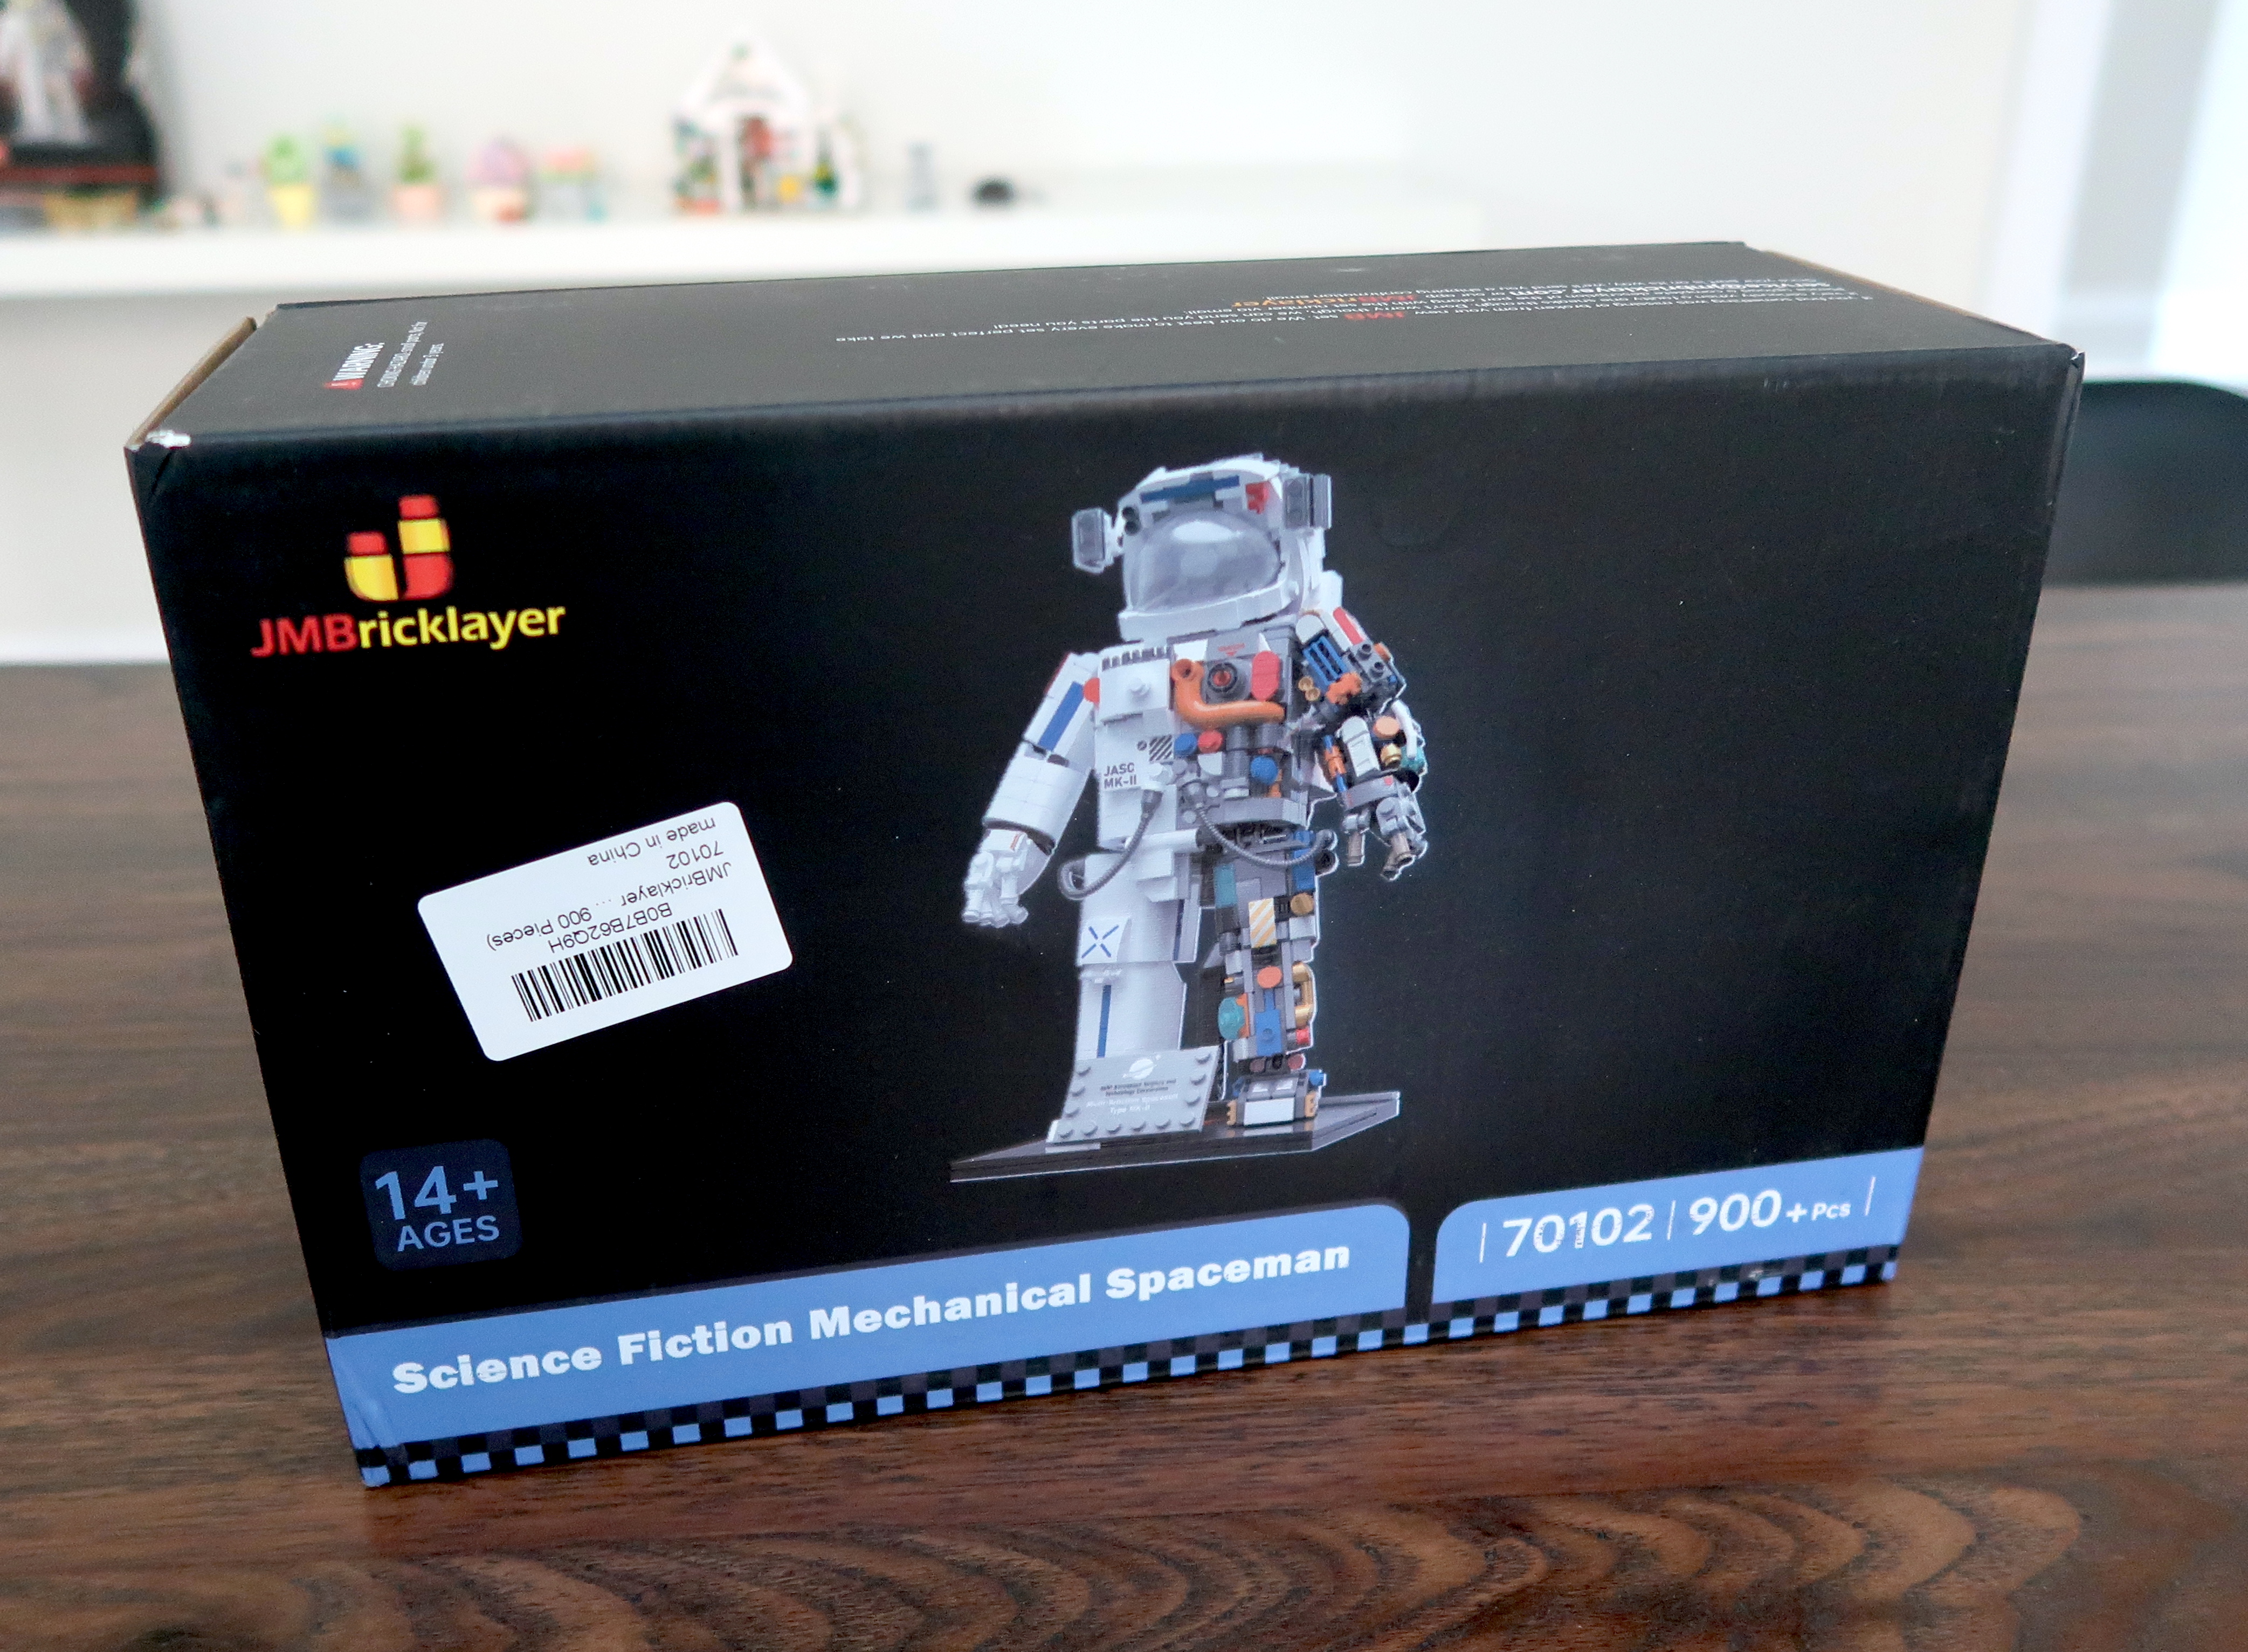
 The mechanical spaceman comes in the familiar JMBricklayer box listing all the important details of the set.
JMBricklayer has once again provided this set for my review today, thanks so much!
Details
- Brand: JMBricklayer
- Set: 70102 Mechanical Spaceman
- Theme: Science Fiction
- Piece count: 900+ pieces
- Numbered bags? Yes
- Stickers or printed parts? Printed parts! No stickers!
- Missing or deformed pieces: No
- Extra parts: Just a few
- Minifigures: No
- Lighting kit: No
- Brick Quality and Clutch: Excellent
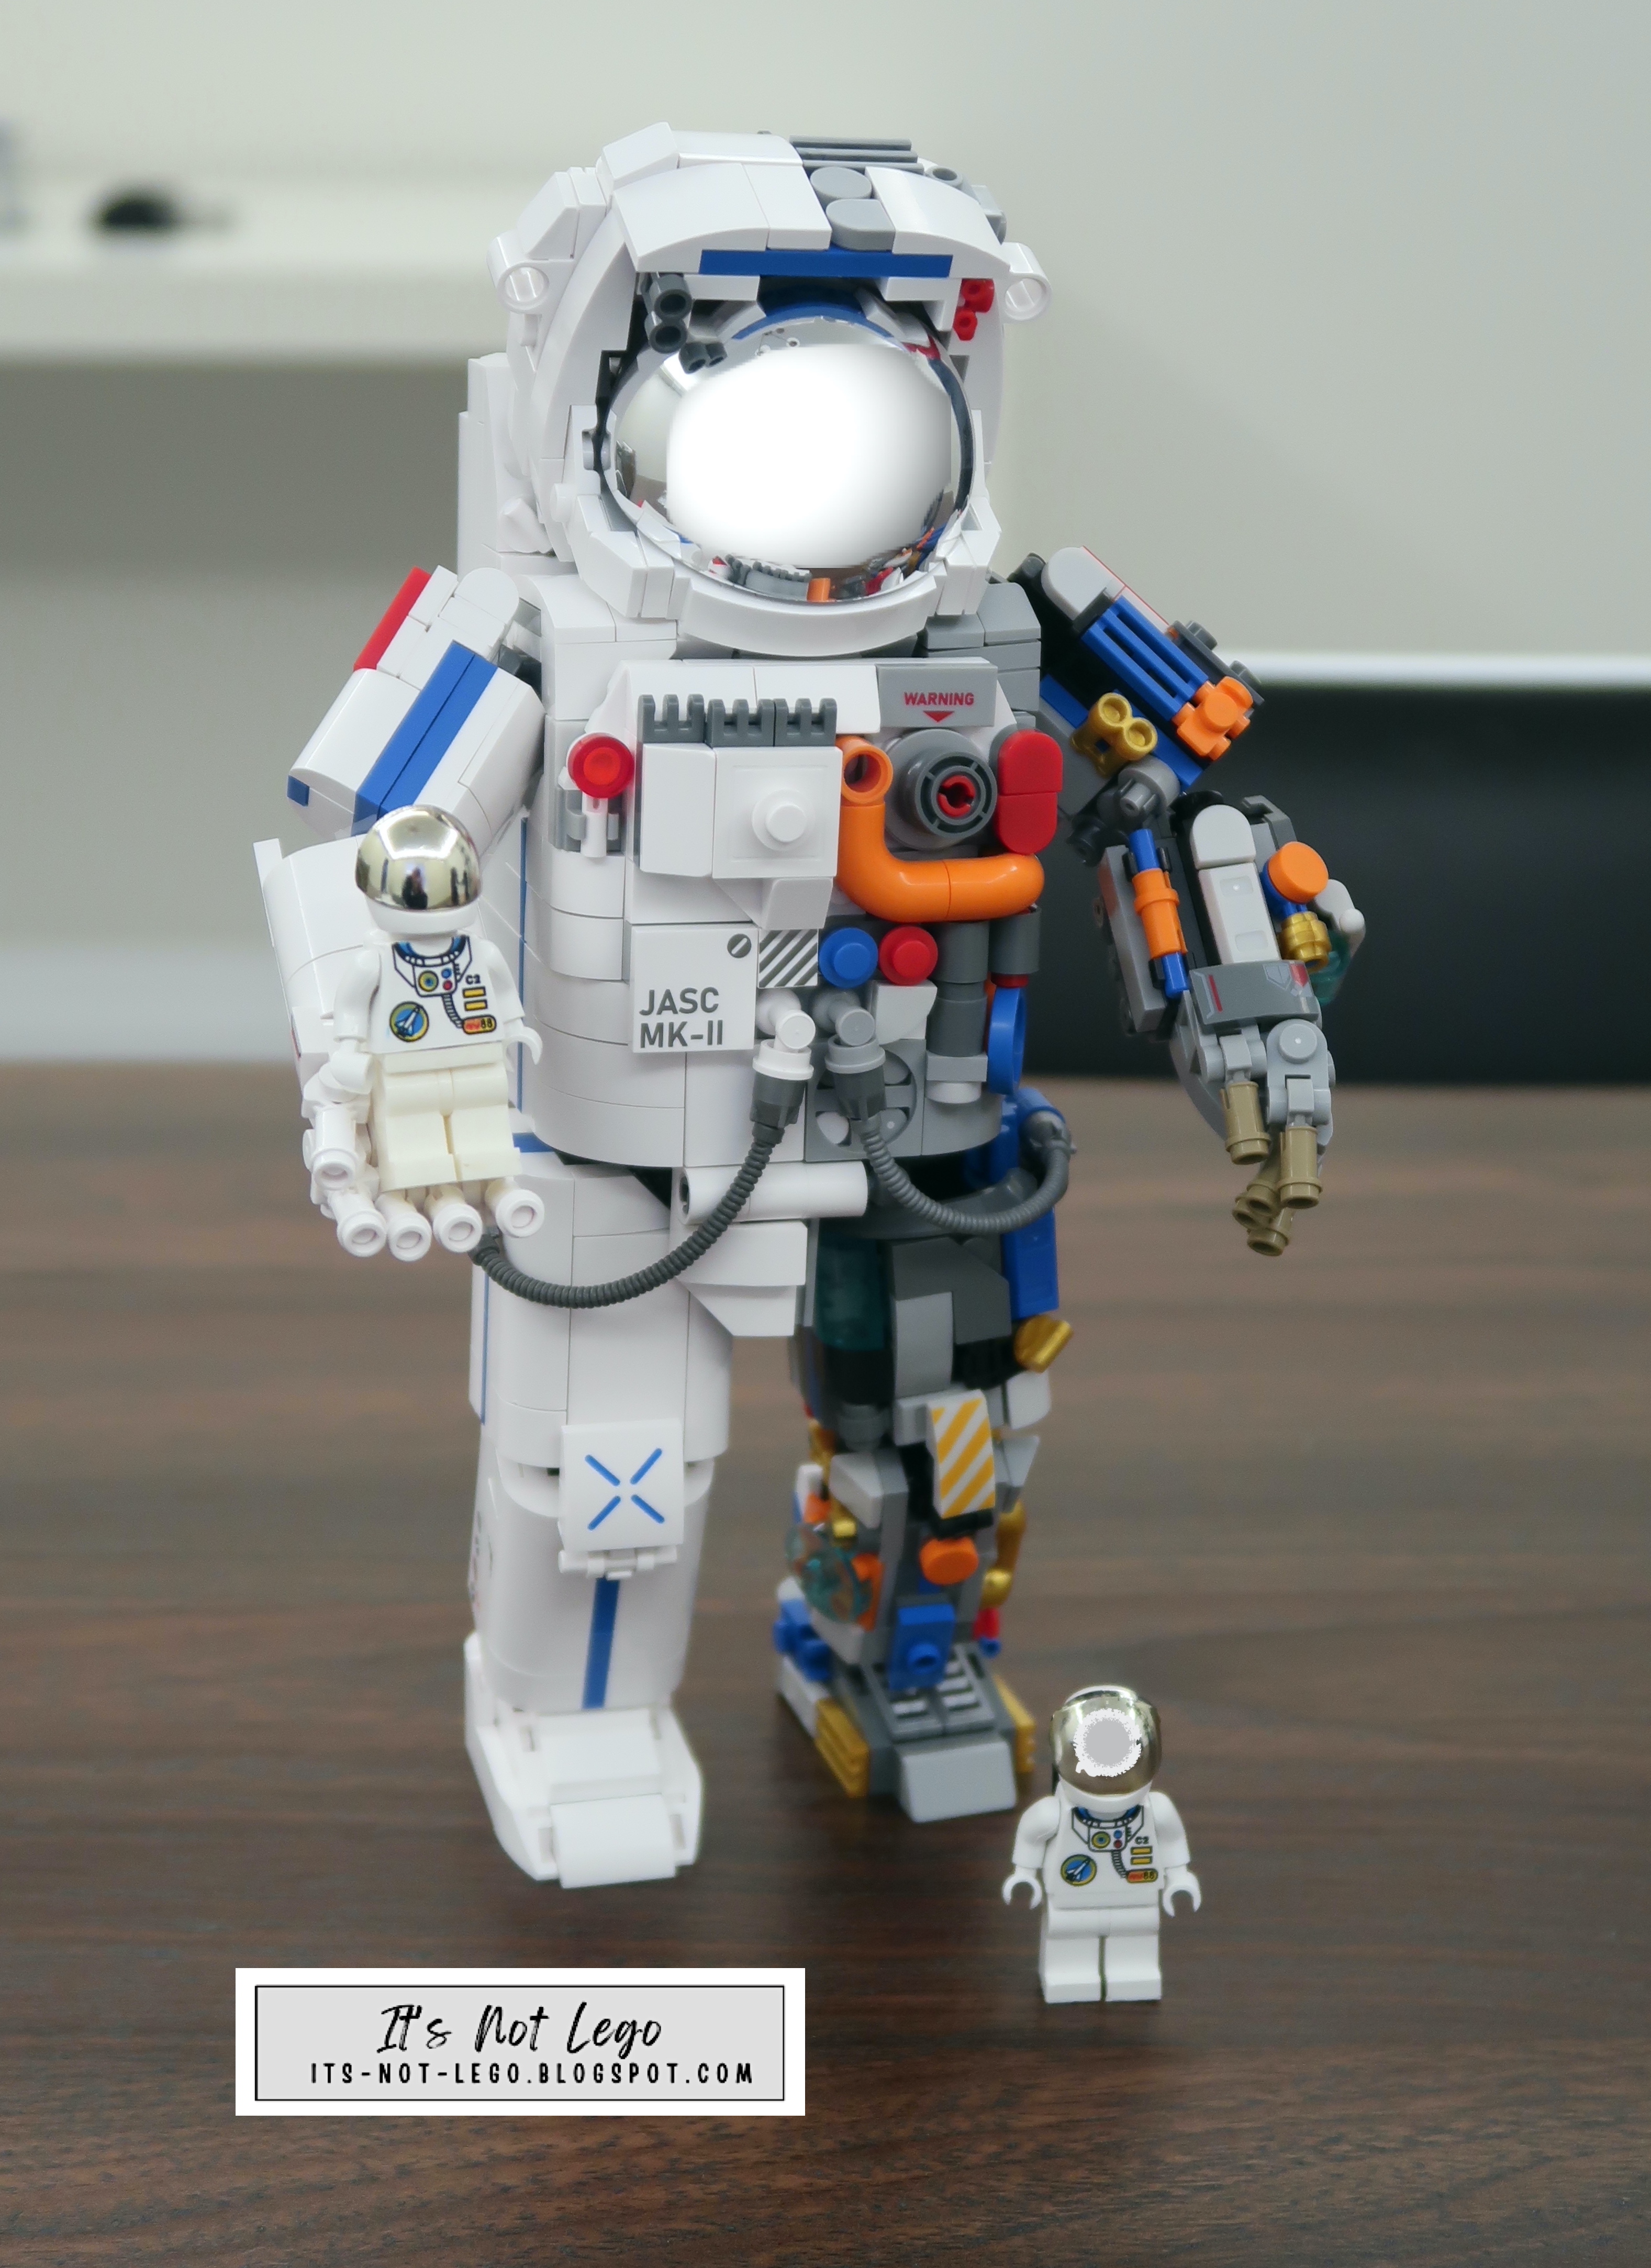
- Measurements (approx): almost 10 inches tall
- Age Rating: 14+
Unboxing

Build

For me, the easiest way to build the spaceman is to open all of the bags, section by section. In section 1 there are six bags of parts. Here I've separated the parts into the different colours. I find it helps me find the right part during the building process.


The contents of the four bags in section 3 will build the arms.

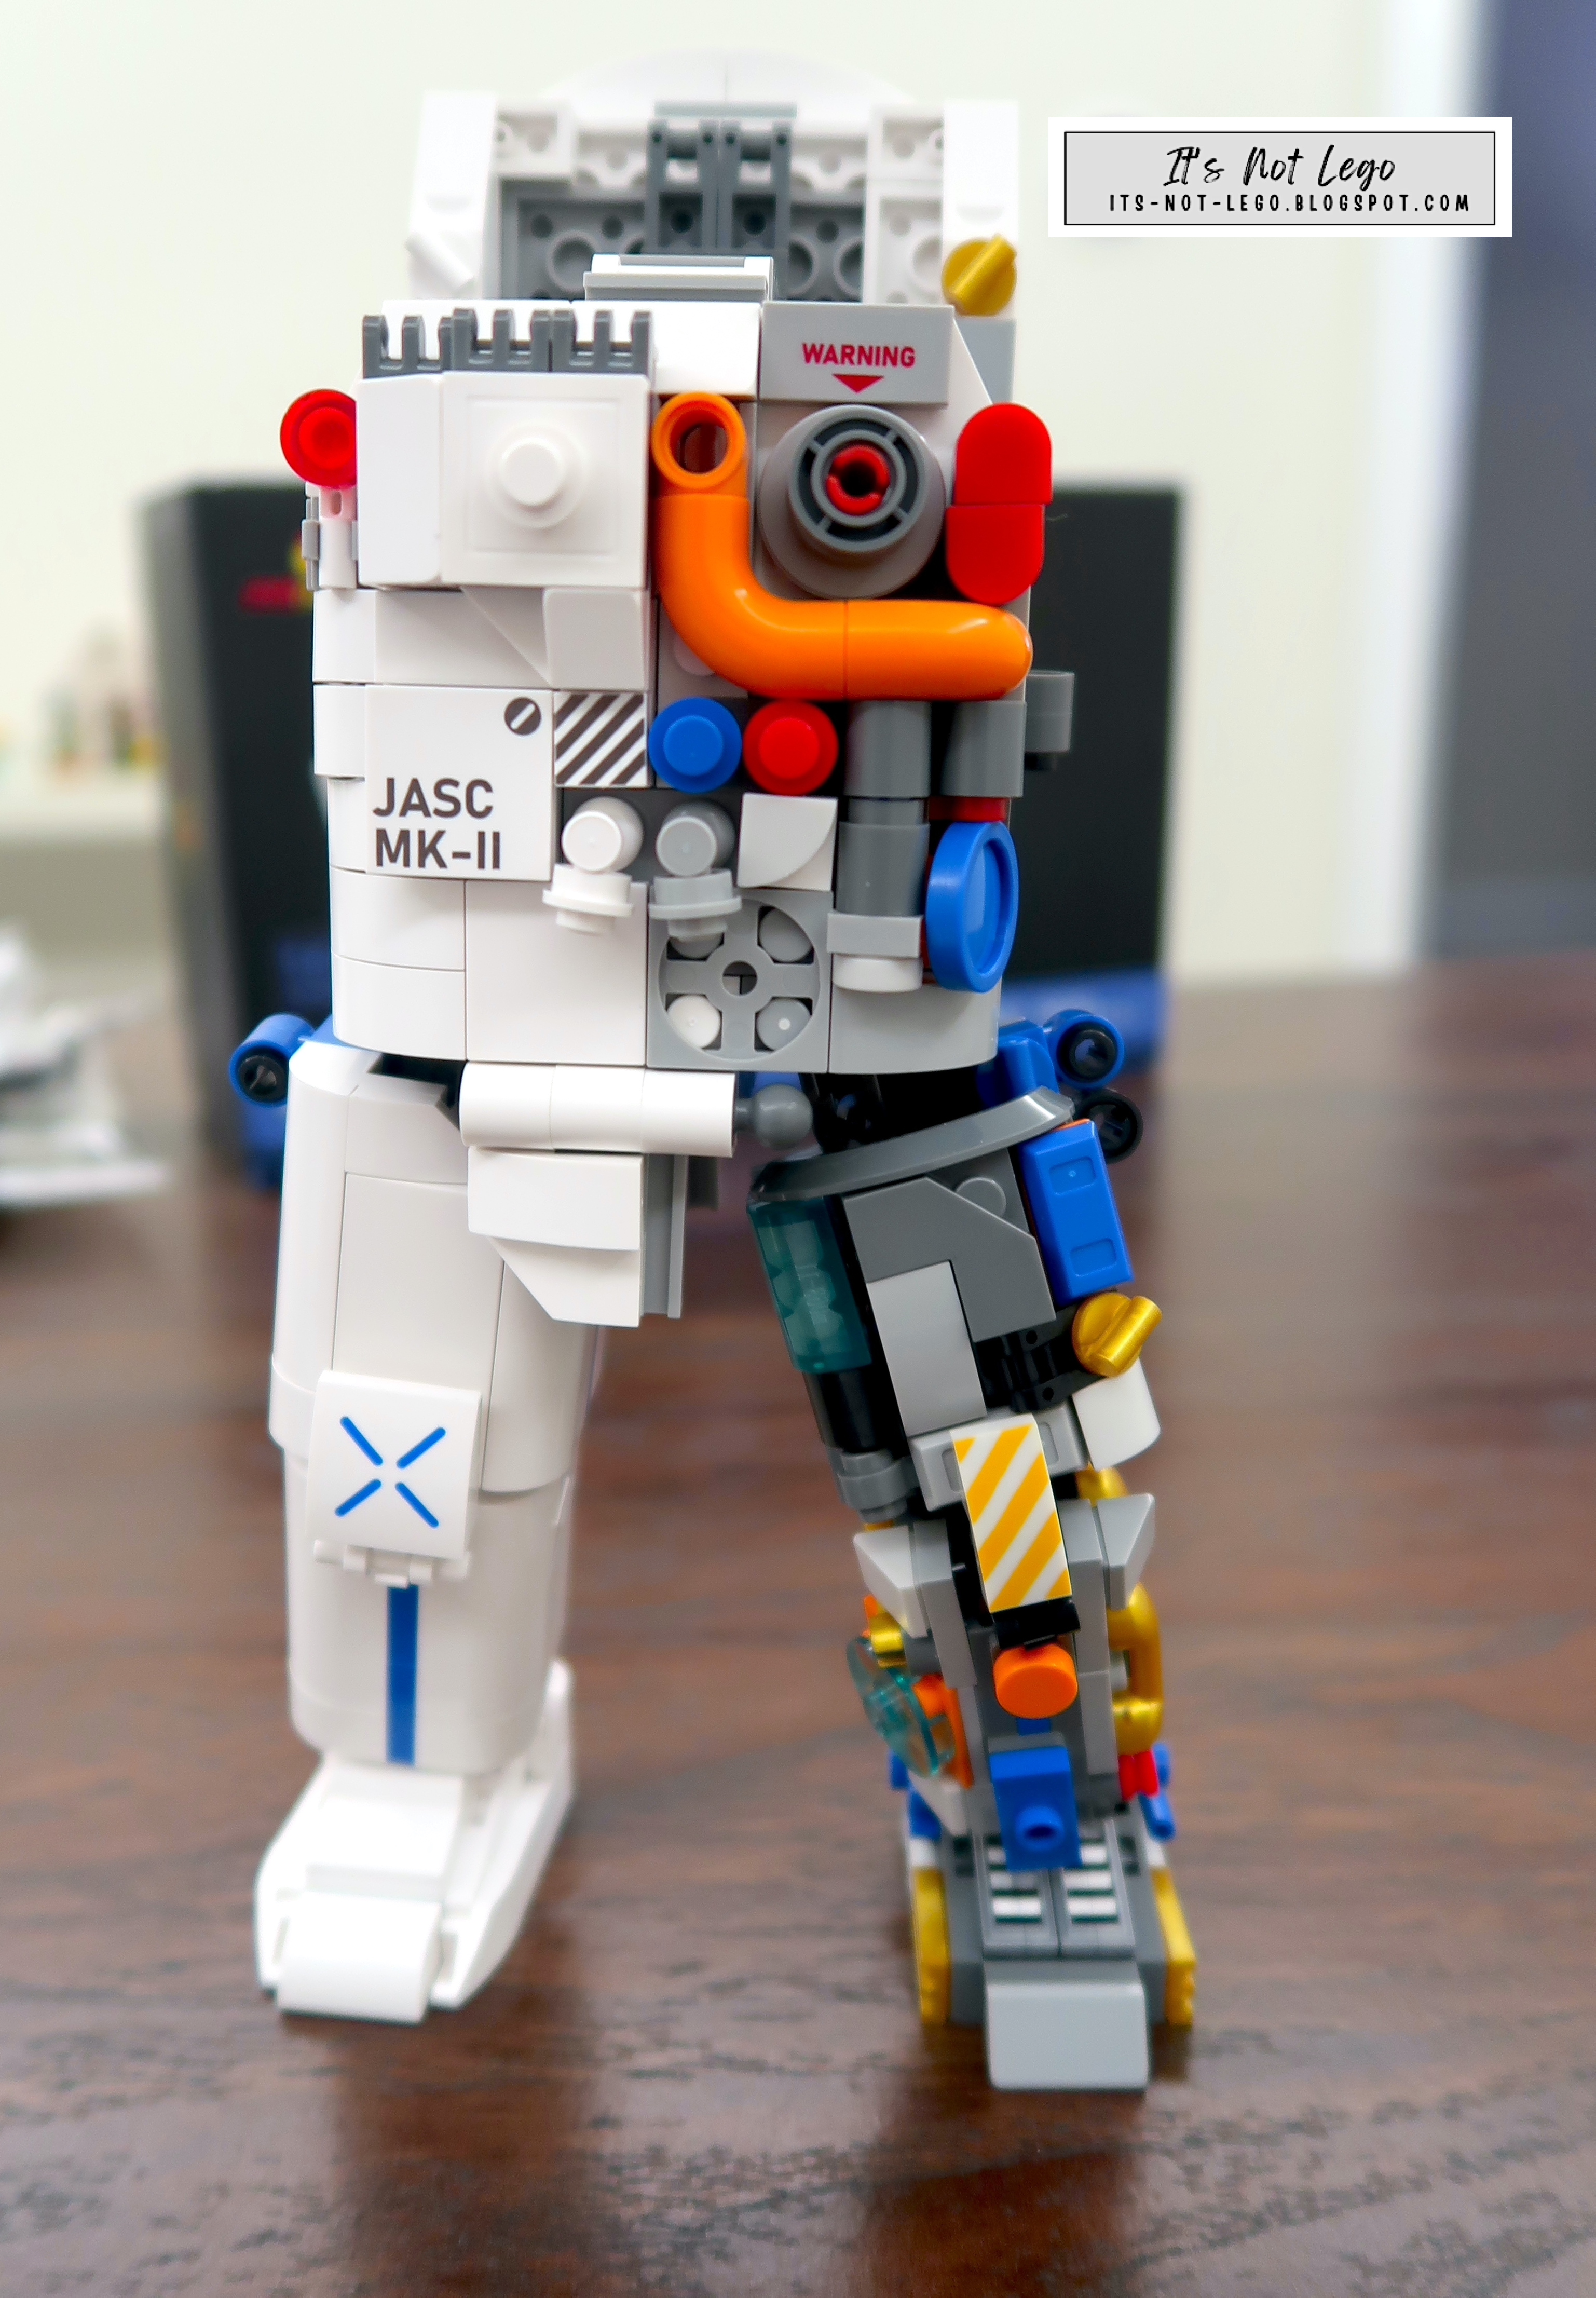
The arms are attached to the astronaut torso via ball joints to allow the arms to move freely. Being a mechanical robot, it would have been awesome to have a cockpit and seat inside the helmet for a minifigure to occupy it.


The fully constructed stand for the mechanical spaceman.


The display stand also comes with a small plaque that describes the mechanical astronaut.

In Summary
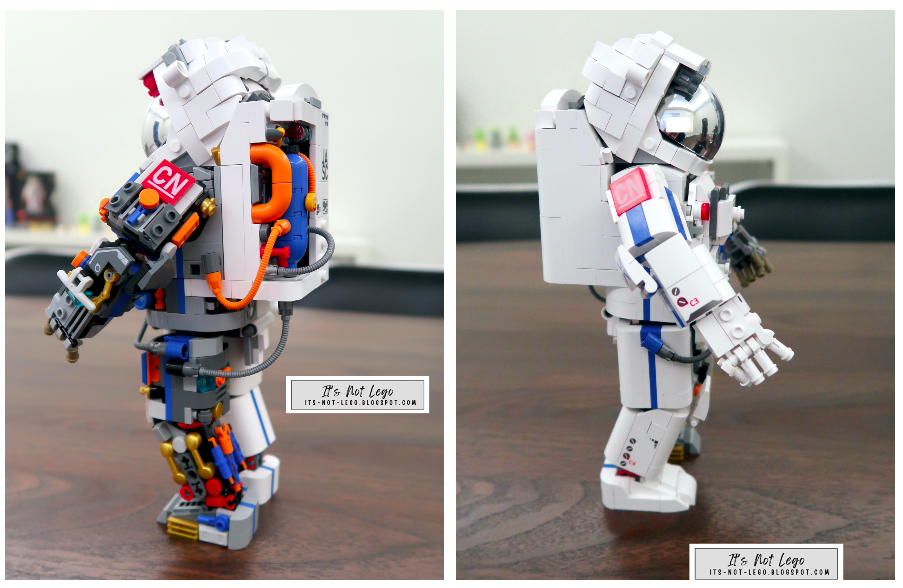
All in all, a very fun build. Pieces were high quality and brick clutch was excellent. I liked that the set used printed parts instead of stickers. The mechanical spaceman is a very unique looking building block set and you can pose it in different ways.
If only the designers made a little interior space inside the helmet, so I could make one of my minifigures operate the giant mechanical spaceman. For this reason, I will give it a 4.9 out 5, because I always try to incorporate minifigs into my display, even if the set doesn't come with any.


The JMBricklayer Amazon store can be found here.
And also check out JMBricklayer's other Sci-fi related sets while you're at it.
Want to see more JMBricklayer set reviews? Check them out at https://bricktoyreviews.blogspot.com.
Thanks for visiting! See you next time, bye!
No comments:
Post a Comment