Hi and welcome back to my blog about Lego compatible building block sets. I've got another set from JMBricklayer to show you today, it's the Mechanical Chameleon 70124 and it's the latest addition to my growing collection of mecha inspired building block sets.
In case you missed those set reviews:
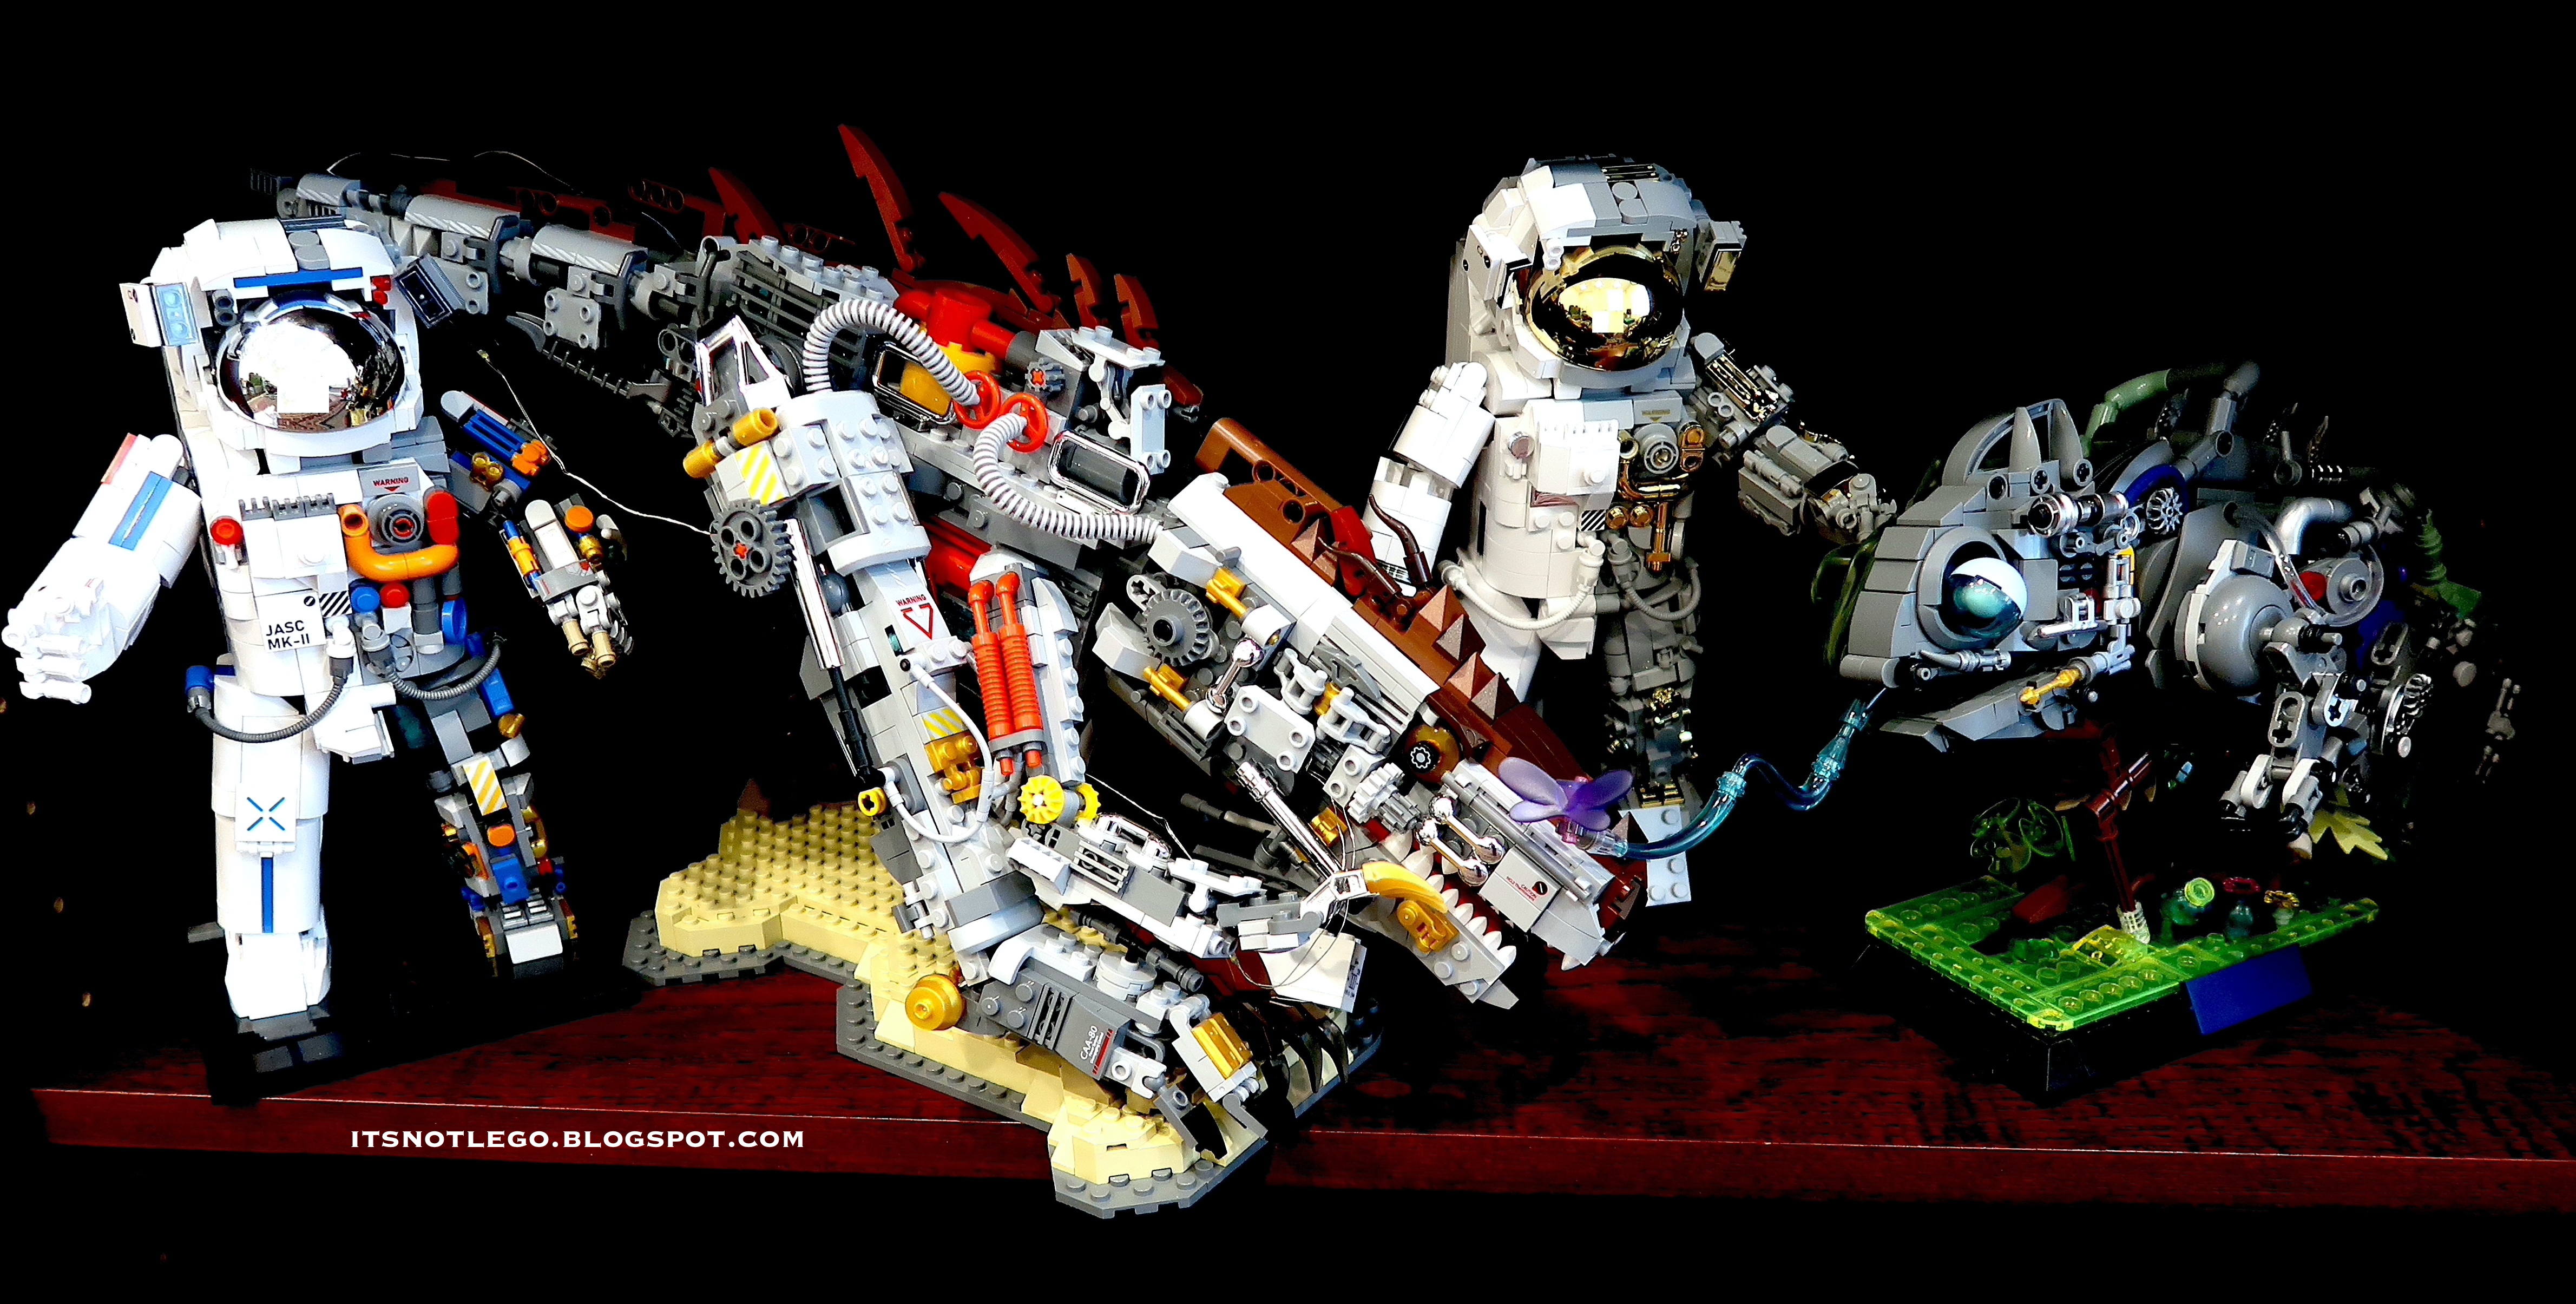
70102 Mechanical Astronaut (Chrome)
This post about the JMBricklayer Mechanical Chameleon looks at the 5 major building sections and the completed set. For the initial unboxing post for the Mechanical Chameleon, you can find that post
here.
For the latest JMBricklayer promotions, check them out
here.
Here's the first stage of the build. As you can see it is comprised of the chameleon body and the head. The heart of the chameleon is a green light brick that can light up.
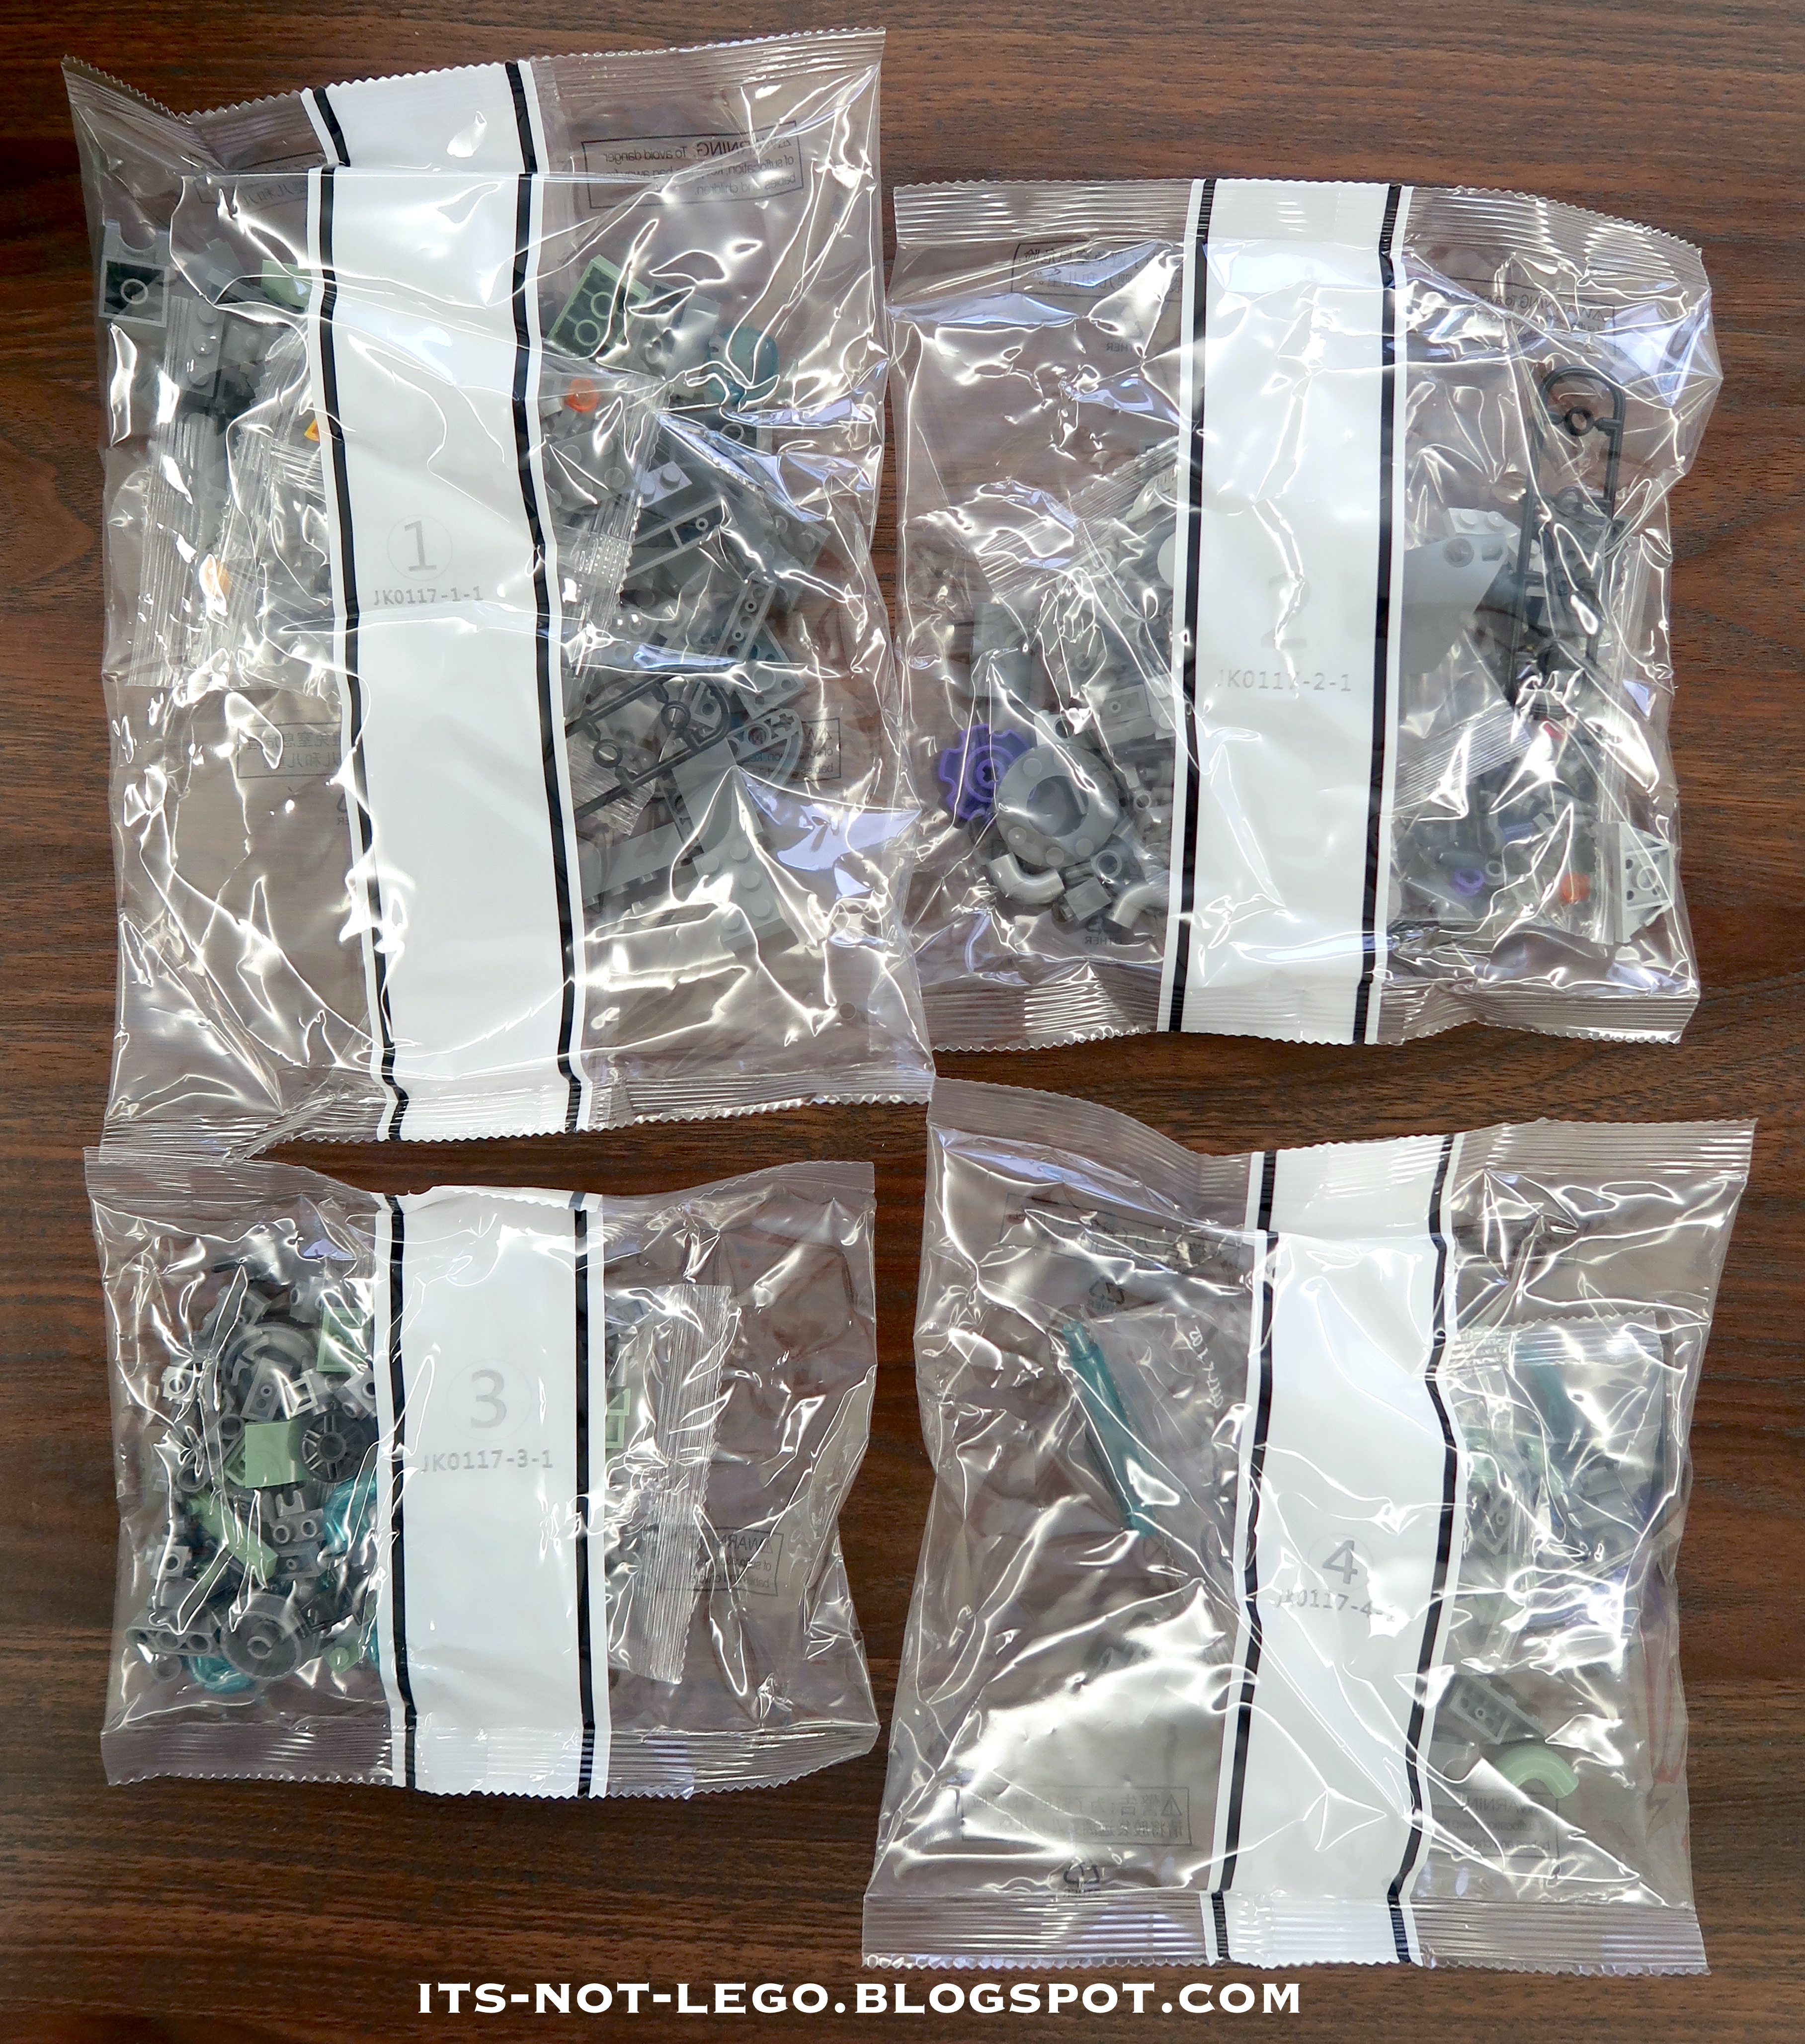
Here are all the parts for stage 1. At first glance we find that the brick quality is very good. Colours are consistent and the transparent blue eyeball glass is not scuffed.
Here are the instructions to attach the chameleon head to the body. It is hinged to allow some posing and movement.
So far, so good. The eyeball can be rotated depending on the look you want. Also, I love the look of the gears, too bad they don't do anything though.
In this stage, the body and head of the chameleon get extra greebling, along with some detail on the top.
Here are the pieces for this stage.
In the picture above, we inserted the tube that goes into the round light brick. The top of the light brick swivels just a bit and then the light comes on. The neon green light travels along the length of the tube. Very cool.
I ran into problems on step 90 of the second stage. I couldn't keep all the pieces together when attaching the light tube as per the instructions.
This is how the assembled part is supposed to look like.
Unfortunately, the tube was a bit too stiff and it caused the other pieces not to clutch.
This was the best I could do. I left come pieces unattached, but still managed to have the light working. I had mentioned my issue on
JMBricklayer's Facebook page, and they tried to help by putting together this small tutorial for anyone that needs it on their website.
Here's the link to the tutorial page:
https://www.jmbricklayer.com/chameleon-70124-building-tutorial/Since I had already assembled mine, I decided to keep it as is, but if you are building the chameleon for the first time, please use the tutorial in combination with the instructions.
Here's stage 3. In this stage we are adding the tail and the green translucent shell pieces for the body and tail.
The moulded pieces are tinged in light green and have some markings on them. There are pieces for the head, body, tail, arm and leg.
Here is the tail assembled and attached to the body. I didn't have any issues with the tail, but you can refer to the tutorial webpage I mentioned earlier if you encounter any problems. The tail can be displayed straight or curled up.
With the body shell attached you can see the green glow from the light brick underneath. I wish they could have had room for two light bricks, with the other tube light going down the tail. How cool would that be?
In stage four, the legs and the remaining green tinged shell pieces will be added. Also in this step the chameleon tongue is eating a flying insect.
Tada, the mechanical chameleon is complete. As you can see, it is possible for the chameleon to stand on his own legs, as he is supported by his tail and tongue.
This is the view from the non mecha side of the chameleon. Do you see that there is not only a green colour but also a purple tinge to the shell as well?
But wait, we aren't finished yet, there is still the display stand to build.
Here are the last pieces that will build the stand.
The chameleon is perched on his display. This is the mechanical side on display.
And here is the translucent body side. Again I wish that somehow more lighting could be added to the tail and the tongue to give it extra effect.
In case you were wondering, I had a handful of pieces leftover and did not encounter any missing parts.
Just want to add that once the mechanical chameleon is mounted to the display, it is very sturdy and can be moved around easily. I took the set to the backyard to display and nothing fell off.
I hope you have enjoyed my review of the 827 piece JMBricklayer 70124 Mechanical Chameleon building set. I did have some challenges on step 2, but since it is mostly an aesthetic issue and not a functional one, it doesn't affect the display of the chameleon. Other than that, this was an enjoyable build and as you can see from the final result it was worth the effort.
It is also available from the various JMBricklayer Amazon stores, just search Amazon for JMBricklayer to find it.
Thanks for looking!


 Here are all the parts for stage 1. At first glance we find that the brick quality is very good. Colours are consistent and the transparent blue eyeball glass is not scuffed.


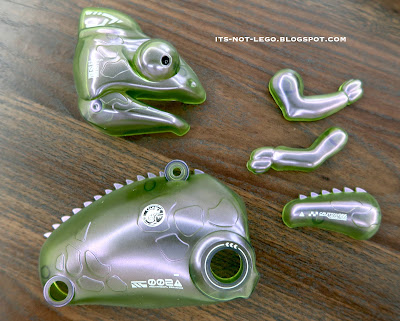 The moulded pieces are tinged in light green and have some markings on them. There are pieces for the head, body, tail, arm and leg.
 Here's stage 3. In this stage we are adding the tail and the green translucent shell pieces for the body and tail.