Sunday, December 10, 2023

The FunWhole Lookout Campground F9022 Building Block Set Review


Hey brick builders and Lego enthusiasts! 🌟 Today, we'll take a closer look at the mesmerizing details of the Lego Compatible FunWhole F9022 Lookout Campground set, another great set with lighting kit included! 🏕️✨


Thanks to FunWhole for their generous provision of this captivating set, which has allowed me the awesome opportunity to thoroughly explore and provide a comprehensive, in-depth review. 

** Quick highlights **


  • Set name and Number:  The Lookout Campground F9022
  • Piece Count: 1426 pieces
  • Age Rating: 12+
  • Minifigures: 3 + 1 dog + 1 frog + 1 bird
  • Stickers: Yes
  • Printed Parts: Yes
  • Numbered bags: Yes
  • Lighting Kit: Included
  • Extra parts: Yes
  • Bonus Items: Tweezers, Brick Separator Tool, Battery Pack
  • Retail Pricing: $79.99 USD (as of November 2023)

** Where to buy **


Get the Campground from the FunWhole website or from their Amazon stores, pricing listed below.


And also on their store:  https://www.funwhole.com/products/lookout-campground?ref=tN9EBQmQ


** Unboxing **


To see the unboxing of this Campground set please check it out on my other blog post here.

Ok, let's review the major components and features of this set in the order of building.

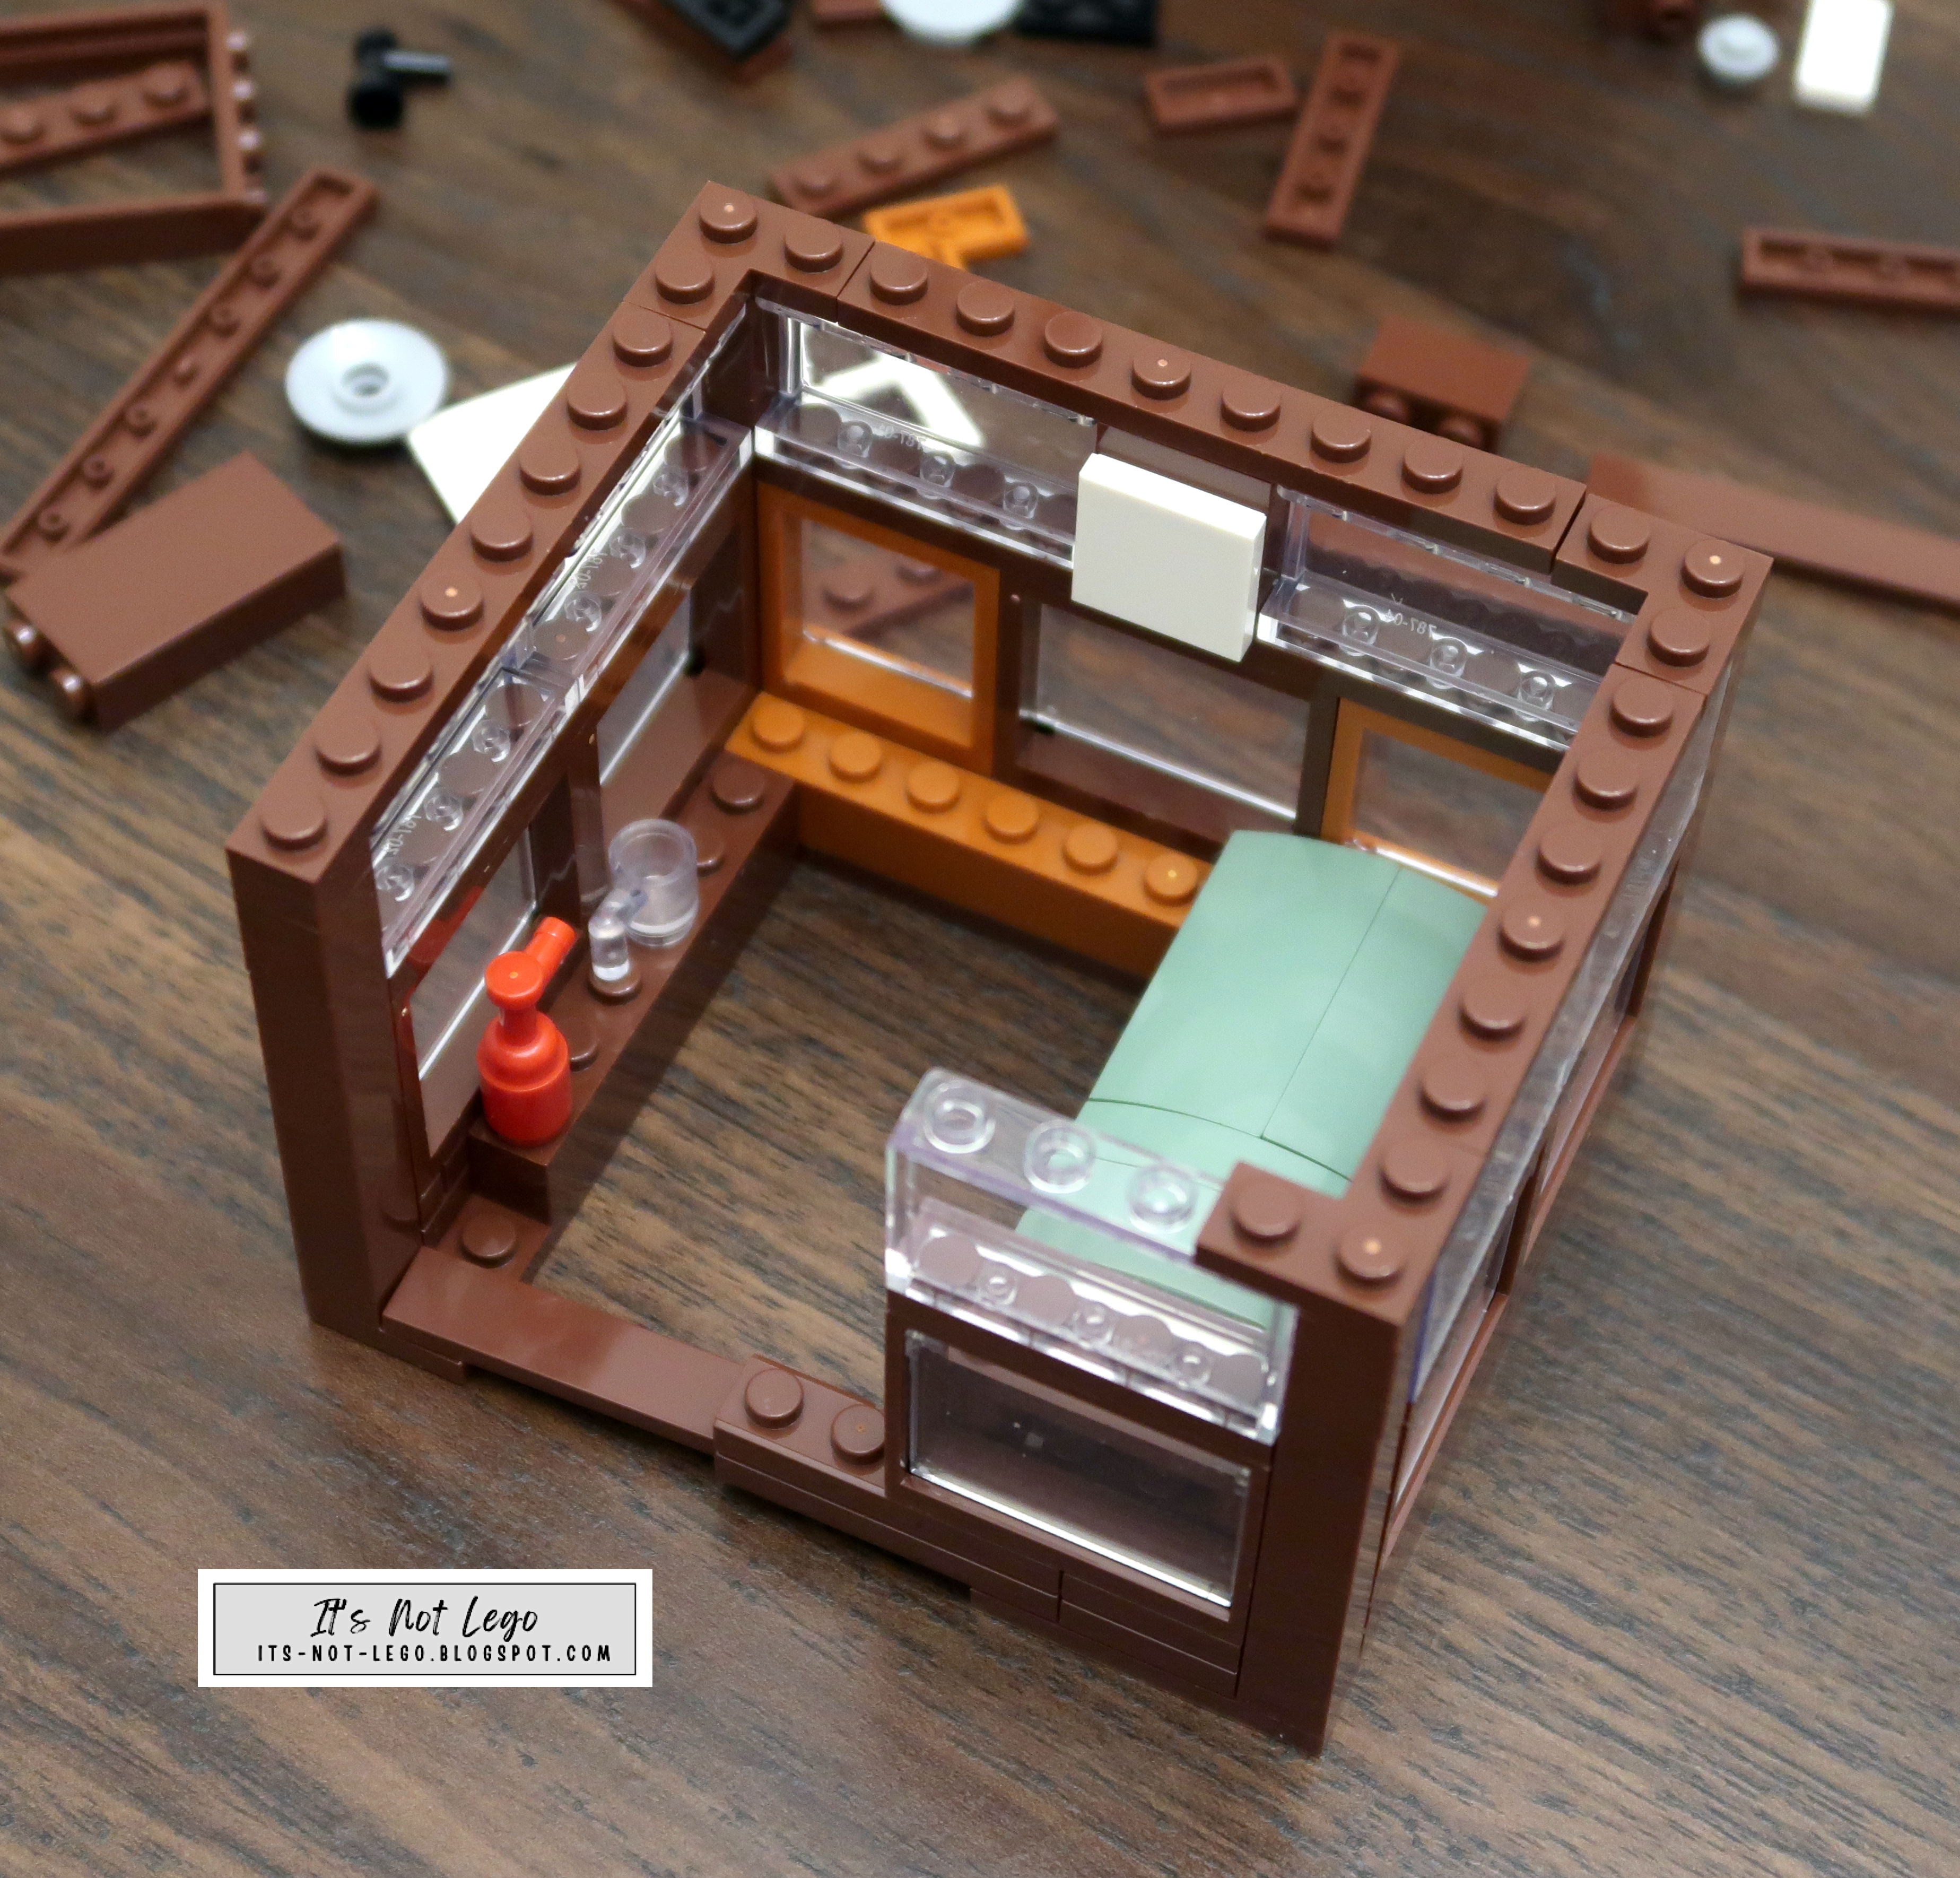
** Section 1: The Minifigures and Camping Trailer **

pages 1 thru 22, steps 1 thru 47

The Funwhole minifigures are found in Bag F.  "F" for figures?

There will be other parts in the bag for which you will use later, for now just separate out the pieces that are used to make the minifigures.

Here are the three minifigures that come with the set, 2 guys and a gal.  There's also a pet dog that's included but he comes later.

Instructions on how to assemble the minifigures are right at the start of the manual.

Once assembled, the silver camping trailer is solid, almost too solid.  Looks great with the rounded corners, gives it a real retro feel.  I just wish it was a bit bigger, though.  

I really like the silver sheen of the parts, not quite chrome, but still shinier than normal bricks.

The interior of the trailer comes furnished with a small cot, a coffee maker and a medical kit (which I forgot to put the sticker on).  As assembled, the only way you are going to view the inside is via the door, since the roof is not designed to be removed easily.  I made some changes to my trailer to address this which I will discuss later in the blog post.

The covered awnings can be folded up or down, just like the door.  

A bonus feature is that you can decide what colour of awning you want to use, choices are green or red. All are stickers.

. 🚐💫

** Sections 2 thru 4: The Campsite and the Outhouse**

pages 23 thru 112, steps 48 thru 152


The base of the diorama is comprised of 4 smaller baseplates that make up 32 studs by 32 studs when put together.  Green to simulate land and blue to simulate water.  As it moves away from the water, the base is also elevated making the terrain look more realistic.

Every FunWhole set comes with a lighting kit, which you can see more of in the set unboxing. The expansion board placed right in the middle, serves as a central hub, with all of the wires feeding outward from it.  The lighting wires are strategically placed and hidden through out the display.  There is room for the battery pack as you can see.

Pro tip:  👉 Make sure you have fully tested all of your lighting components by attaching all of the lighting wires and the power pack to the expansion board.  You will need to provide 2 AA batteries to power the lights.   Make sure each of the lights work before you place everything into the base.

 🏞️🎨

With the remainder of the plates installed you won't see all the wiring underneath the base.  I will look at all of the lighting in greater detail later.

For now, check out the cute outhouse and toilet.  There's just enough room for a small faucet (not pictured) and a toilet paper roll in addition to the commode.

Fortunately, there is lighting outside of the outhouse so it's easy to find in the dark.

🚽😄


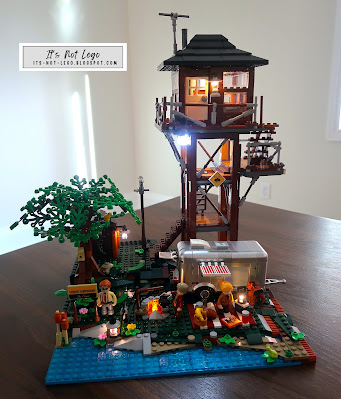
**Section 5 thru 7: The Lookout Tower **

pages 113 thru 186,  steps 153 thru 230

It's time to construct the lookout tower!


The tower feels sturdy and all parts fit snugly and  it doesn't wobble.  I like all of the details such as the scaffolding and struts that support the tower and the platforms.


To get to the top of the lookout platform, you have to go up a set of stairs to the first level, then. climb a ladder to get to the second level, from there you step up to the side platform that takes you to another set of steps.  Finally you reach the platform which has a nice commanding view of the campgrounds. Whoa, I'm all tired out now from all of the climbing.

🏡🌲

We're not done yet, there's still the cabin to install on top of the platform.

** Section 8:  The Lookout Cabin **

pages 187 thru 214, steps 231 thru 263


Inside the lookout cabin, we find a bed, a wood stove, a pair of binoculars, a fire extinguisher, and a mug.
When you come up the stairs, you can get a nice 270 degree view from the upper platform.

The cabin has both exterior and interior lighting.

** Section 9: The Cabin Roof and the Tree **

pages 215 thru 240, steps 264 thru 303

The stove pipe from the wood burning stove comes right up thru the roof.  I would have picked a better location for the antenna though.

There is the obligatory tree for the campground.  Wish it was taller and more majestic looking.  A bird and his house occupy the tree.
 🌳🌟


** Section 10: Picnic Area **

pages 241 thru 252, steps 304 thru 313

The final bag of parts gives you a whole bunch of little accessories for your campground display.


Of all the accessories, only the Taylor Swift Magazine is not from this set, its from the FunWhole Newsstand set.  Thought it would be fun to include it here.


**Lights, Lights and more Lights **


Alright, let's dive into what sets FunWhole apart from other brick brands. They've got this awesome lighting kit that comes with every single set. In the campground set, eight lights are cleverly placed to light up the crucial spots, giving off this cozy and welcoming vibe. 

The central expansion board is easily accessed by a secret hatch and even has some free slots should you choose to add extra lighting to the set.  I can think of adding an LED light to the interior of the camping trailer as an example.  The power supply can be found in the form of the USB plug connected to the battery pack, which can be secured into the base.

Imagine the camping trailer all lit up in the evening, from the giant spotlight, to the lookout tower's cabin with a soft glow, and even the outhouse throwing out a whimsical light. One of the lights is chilling near the water, and there's even a lantern hanging out on the picnic basket. It's like they've thought of everything to make it shine, literally!

Adding lights to the FunWhole Campground F9022 kicks it up a notch, making it a real showstopper. Whether you're sticking it on a shelf or dropping it into a diorama, those lights bring a magical vibe, making the whole set sparkle – both literally and figuratively. It's like the cherry on top, turning this thing into a masterpiece.. 💡✨

** The Pros and Cons **

As much as I love the look of the FunWhole F9022 Lookout Campground, there are a couple of things I wished could be improved.  The silver camping trailer looks awesome, yet I can't help wondering if FunWhole could have made it slightly larger.  It seems rather small when I park it next to my other Lego compatible camping trailers.  

Here's my attempt at modifying the camping trailer.  It's not much but I added two plates of height to the trailer.  It also allows me to easily remove the roof if I want to display the interior.  In front of the door I added a step-up to allow easier access for the minifigures.

My other lament is the number of stickers in this set.  I guess I'm spoiled after having built the FunWhole Newsstand set which had all printed parts and no stickers.  Not showstoppers but just a small gripe.

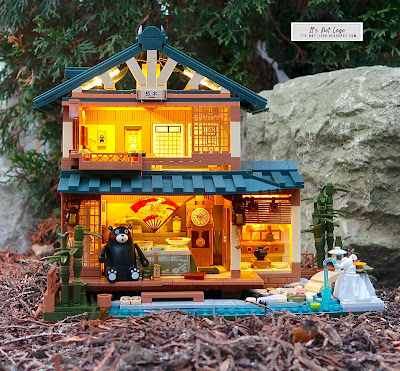
Overall, this was a really fun set to build!   Here is the FunWhole Lookout Campground next to the Funwhole Lakeside Lodge.  These two buildings make a really nice outdoor diorama to be sure. 

I can highly recommend this set and I give it well deserved 4.8 stars out of 5.


Well, that's it for now, hope you liked the review, see you next time, bye!

  🌈🧱 #FunWholeF9022  #DelightDayandNight

Monday, November 27, 2023

Kumamon's Japanese House - Inbrixx 880018 Building Block Set Review


Hiya brick fans!  Or should I say Konnichi-wa?  Yup, we are going to review another Japanese themed building block set.  Today's set is by Panlos/Inbrixx and this is my first ever experience with this brand.

First of all, a huge shout out to Afobrick.com for providing the set for this review.  In addition to this Kumamon set, they have a wide assortment of other building block sets that you might want to check out. See the special Black Friday promotion at the end of this blog post!


Before we get deeper into review, let's look at the set details:

  • Set Name: Kumamon Japanese House
  • Set Info: Panlos/Inbrixx 880018
  • Price: approx $50 USD
  • Piece Count: 1099 pieces
  • Manual included: Yes
  • Stickers: Yes
  • Printed Parts: Yes
  • Brick Separator included: Yes
  • Minifigure: Yes, One (Kumamon Bear)
  • Numbered Bags: Yes
  • Missing pieces: None
  • Extra pieces: Yes
  • Bonus: 2 LED light bricks
  • Size:  27.2 × 14.4 × 21.3 cm


About Kumamon

Meet Kumamon, the amiable black bear residing in Kumamoto, Japan. Serving as the official mascot, he warmly greets all who venture into this picturesque prefecture.

Exploring the Kumamon House


Nestled by a serene creek, this two-story Japanese-style dwelling is adorned with a meticulously landscaped garden featuring a fountain, a stone bridge, and a stone lantern, all enveloped by lush bamboo plants. 

The first floor of Kumamon's abode boasts two rooms—an expansive living and dining room in one, and a cozy tea room adorned with an ikebana display in the other. The second floor features a spacious bedroom and study area, complemented by a petite terrace to take in the natural surroundings of the region.

The set occupies a space of 16x32 studs. You have the flexibility to detach the second floor from the first, and both levels come equipped with LED lighting, courtesy of two compact light bricks.

Unboxing the Set


My set didn't arrive in the original box; instead, it was securely packaged in a generic plastic bag. Despite the absence of the box, it was well-protected with thorough wrapping.   The bags are numbered to follow the steps in the manual.

Here are the 8 bags of parts for Step 1.

And another 8 bags for Step 2.

Step 3 also has 8 bags of parts.

There is a small sticker sheet and 4 more ancillary bags which contain wooden curtains, lamps and baseplates.  Also included are two dark green 16x16 plates.


The provided manual is 47 pages long.

At first glance, I feel like the instructions are quite compressed and the pages are very thin.  The Kumamon face is plastered on every page as a watermark which makes it sort of visually distracting.

The sticker sheet will be used to adorn the fan and room divider in Step 2.


Constructing Step 1

Step 1 will build the house foundation, small garden and the back wall of the house.

Very straightforward build at this point.  This is my first time building with Panlos/Inbrixx and the quality of the bricks is very good.

There's a stone bridge and lantern in the garden.

A cute fountain that comes out of a teapot.  The transparent blue rod could have been made a bit longer, I think.

And here are all of the printed pieces I found for step 1.  I really like the little wall calendar and the slippers.


Constructing Step 2


In this step, we will finishing building the first floor and install the interior lighting.

Here's the first floor completed.  You can see where the LED lighting is mounted.  There's a total of three lights, two in the main room and one that lights up the tea room.


These are the shades used in the tea room, they actually feel like wood.  Be careful handling these as they are very delicate.

The ikebana, or floral arrangement adorns the wall in the tea room.  The yellow flowers and leaves get washed out by the lighting.  Inbrixx should have made the flowers some other colour like pink so they can stand out more.


Here's the low Japanese table called a kotatsu with a plate of watermelon slices and some sushi on it.  There is also a large floral centerpiece but I think it's size overwhelms the table.  

Here's a look at the printed pieces found in Step 2.

I love all the details on this set like the large fan and the clock.  Even though the fan is a sticker, it looks great.


Constructing Step 3


So the last step of the Kumamon house is to build the second floor and roof structure.

Before adding the roof, you need to install the lighting for the second floor.  Those LED lights are really bright.


There's even more printed parts that can be found to enhance the bedroom.

Even the window pieces have prints on them.

And here's the second floor with roof installed.

And here is the completed Kumamon house.  Looks fantastic!

And just in case you're curious about how the set looks from the side ...

And from behind.

Here are all the leftover, extra pieces I got.  The 2x2 brick is not extra, it fell on the floor during the build and I didn't find it until afterwards, luckily not using it did not affect the structure.  Also, the two brown lanterns that came packaged could not support the cylindrical yellow lens part, and the new updated lantern pieces were included in a separate bag.  

Here is the Kumamon bear that comes with the set.  His facial expression is that of surprise, but in every other picture I've seen of him, he is smiling. 


If you are wondering about the size of the Kumamon minifigure, here he is pictured with a Lego compatible figure.

Here is a final look at the tea room's curtains.

Final Thoughts


I found that this set was really fun to build and all of the printed pieces and the LED lighting really made the set. stand out  I wish the bear was cuter and I'll probably remove him from the set and put in some Japanese style minifigures instead.  

While the Japanese themed Kumamon house makes a nice display, I won't be able to display it wth my other Japanese buildings, because they are all 16 studs wide whereas this house including the garden is 32 studs wide.  I suppose I could modify it at some point in the future but I will keep it as is for now.  But this is more of my personal issue and should not be considered for your own display purposes.

Fit and finish of the pieces were really good, however there were two different tints of tan bricks, which I believe, was on purpose. But it was really hard to differentiate the correct coloured piece because of the manual's colour rendition.  That would be my biggest complaint of the set.

Minor points were deducted because of the  manual's colour rendition of the tan pieces and because of the strange expression on Kumamon's face.  There were only 4 stickers to apply and they looked nice, so I didn't deduct any points for them. My final  rating would be 4.6 out of 5 for this the Kumamon Japanese House and can therefore I can highly recommend this set.


Ok, just to let you know there is still time to get 10% off  purchases over $100 using the code black10% during checkout on the Afobrick website.  This limited time offer expires Nov 30, 2023.

Here's the direct link to the Inbrixx Kumamon Japanese House 880018 if you are a Kumamon fan or you love the look of this Japanese building.

Thanks for looking, see ya next time, bye!