

Welcome back to It's Not Lego! Today we get to look at another set from JMBricklayer.com. It's the colourful 21101 Flower Shop! It comes with LED lighting and 1593 pieces. It can even be opened up fully to display the interesting and packed interior.
Where to Get it


You can find this set and many more on their website. Use my code ITSNOTLEGO15% to save 15% off on selected items. And they offer free worldwide shipping to most countries.

 Corresponding to each step are also numbered bags of parts. Total number of parts bags is 30 broken down as follows


 Here's a couple of nice printed tiles I found amongst the other parts.
Set Details
- Brand: JMBricklayer
- Set: Flower Shop 21101
- Theme: City Architecture
- Piece count: 1593 pieces
- Numbered bags? Yes
- Stickers or printed parts? Both
- Missing or deformed pieces: No
- Extra parts: Yes
- Minifigures: No
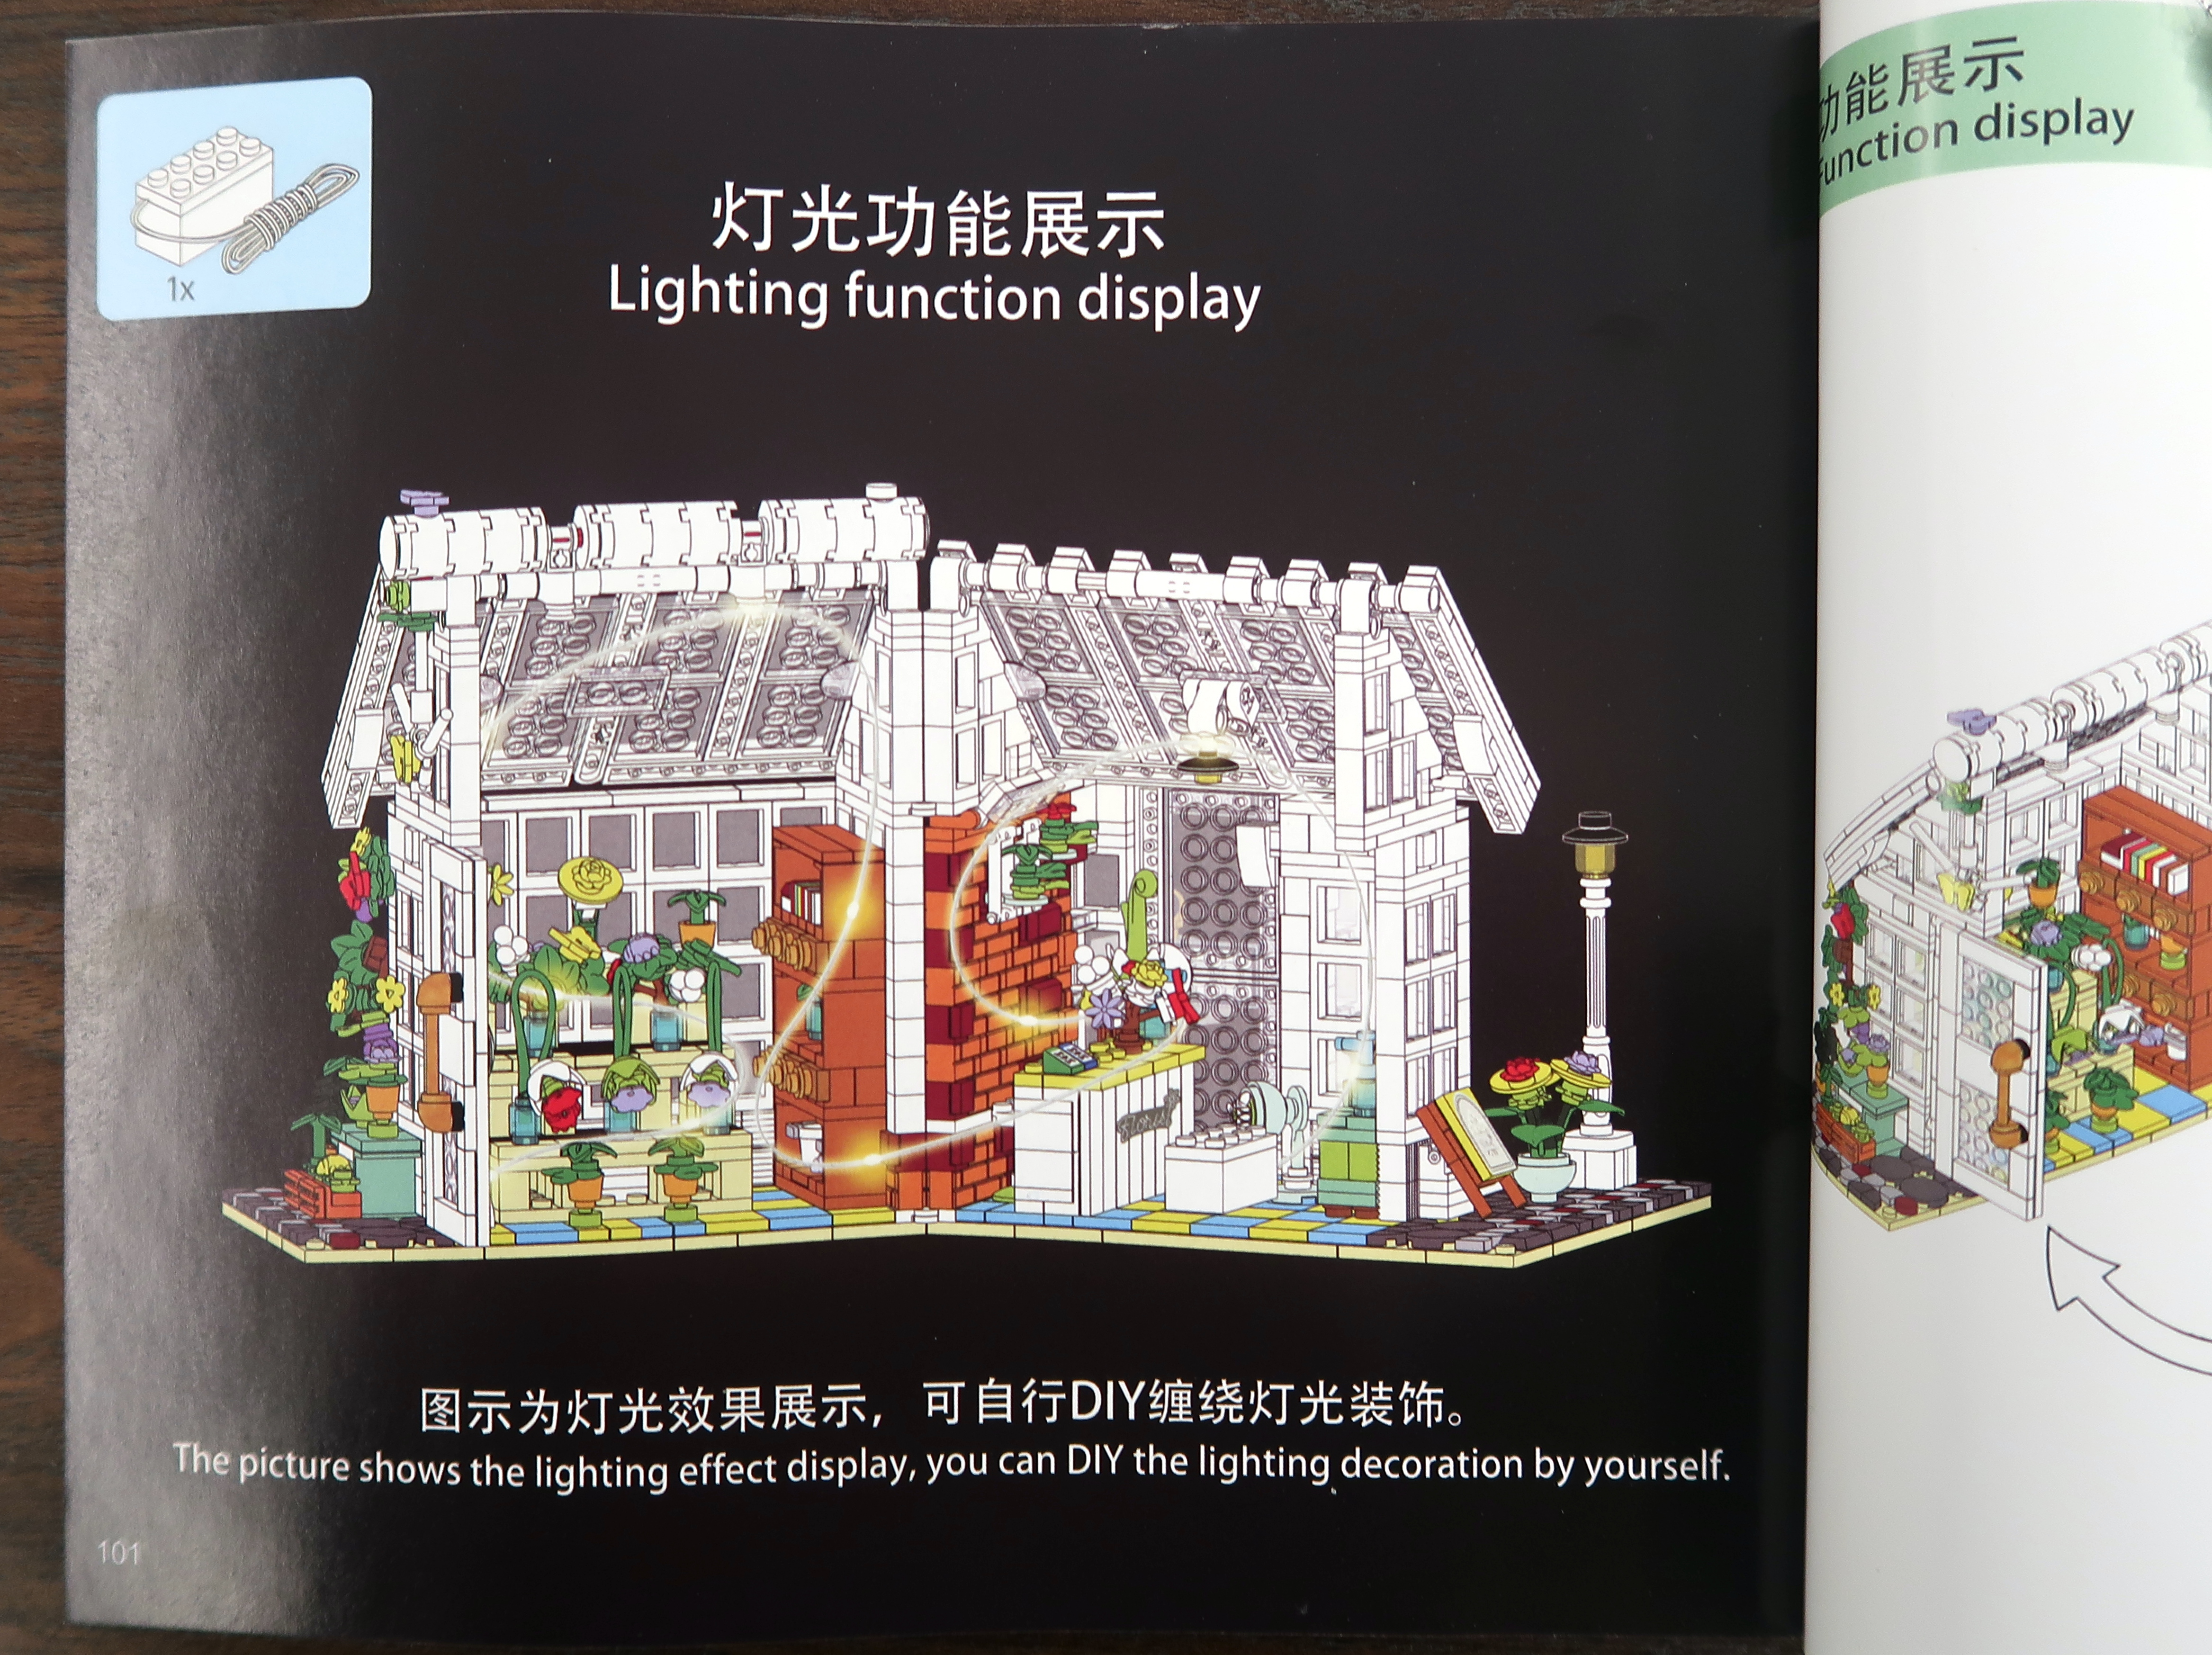
- Lighting kit: included
- Brick Quality and Clutch: Great
- Measurements (approx): 8"W x 6" D x 7.5" H
- Age Rating: 14+
Unboxing

My Flower Shop came in the original JMBricklayer box, which was jammed packed with multiple parts bags and the instruction booklet. The first thing I noticed was the manual which listed the set number as 031061. A quick check on the internet reveals the JMBricklayer set is a repack of the Mork 031061 Flower Shop set.
Also included in the box is an easy to follow instruction manual consisting of 102 pages. I found a very small sticker sheet taped inside the manual, but I forgot to take pictures of the two stickers.
There are three steps to building the flower shop, broken down in the manual as follows:
Step 1 - pages 1 thru 27
Step 2 - pages 28 thru 61
Step 3 - pages 62 thru 100

Step 1 - 11 bags
Step 2 - 9 bags
Step 3 - 8 bags

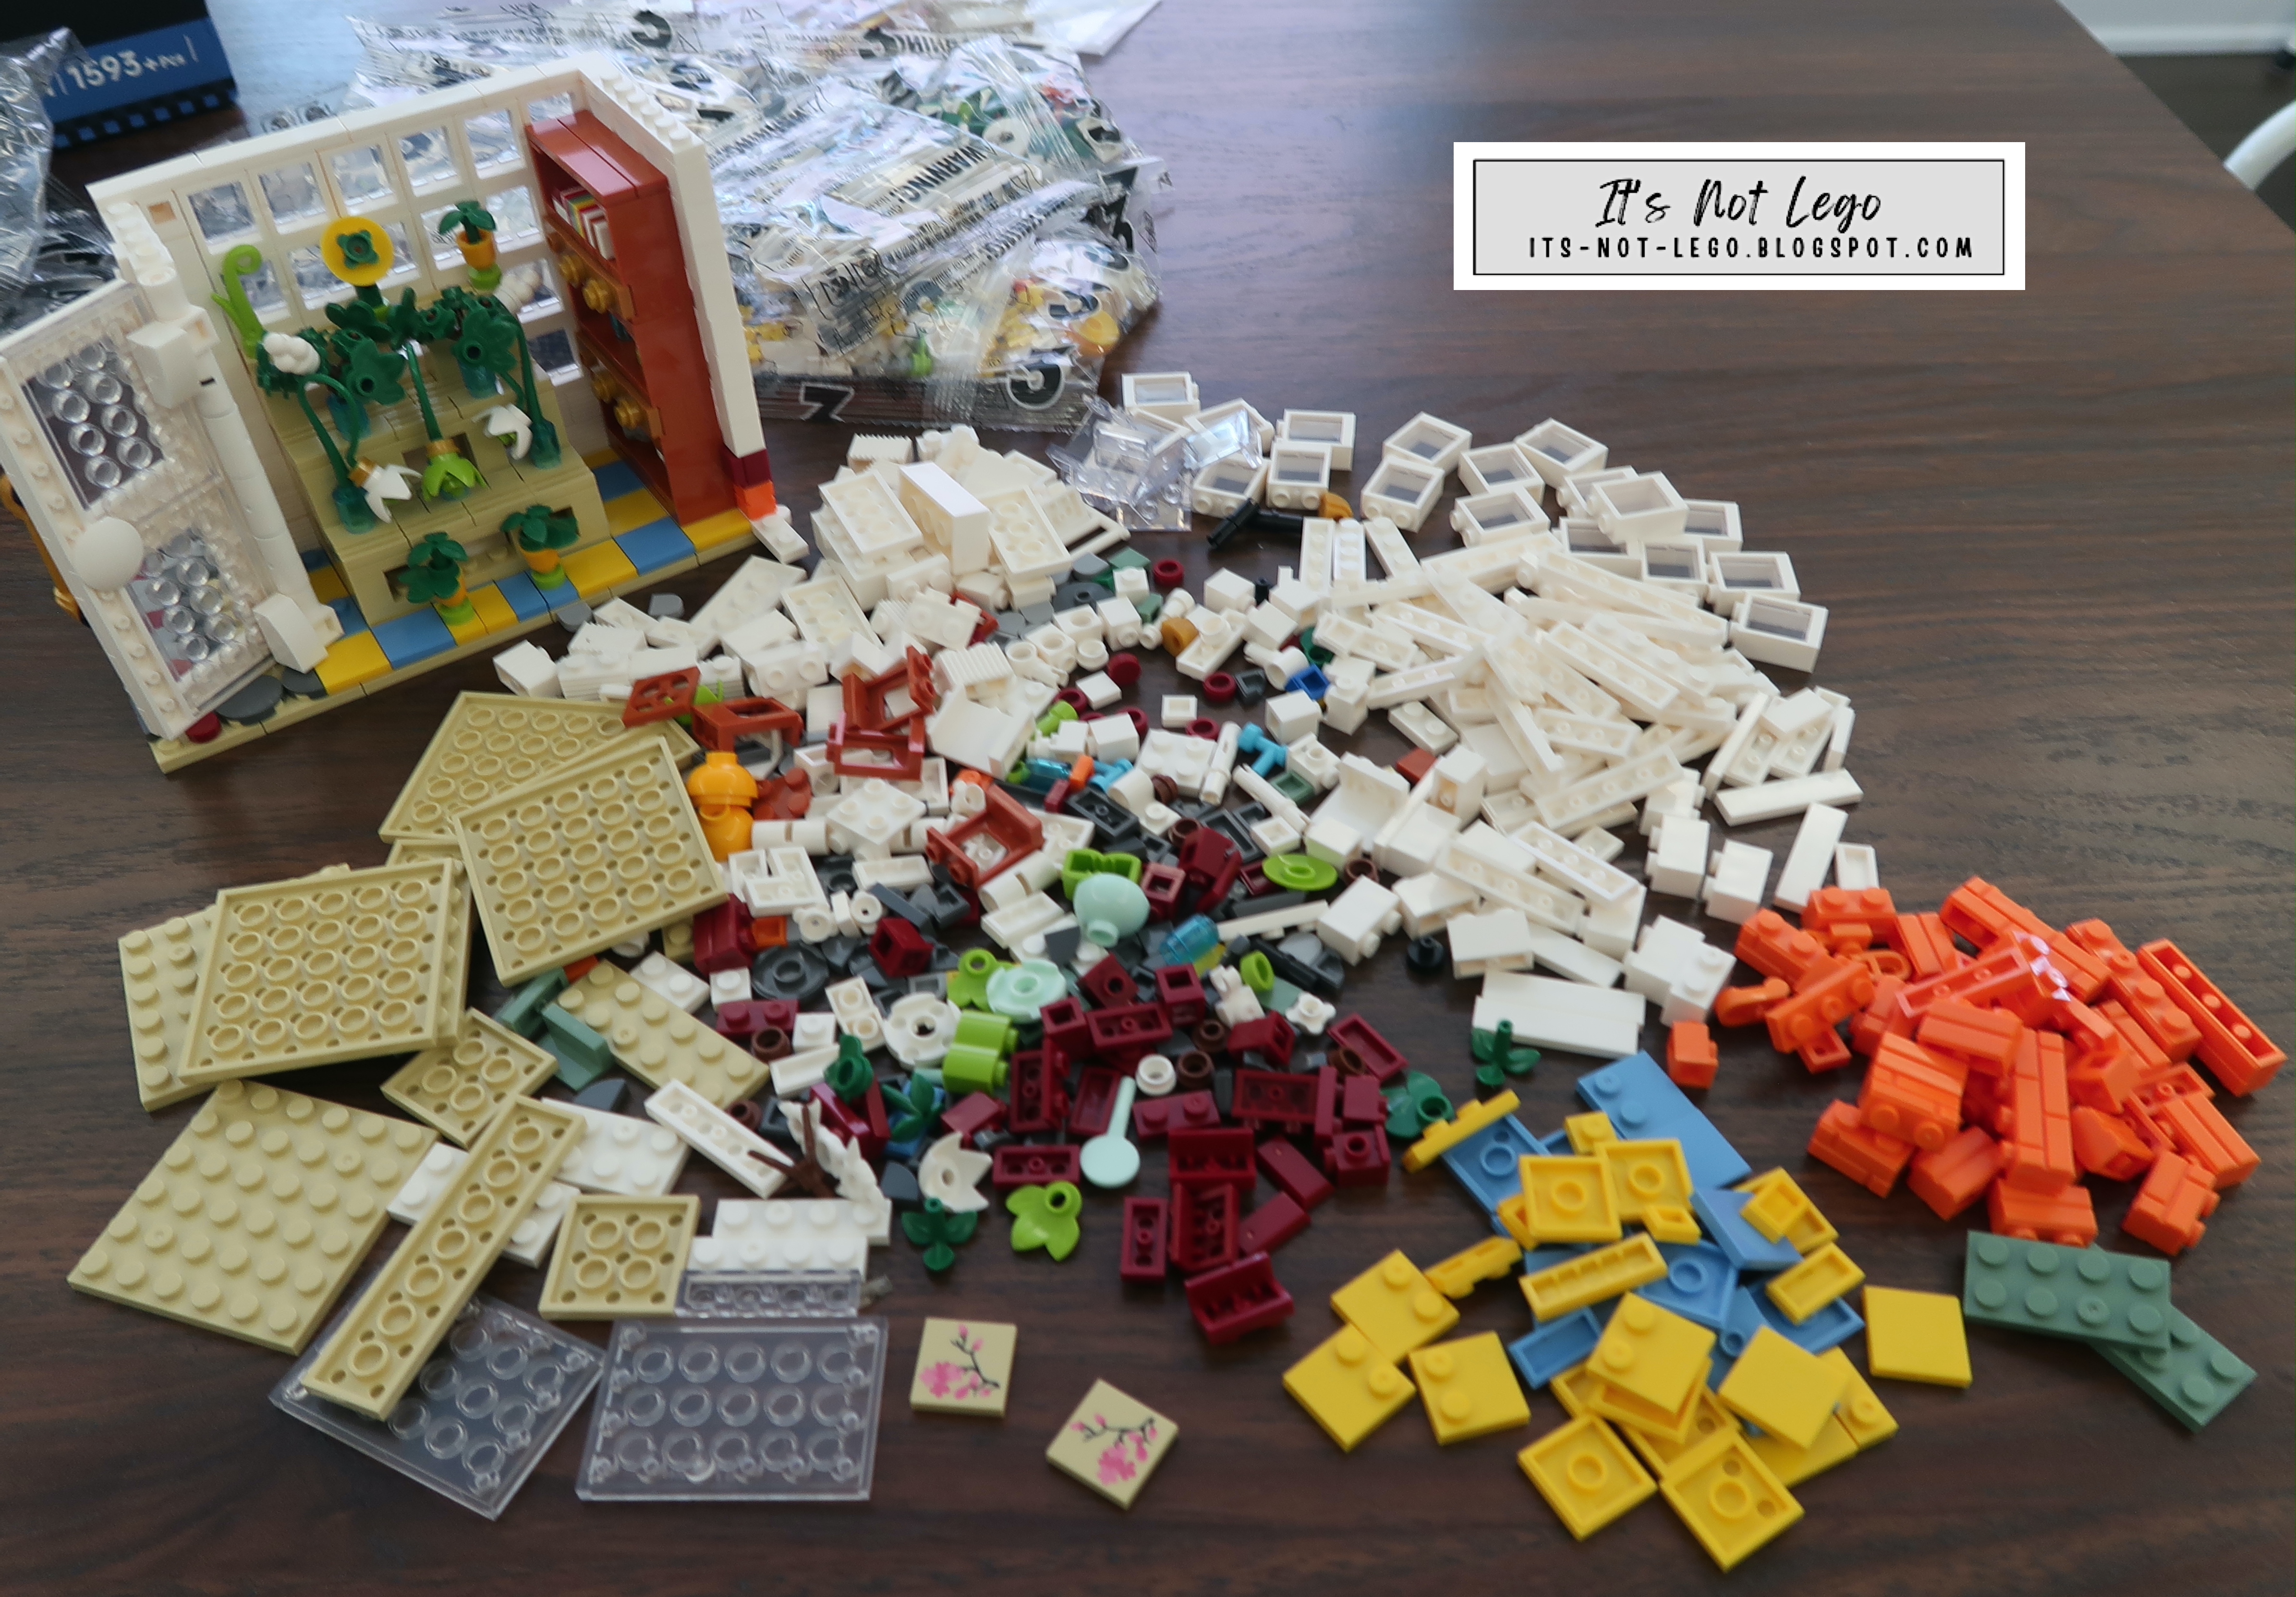
 Found this parts bag in Step 1 with a strange message reading "All use of this white accessories, to this package shall prevail". The bag contained the extra pieces pictured above which weren't needed at all to build the flower shop. Weird!
 Baseplate and plant stand under construction. And before you know it ...
 ... the first step is completed! In addition to the plant stand which is now adorned with lots of greenery, there is a shelf, maybe it's a resource centre? The flower shop gets a patterned yellow and blue floor which is surrounded by walls of several glass windows.
Plus 1 bag for the led light string and 1 bag for the flower/decorative pieces.
Building Step 1

Step 1 builds one side of the flower shop which includes half of the base, one set of walls and part of the shop interior. Instead of using one or two larger baseplates for the floor, the designer opted for a lot of smaller plates which surprisingly held the shop together adequately later.


Ok, this is what 11 bags of parts all opened looks like. Let's build!


The assembled door gives us the indication that the flower shop is not minifigure scale. That's too bad. I think the flower shop owner has neglected the plants because all of the flower heads are drooping. Water them please!

Here's the exterior for this part of the build.
On to Step 2
Cracking open all of the bags numbered 2.


Building up the remaining walls and interior. A potted plant shelf sits next to the counter. I discovered a couple of more printed pieces in the form of little QR codes sitting on the countertop.


Final Step

Unpacking the bags for Step 3, which constructs the flower shop roof and adds all of the other little bits around the exterior.


Lots and lots of windows!
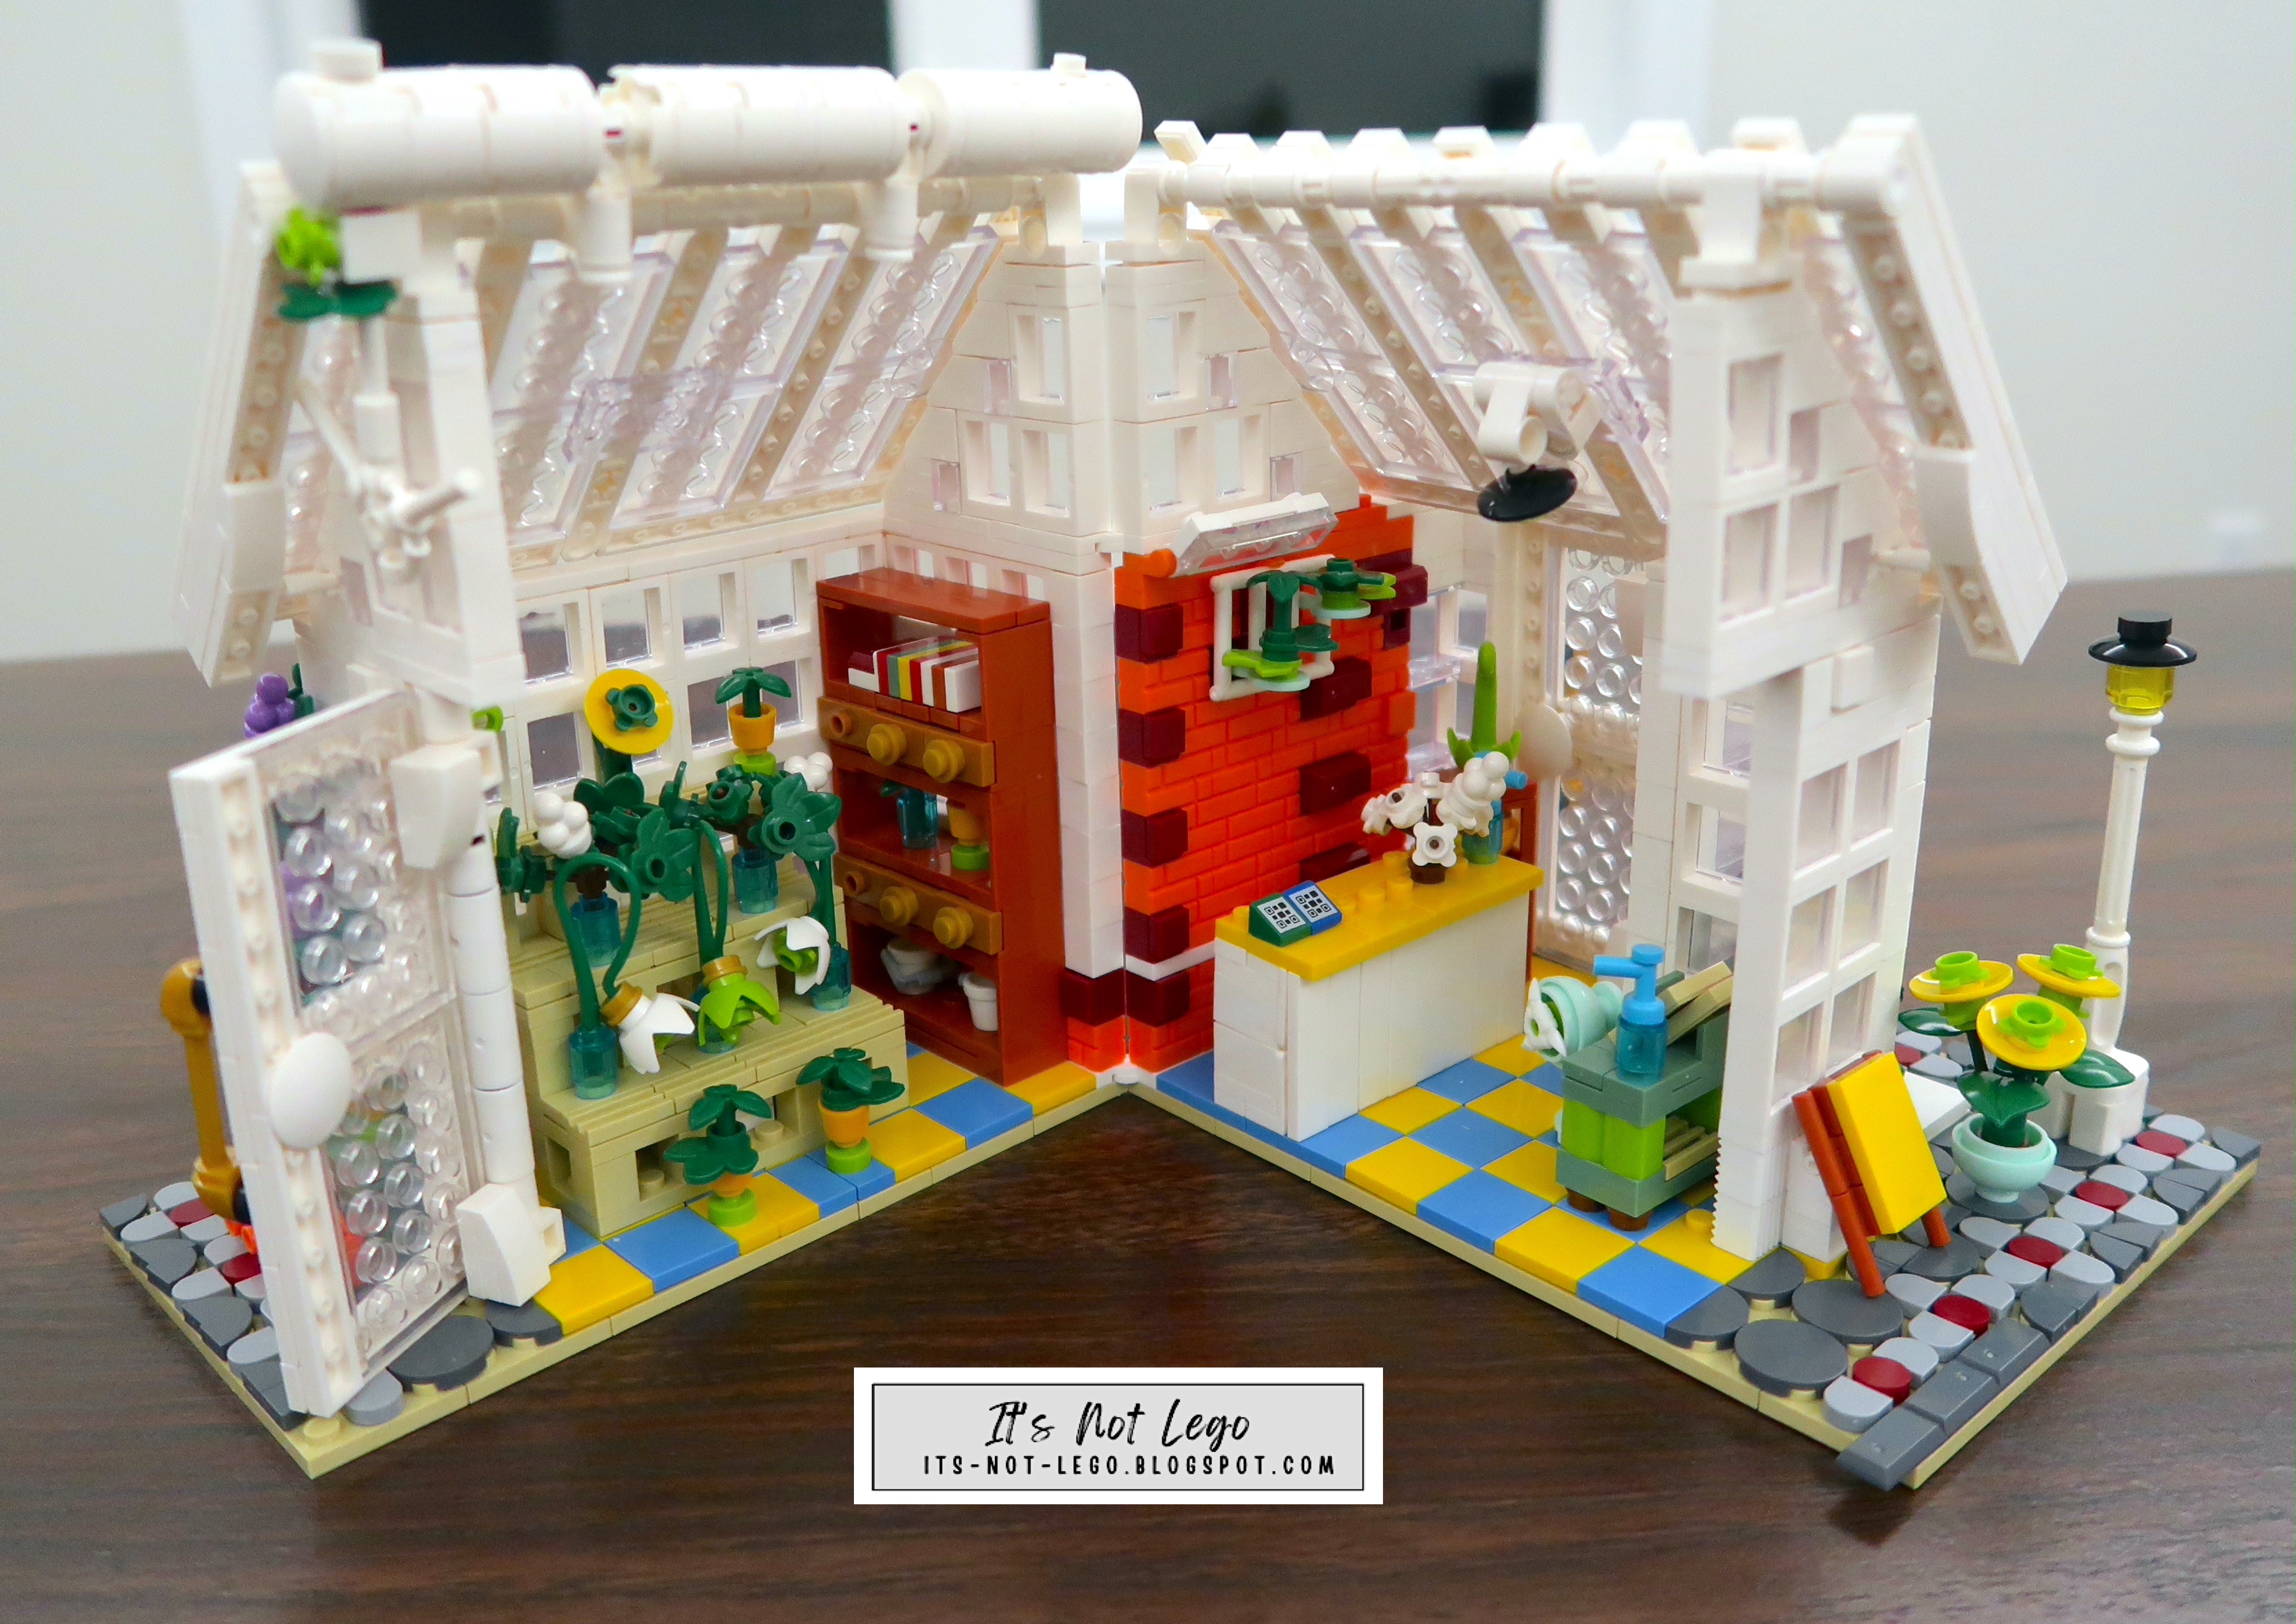
As mentioned earlier, the interior of flower shop can be displayed by opening the swivel base.


Summary
I think the JMBricklayer Flower Shop shines best when displayed with the lighting kit on (excuse the pun!). It's a nice looking display model with lots of glass area. I feel like it could have used a few more flowers on the inside, and I wish the shop was scaled more towards minifigures. Danboard thinks that the scale of the shop is just fine.

With a few interior adjustments, I'm sure one could mod it, however the front and back doors would definitely need to be replaced for minifig scale. One might wonder if there's too much white colour going on with this building. Since the flower shop had printed some pieces, I'm not sure why they didn't just make the two stickers printed pieces as well.
On a scale of 1 to 5, I'm going to rate this set 4.1. My score would have been higher if the flower shop was minifig scale and had a few more flowers. Let me know what you thought of this set in the comments below!
Thanks again JMBricklayer.com for the set. Please visit their website if you get a chance.
Want to see more JMBricklayer set reviews? Check them out at https://bricktoyreviews.blogspot.com.
Bye for now!
beautiful !
ReplyDelete