Welcome back to my Its-Not-Lego blog! In this second part of the Lepin 02034 Cargo Port Terminal set review, we will look at the cargo truck, the cargo pier and the cargo port crane. If you missed the first part of this post, you can find it
here.
Cargo Truck
The truck itself isn't ground breaking, it's pretty much a standard vehicle you can find in most of the Lego and clone sets.
These are some pics I took during it's quick construction. I think there's too many colours going on. They should have made the truck just blue, just red or just yellow, but not all three.
The cargo truck cab has a steering wheel but no seats or doors. It does get small side mirrors though.
Here's the assembled truck and driver.
The instruction manual tells you to make the cargo truck yellow container look like this with the indents facing outward.
But, I prefer the container on the truck to look more like this. Now let's move on to the next component, the cargo pier.
The Cargo Pier
The cargo pier is an easy build. The frame above is basically covered with a large flat grey piece that makes up the pier.
Here's the entrance gates and ramp to the pier.
Yup, you can close the gates at the end of the working day. There's a small traffic light that tells you whether you can proceed.
There's a small guard station that you snap into the pier.
Accessories for the guard station include a tool rack with broom and shovel, a garbage can and some tank. There's a control screen inside the station presumably to monitor the activities at the port.
Here's the remainder of assembled pier that is comprised of the two large road pieces. The Lepin pieces are a bit soft and there's yucky plastic extrusion dimples on each piece.
Check it out! This cargo pier is really long. It pretty much spans the length of my little building setup.
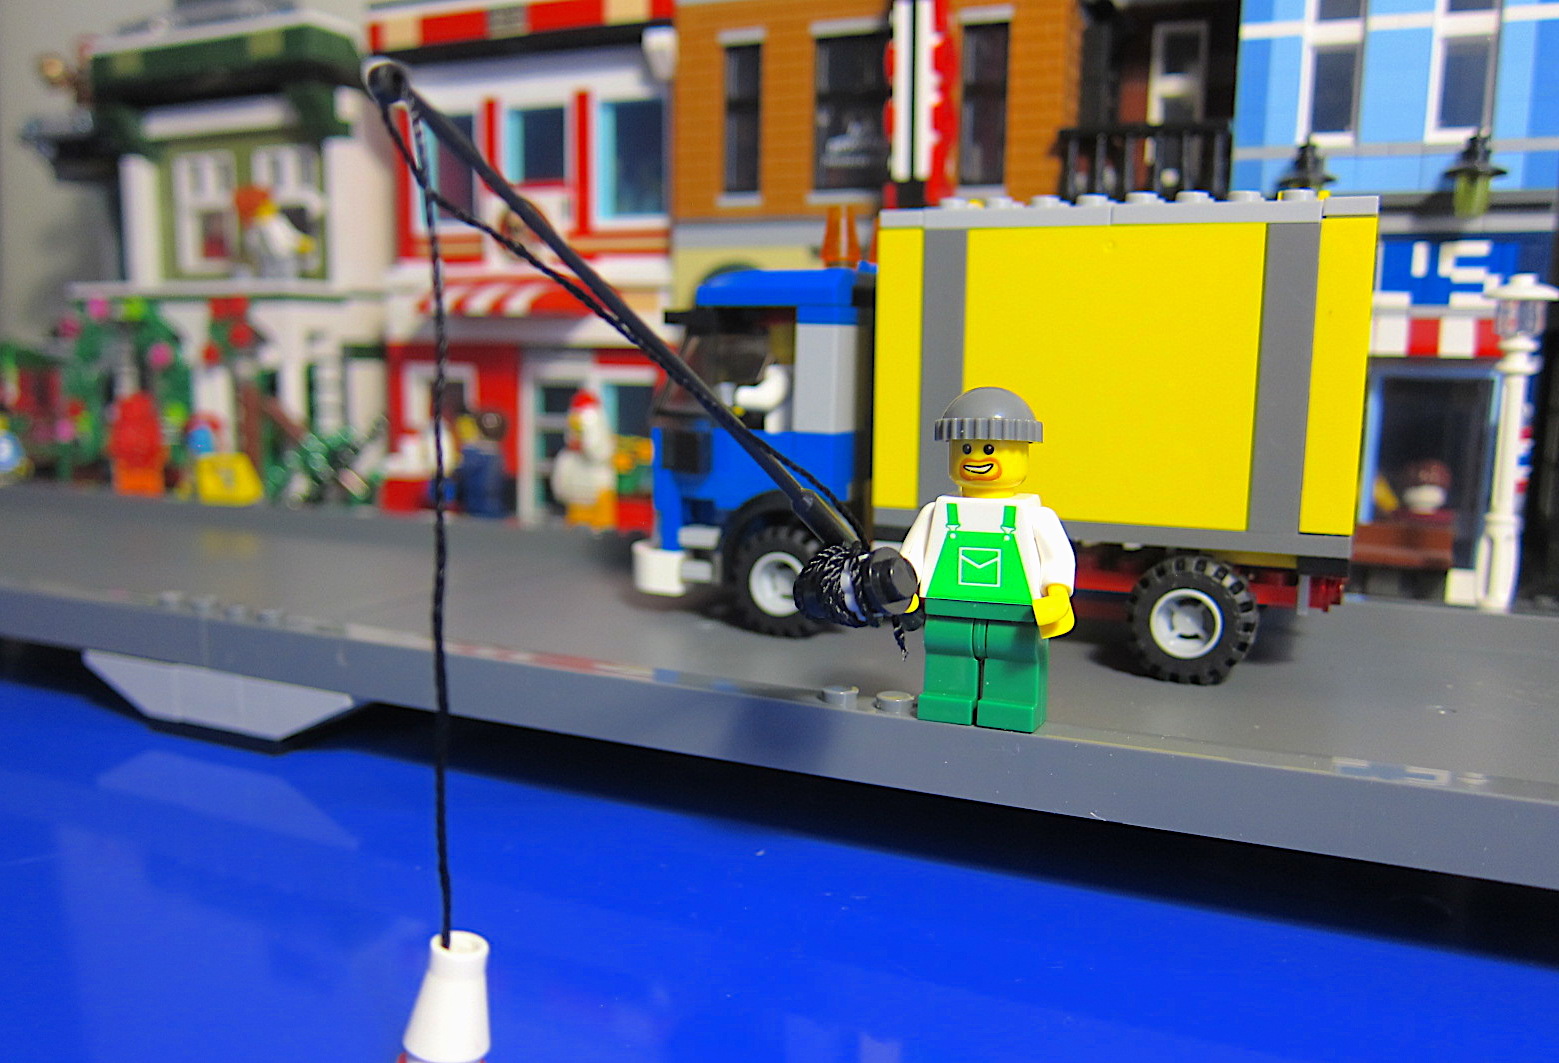
You get this fisherman minifig with the cargo set. It took me awhile to thread his fishing pole and wind the string around his reel.
I made a little chair for him to sit at the end of the pier, out of the way while we build and install the next component, which is the gantry and crane.
The Gantry and Crane
Another straight forward build, the gantry and turntable. I was thinking how cool it would be if it had wheels on the bottom that could roll along a track on the pier.
For now, it continues to be a stationary gantry. Easily mounted onto the pier.
At this point, I was focused on building the control cabin and the crane attachment so I didn't stop to take pictures during it's construction. Needless to say, I was running into some problems with the finicky parts that wouldn't stay together. Specifically, the two 1x4 bricks pictured above. Once you attach the crane pieces, those two pieces would pop off due to the weight of the crane and lack of clutch power.
Ok, so I switched out the 1x4s and tried this solution instead. At this point, the crane did not topple over. Yay!
The crane operator was pretty happy about that until ....
.... I tried lifting one of the containers with the crane and this is what happened. The crane still popped off the control cabin. Urrrgh.
Back to the drawing board, I decided to use some Sluban bricks (you can tell, because their shade of red is darker). Their clutch is better for some reason.
Here's a rear view shot of the crane where I used the Sluban bricks. In case you are wondering about the two knobs, the lower one controls the cable length, which you can reel out or reel in. The upper knob controls how high or low you want to adjust the crane arm.
Here's the crane arm in it's highest position.
And here it is in the lowest position.
Alright, this is much better. The crane successfully lifts up the container without falling off.
Final Thoughts
The Lepin Cargo Port set definitely has a lot of play value. I can see hours of fun driving the cargo truck onto the pier and off-loading the huge cargo ship with the giant crane. I wish I had a big table so that I could integrate the cargo port with all the modular buildings into one large layout.
To review, the Lepin brick quality was acceptable except for the scuffed ship hull. All the clear pieces such as windshields and windows were individually wrapped to prevent scratches. I had some problems with the brick clutch on the crane portion of the set which I subsequently resolved. Minifig quality was excellent and I didn't see any flaws or errors in the bootleg versions.
I didn't encounter any missing or broken parts in this set (other than the hull that probably got cracked during shipping). Lepin included an extra bag of small spare parts, which I think they've started to do on all of the newer sets.
From a design perspective, there should have been more than the three cargo containers in the set. I took the cargo containers from my Ausini freight train set and added them to this set. I also found the bridge structure (I think it's called a castle?) to be a bit small, and if you take a closer look at the top picture, you will notice that I completely rebuilt the bridge and castle of the cargo ship. I'll make a bonus post in the near future to take a closer look at the changes I made to the cargo ship.
So just for fun, I decided to scour ebay to see what a new original Lego 7994 Cargo Harbour set costs today. I found about 8 sets ranging in price from mid $400s up to almost $900 USD.
If I had to rate the Lepin Cargo Port set, I would give it 4.5 out of 5, knocking off half a point for the poor brick clutch in the crane. Well, that's my review, hope you enjoyed the pics. As always, thanks for visiting Its Not Lego and See you next time!


I want pics of the manual.
ReplyDelete