Are you tired of building building block sets that are so easy, you can do them with your eyes closed? Well, this 1470 piece Mechanical Dinosaur set from JMBricklayer is just the right set to give you a good challenge!
Hey brick fans and welcome back to Its-Not-Lego! Today, I'll be reviewing the JMBricklayer branded Mechanical Dinosaur set, set number is 70107.
The appearance of the mechanical dinosaur is inspired by the prehistoric creatures of the Jurassic periods, with sharp claws, a long tail, and fearsome teeth on one side. However, on the other side, the robot parts give it a futuristic and technological twist, with gray metallic greebling and mechanical joints that allow it to move in a variety of ways.
This building block set review is brought to you by JMBricklayer.com! Here's the link to the set on the JMBricklayer website.
You can also find this set and many more on the JMBricklayer Amazon store.
Details
- Brand: JMBricklayer
- Set: 70107 Mechanical Dinosaur
- Theme: Science Fiction
- Piece count: 1470+
- Numbered bags? Yes
- Stickers or printed parts? Both
- Missing or deformed pieces: No
- Extra parts: Yes
- Minifigures: No
- Lighting kit: No
- Brick Quality and Clutch: Very Good
- Measurements (approx): 9.5 inches high and 22 inches long
- Age Rating: 14+
Unboxing
My JMBricklayer branded Mechanical Dinosaur set came in a sturdy box displaying the scary looking dinosaur with details about the set name, number, piece count and age rating.
Inside the box, you get six large ziplock bags numbered 1 thru 6, an instruction booklet, and a brick separator.
I found the small sticker for the sign but half of it has scotch tape stuck to it.
The six large bags contain more bags of parts in each, all pertaining the the steps detailed in the instruction manual which we will look at now.
The instruction booklet is quite thick with 115 pages inside.
Steps one and two. The display and one set of appendages are built.
Steps three and four. The mechanical appendages and body is constructed.
Steps five and six. Finish building the body, the tail and the head and neck. So, it looks like we will be making all these sub-assemblies first and then put them all together in the end.
Ok, on to the builds!
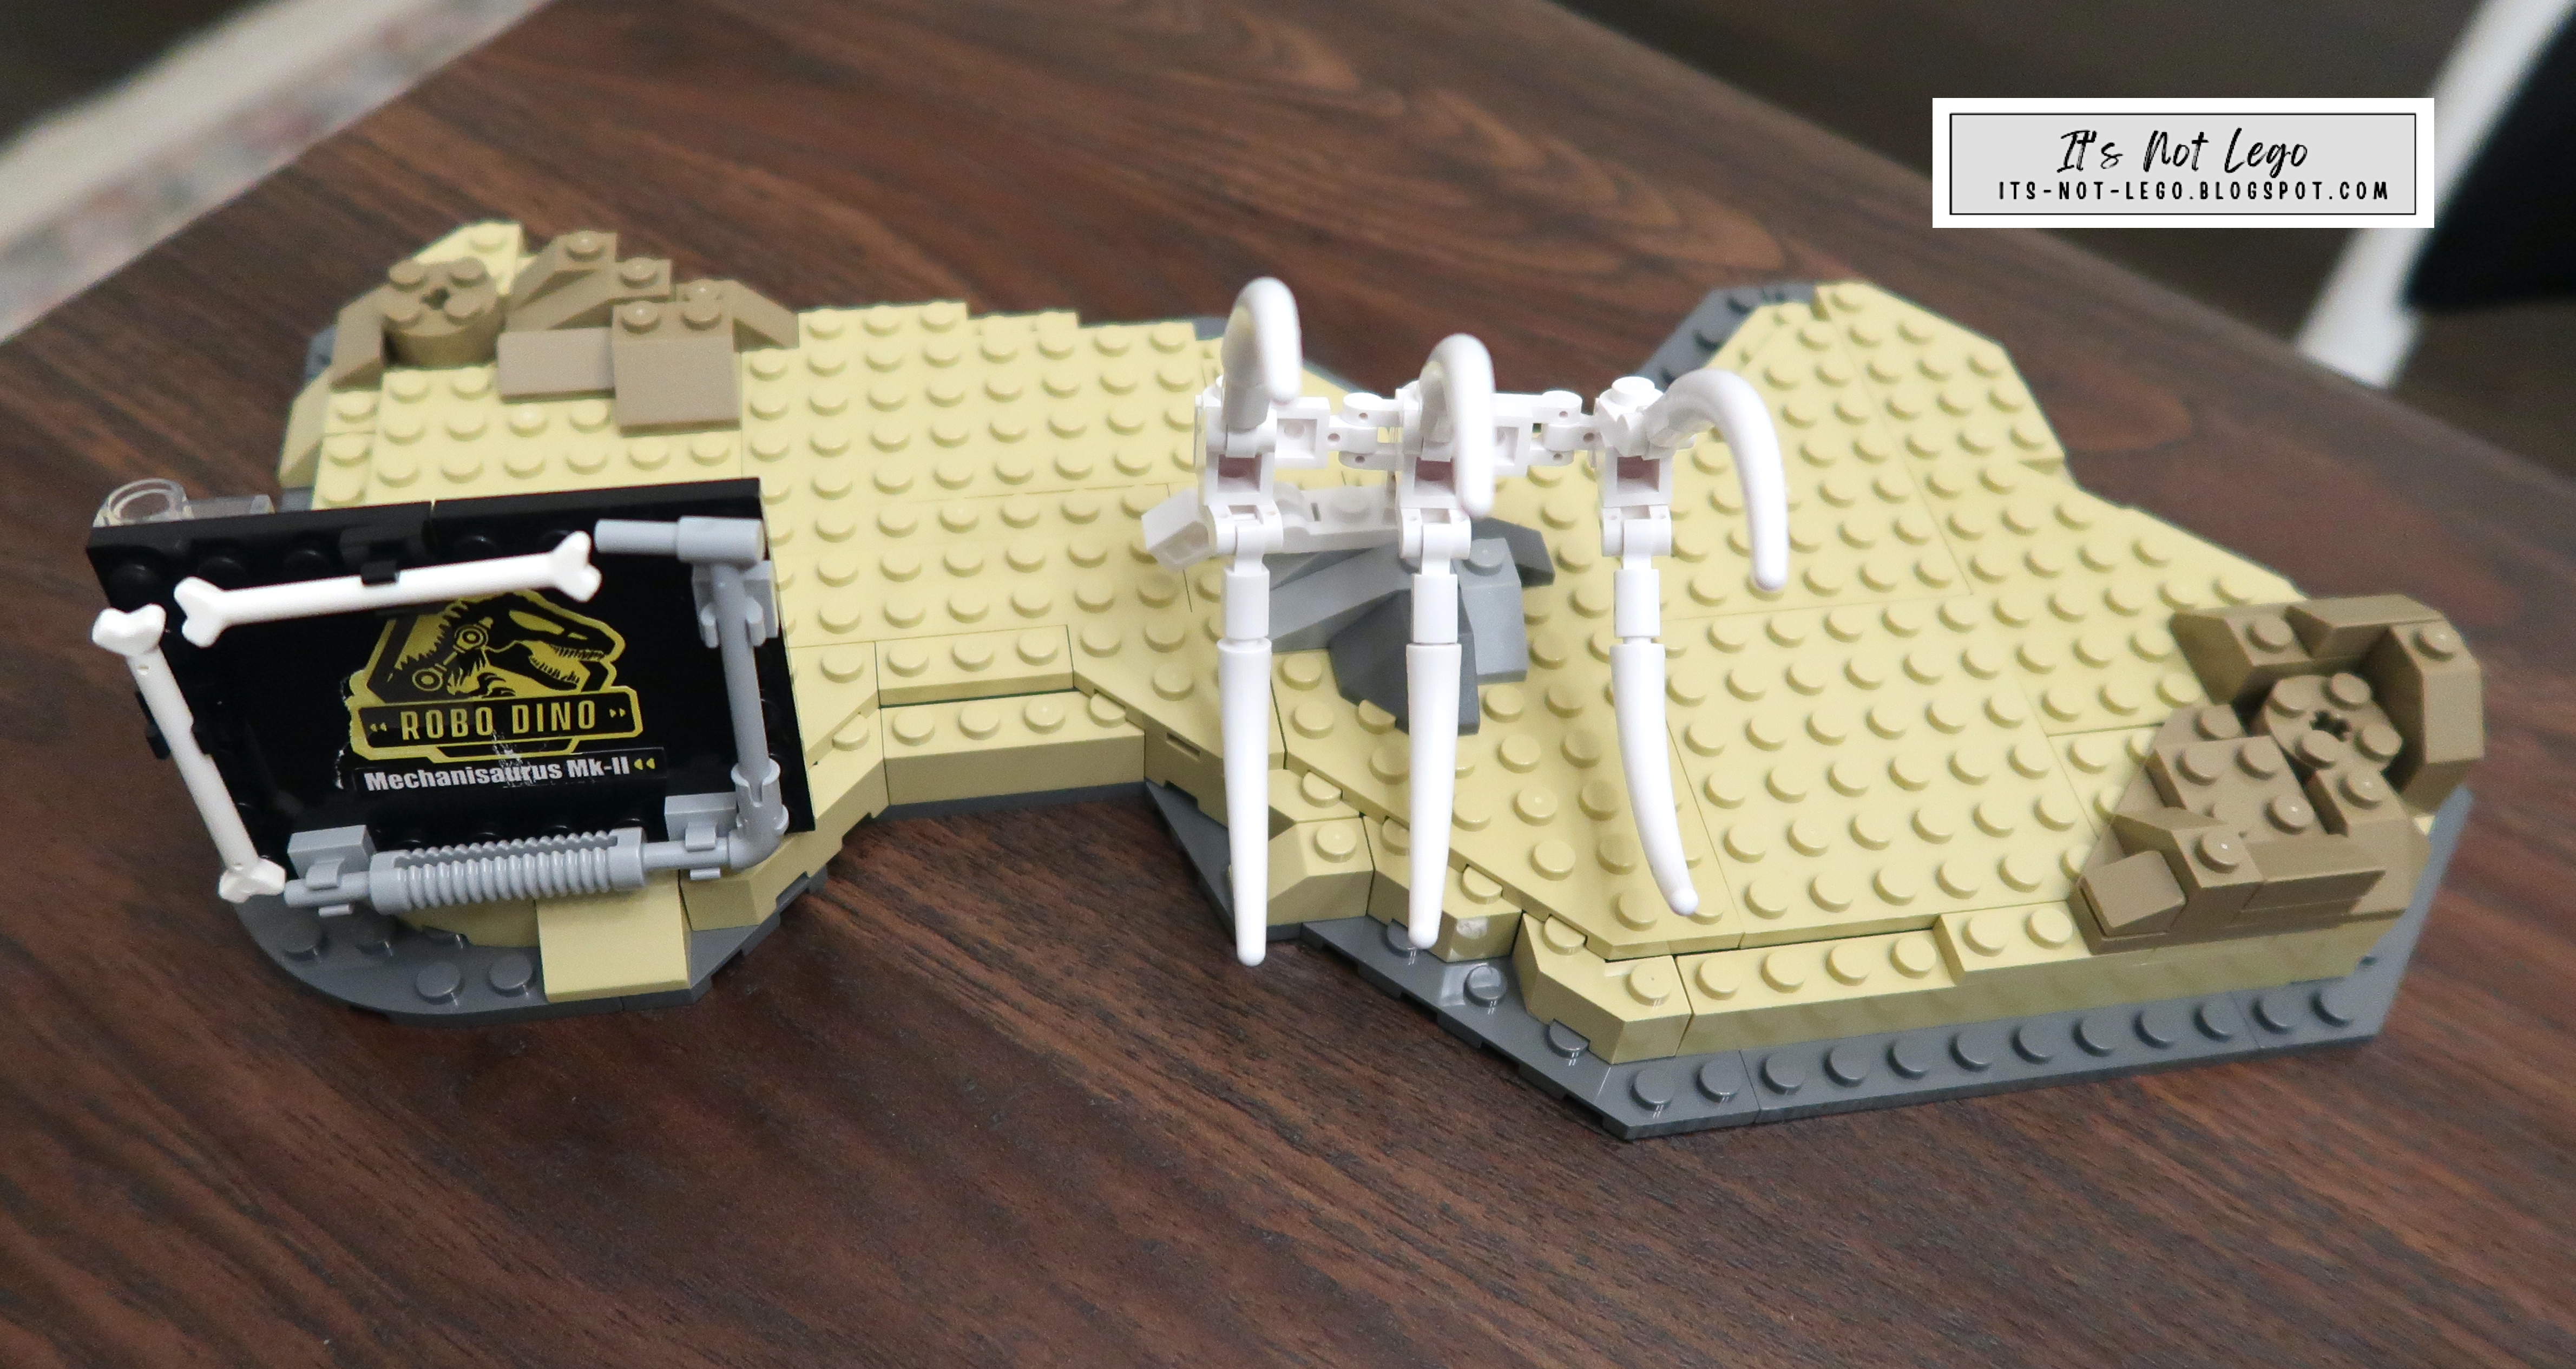
1. The Display Stand
Here are the 3 bags of parts that will be used to construct the base for the display.
On the base, there is a sign for the display and some dinosaur bones. The mechanical dinosaur will be attached to the base via three mount points which we will review later.
2. First Set of Appendages
There are 5 bags of parts in this section, with mostly red brown and dark brown pieces.
The non mechanical arm and leg.
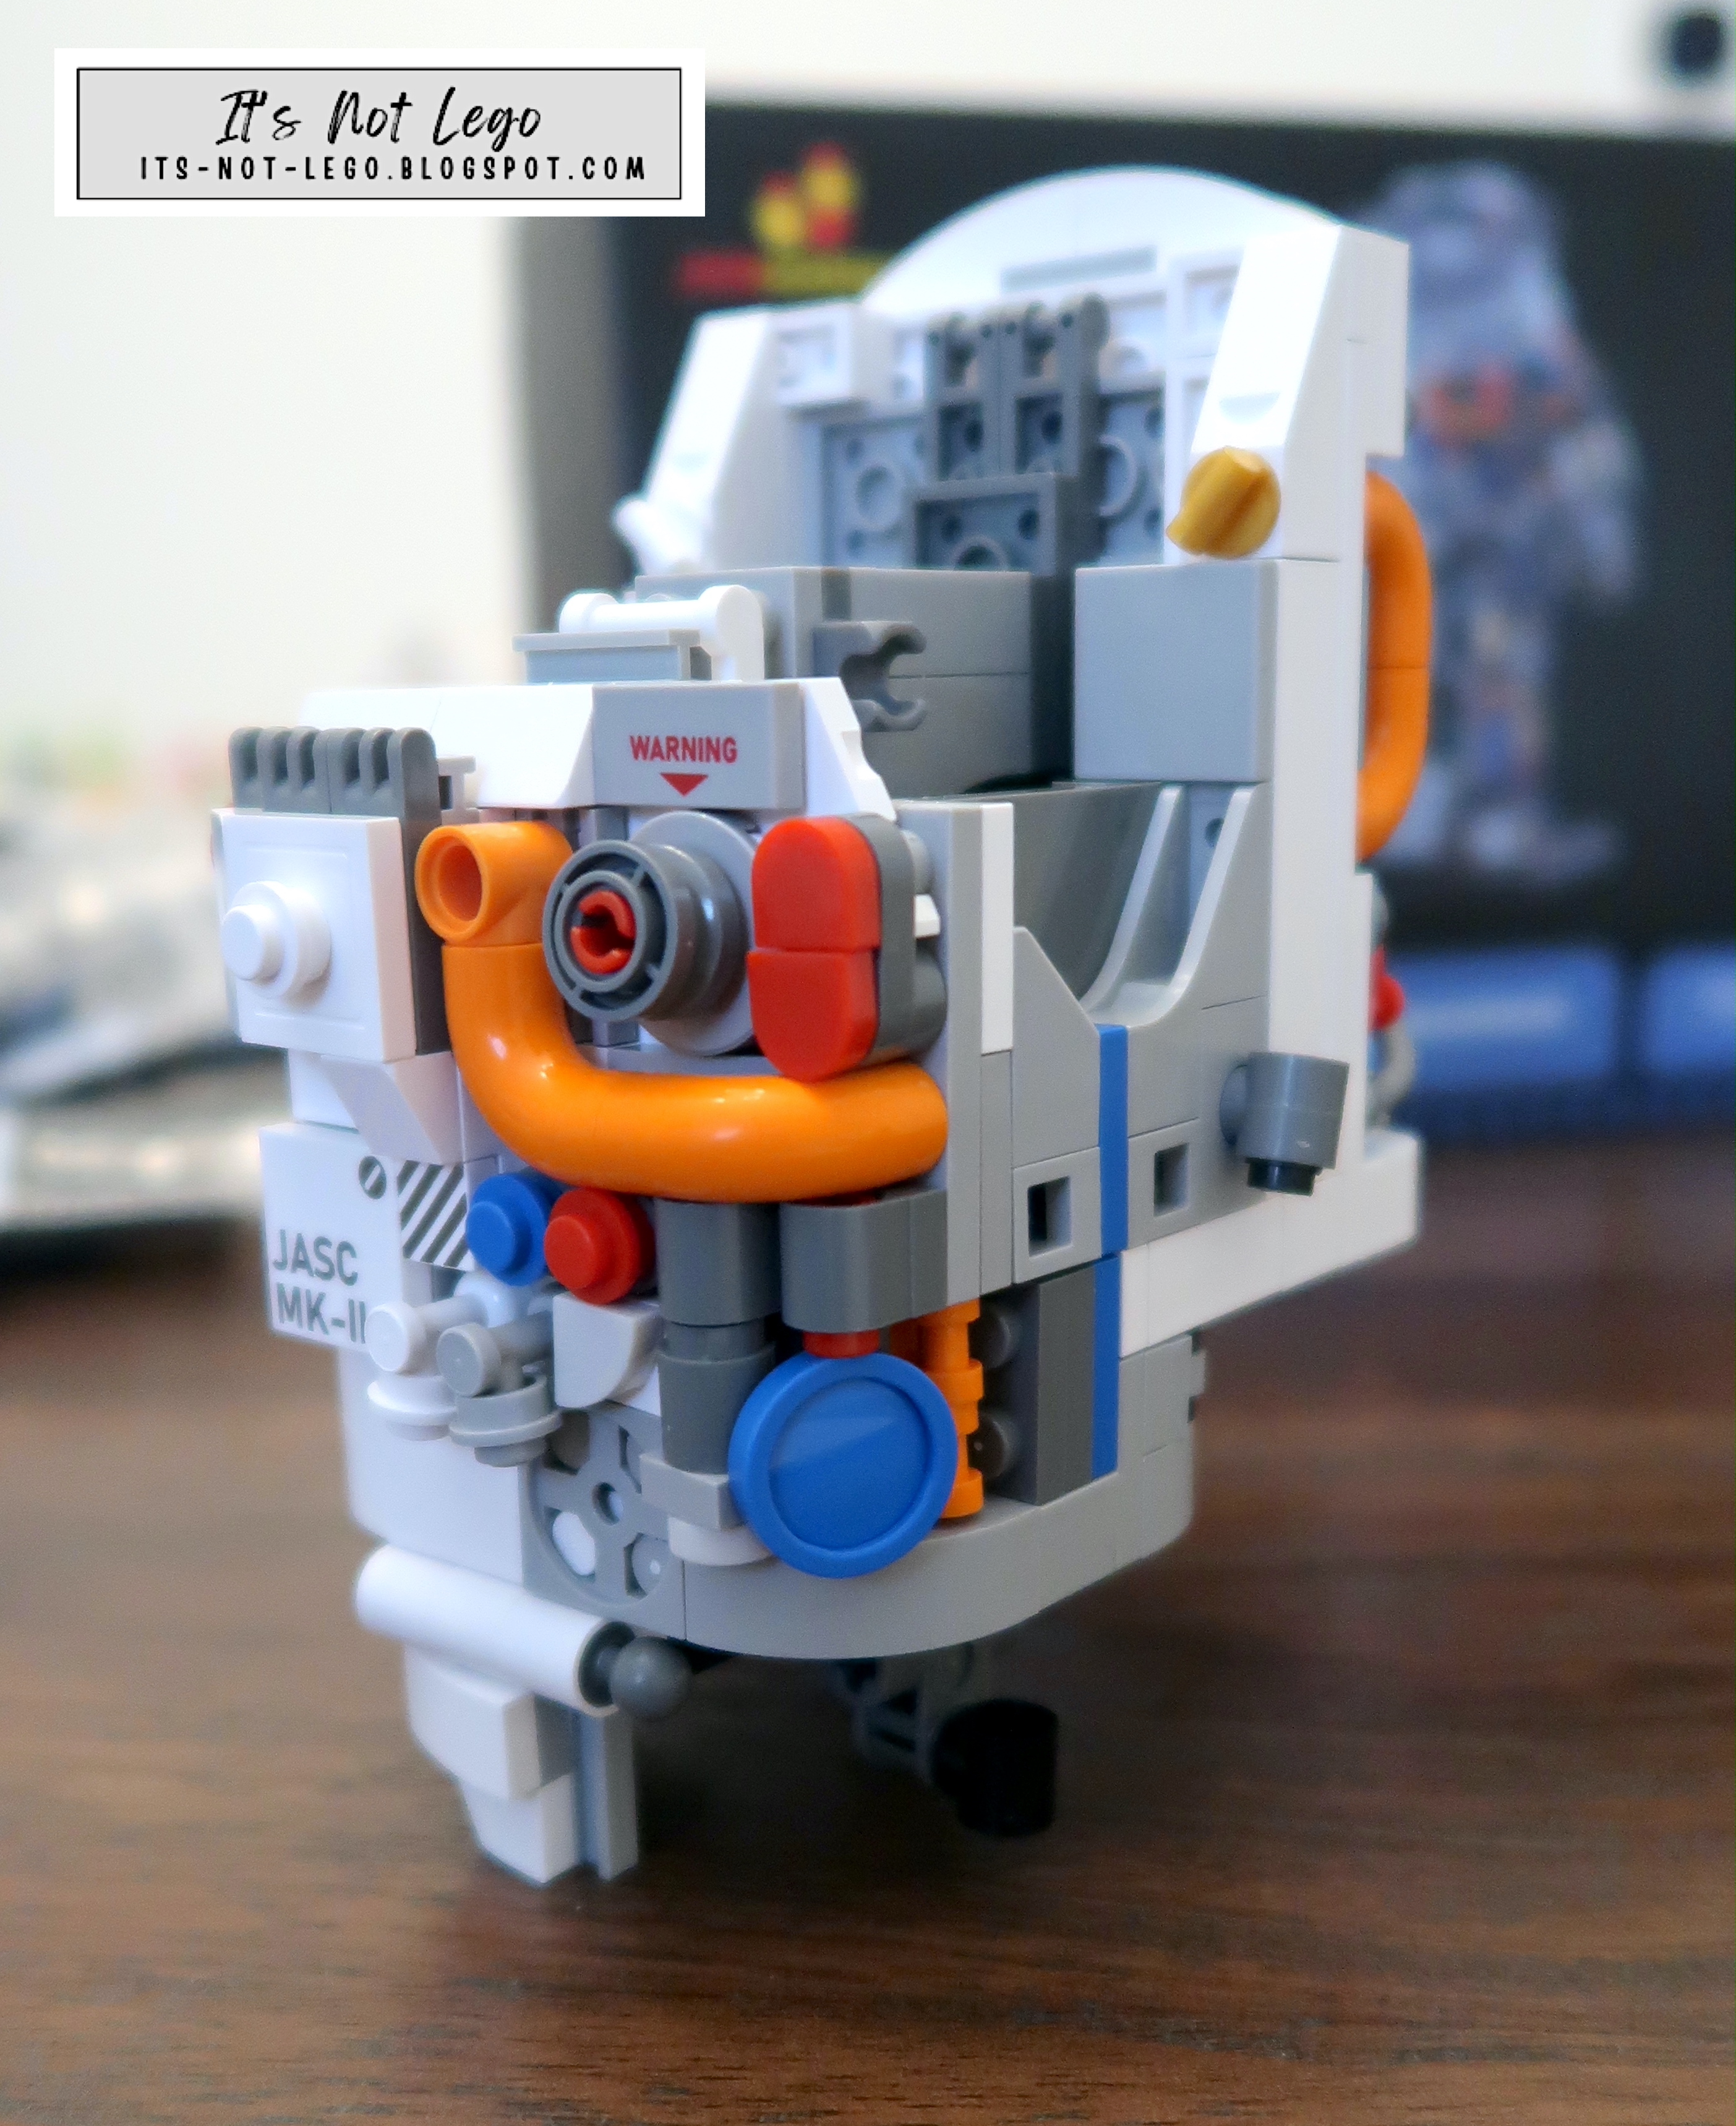
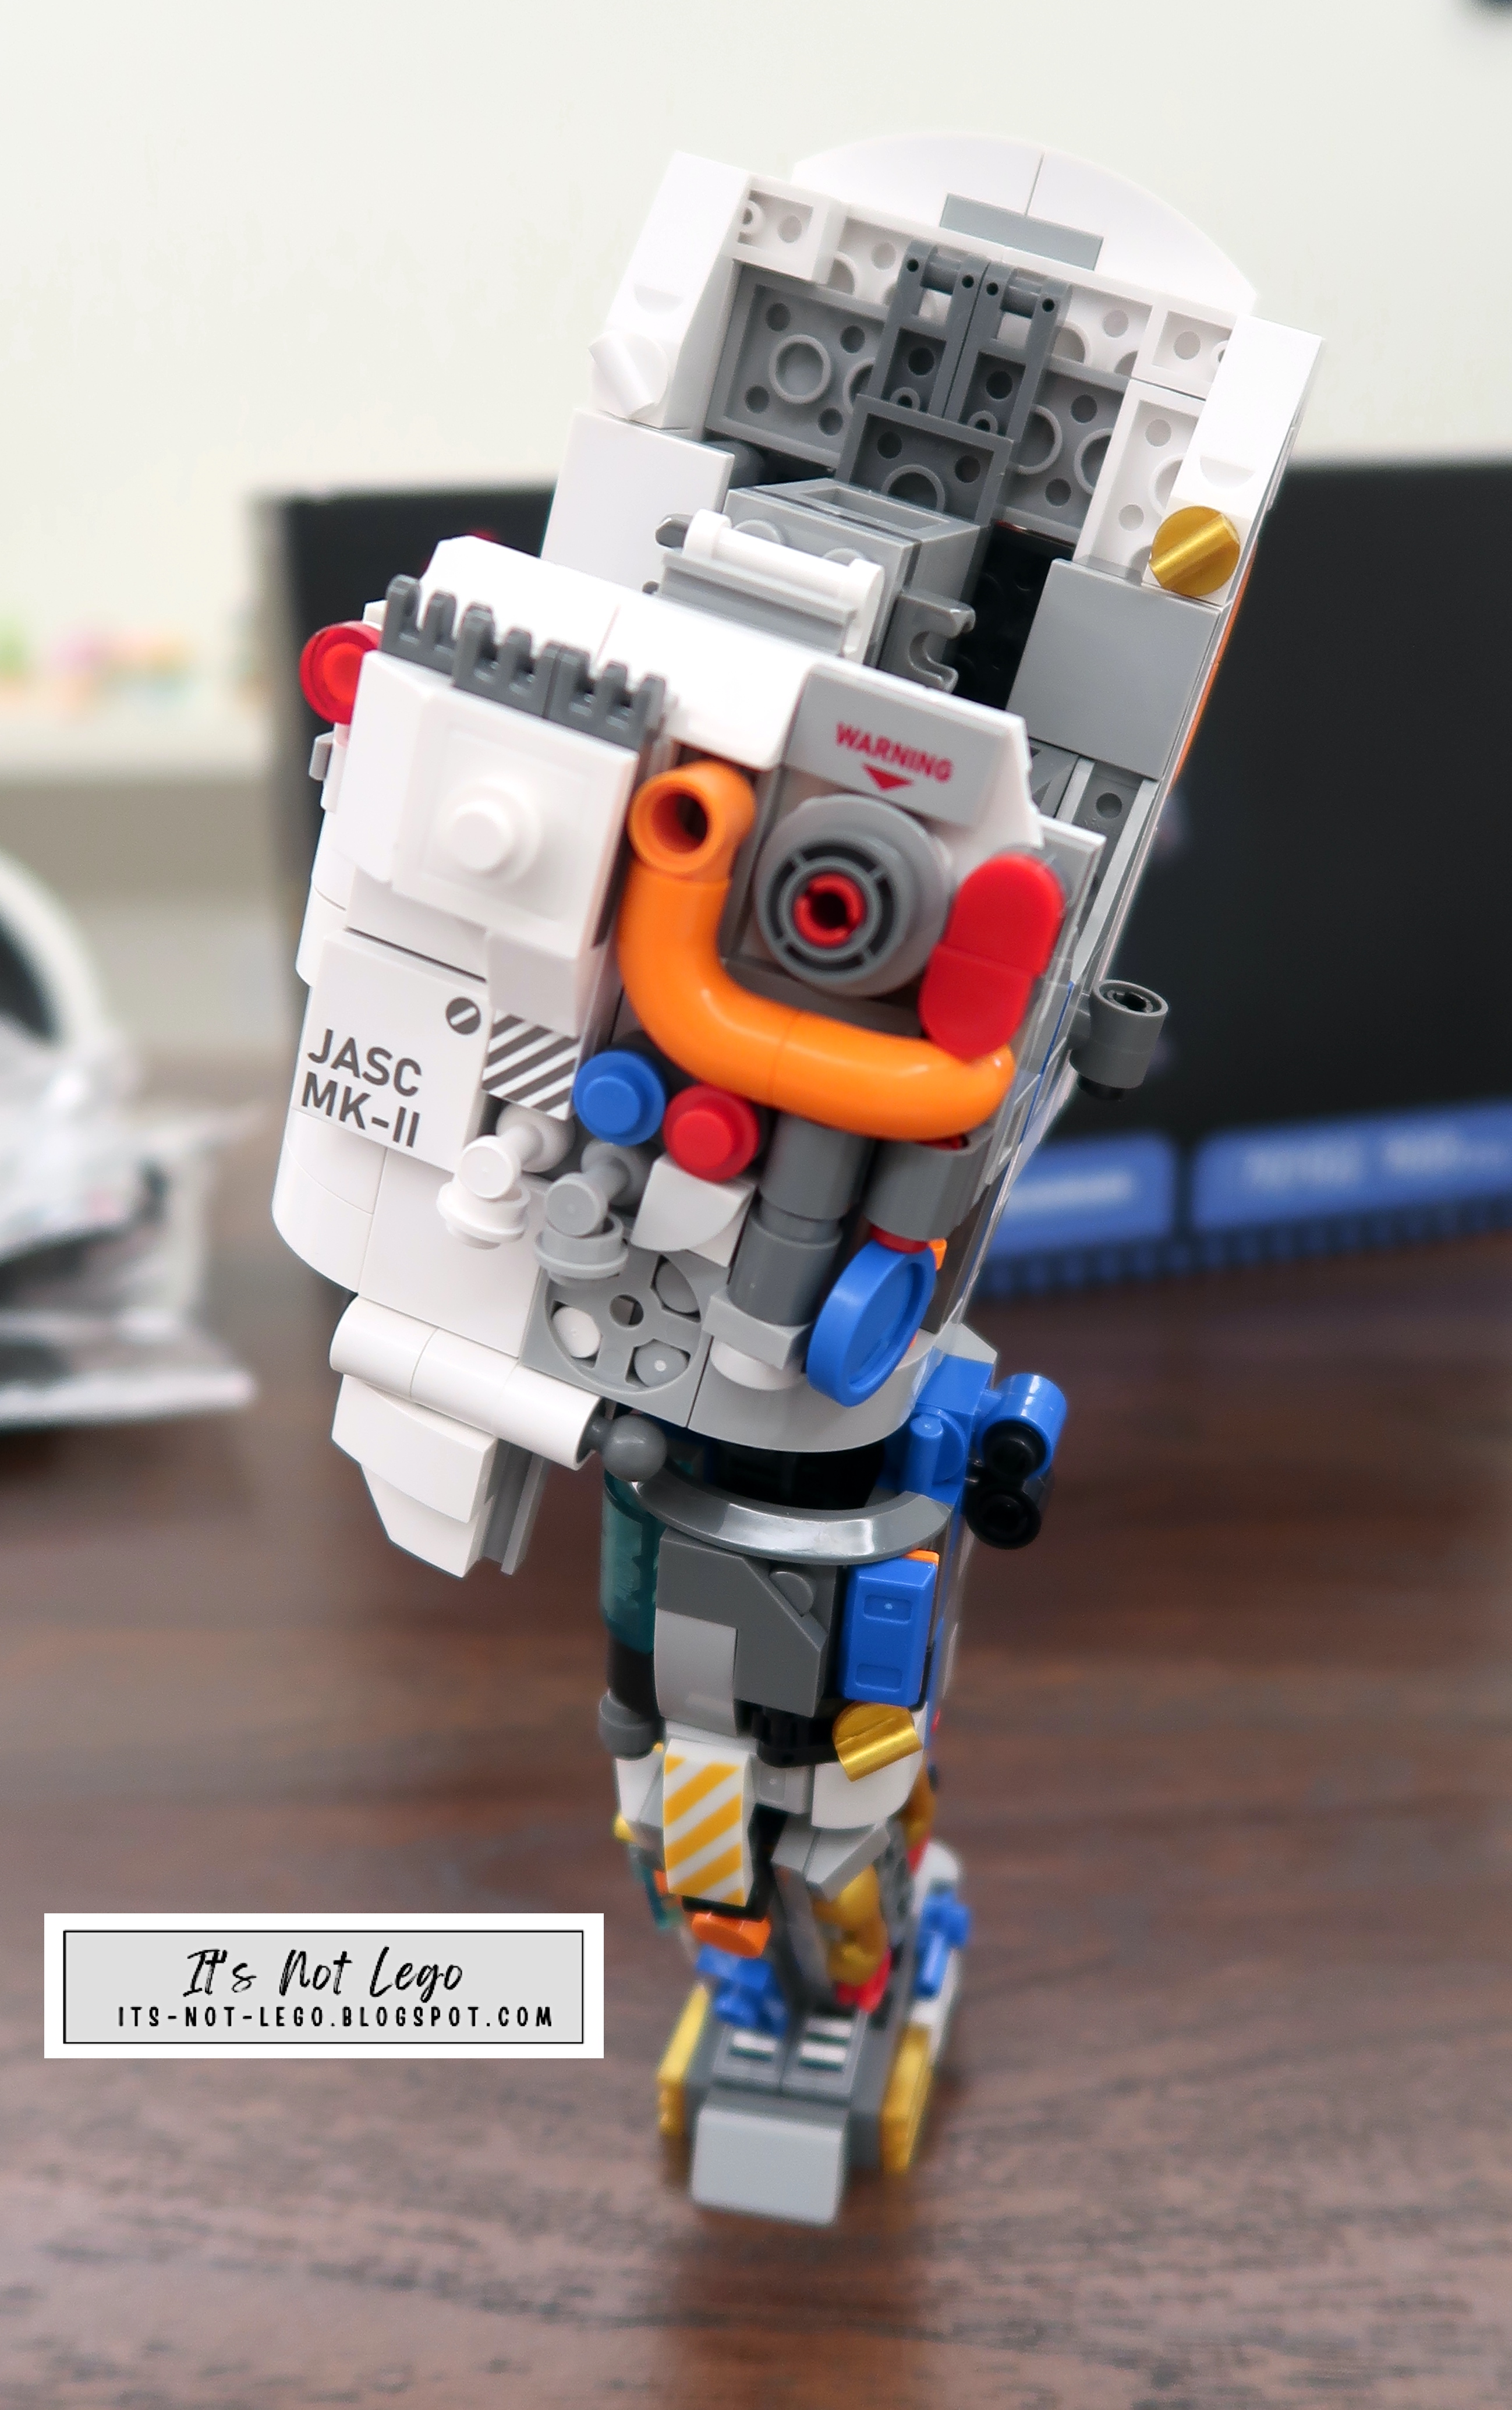
3. Mecha Appendages
Four bags of parts with predominantly light gray and dark gray pieces.
Found some nicely chromed parts and printed pieces too. We now have the corresponding appendages in mecha robot form.
4. Dinosaur Body
There are 5 bags of brick parts used to build the body with the pieces as shown above.
This section is where it starts to get very challenging. You are basically building in all different orientations, top, bottom and sides and you are being tested spatially at every turn. There is a ton of SNOT (studs not on top) building technique so you must be very mindful that you have the correct part and also the placement of it.
Some of the instructions at this point, are kind of ambiguous, because they don't show you every angle, so in some cases I had to guess, but luckily I didn't have to backtrack too many times during the build. Keep that brick separator handy because you will need it.
5. Body and Tail
To complete the dinosaur body and tail, there are 4 bags of parts.
Here is the completed body assembly, showing the dino side and the mecha side.

The tail assembly with dino on one side and mecha on the other.
6. Dinosaur Head and Neck
Here are the final six bags of parts, used to construct the dinosaur head and it's neck.
Dino head, left side and right side. The jaw may be opened and closed slightly and the tongue also has some limited movement.
7. Assembling the Mechanical Dinosaur
As per the instructions, I first attached the head to the neck via the ball socket connection. Then the head is attached to the body via two large pins. The arms are attached to the body via two pegs that go into corresponding headlight bricks on either side of the torso.
The arms and claws can be moved up and down but there is not a wide range of motion.
Trying to attach the hind legs on either side of the body was quite difficult. The three pegs all wanted to go in different directions when trying to mount the leg piece, making it somewhat problematic when trying to line them up. Inevitably, bits and pieces would fall off the body and legs as I tried to plug the pins into the holes.


This is one step where lots of patience is necessary, and I would think this part of the build process would be quite challenging for the younger builders. I was finally successful after repeated failed attempts.
In terms of design, I think it would have been easier to attach the legs to the three pin affair first and then install the pins as a block part into the body afterwards. Another option would be to have the female sockets on the body and the pins would be built into the legs, instead of vice versa. Those would be my recommendations to correct this issue.
Finally, the tail portion was installed without difficulty.
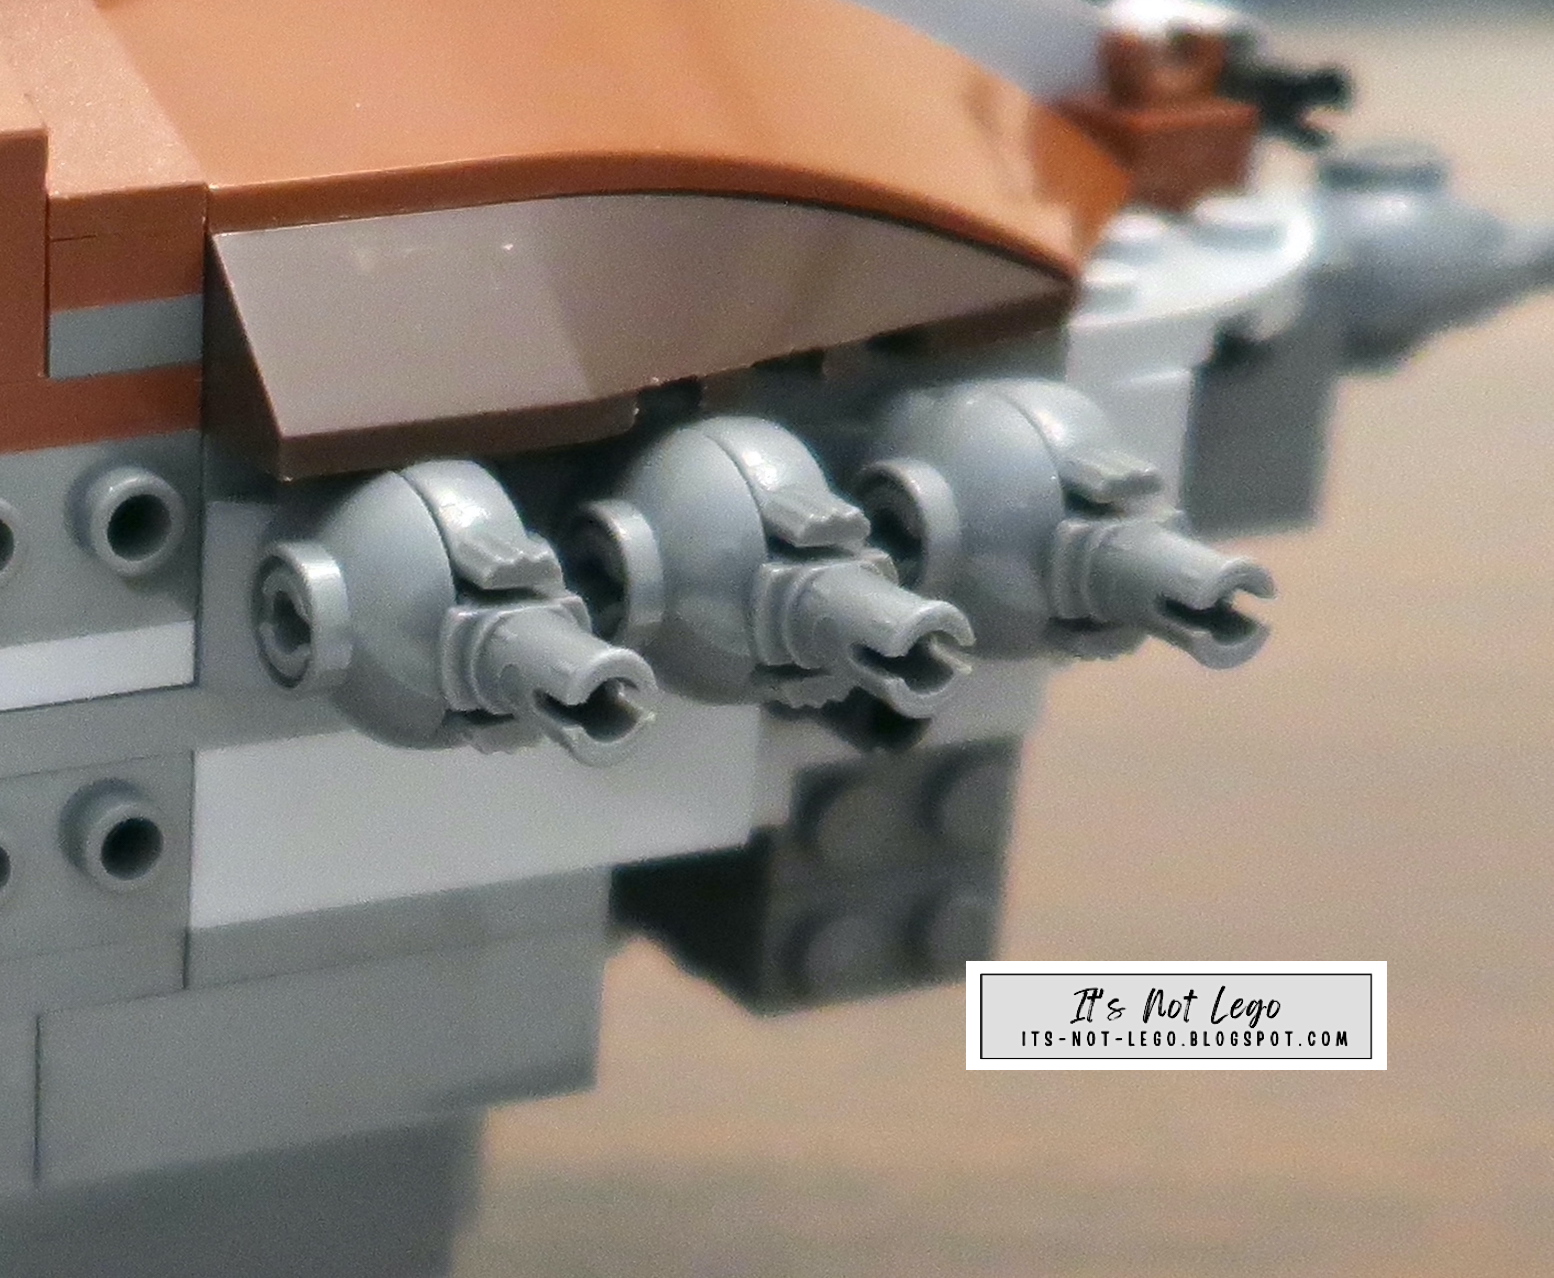
As I mentioned earlier, there are three mount points for the dinosaur to attach to the base. Two are rocky protrusions that allow technic pins on the feet to be inserted in to the display. The final mounting point sees one of the arms connected directly to the sign that reads Robo Dino.
I think I like this side the best, it really emphasizes the robot aspect of the mechanical dinosaur. It should be noted that due to the high number of parts, the set is quite heavy and as such, and shifting the dinosaur too much will loosen it's attachment to the base.

There were quite a few interesting pieces left over from the build. Usually they are just 1x1 tiles or circular pieces, but this set had an interesting assortment of parts I hope to use in future builds.
Summary
Overall, I found the mechanical dinosaur to be an interesting experience due to all of the unique SNOT building techniques used. For young and old builders alike, it will help to develop one's sense of patience, and practice problem solving skills and spatial recognition.
It was very satisfying to see that the mechanical dinosaur made a great display after building it. While there is some mobility in the claws and arms, the mechanical dinosaur is more of a display piece than a playset. Due to the somewhat challenging nature and the advanced techniques used, I give it a solid rating of 3.5 out of 5.
With that said, I think it's time for a crunchy snack! Let me know what you think of this set and whether you agree or disagree with my rating in the comments box below.
Thanks for looking and see you next time, bye!